WACO Aerobotics
#5140
We heavily recruited this year from local area schools and WACO affiliated FIRST Lego League team. Our team grew to 11 members while losing one senior and two others dropping off.
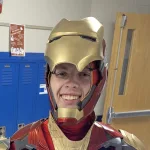
Preston
Team Captain
Gavin
Programming Lead
Jordan
Build Lead
Eric
Designer
Nick
Marketing Lead
Grayson
Builder
Adhira
Builder

Maddox
Builder

Pellum
Strategist

Kemper
Strategist
Jude
Builder
Asher
Marketing

Dave
Coach

Stephen
Coach

Marcus
Coach
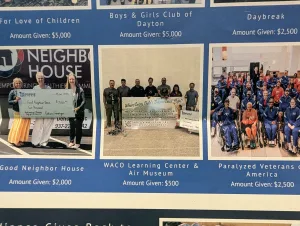
Sponsors
Without these generous sponsors, #5140 would not exist as a team. Thank you!
WACO Education Center and Air Museum is the primary sponsor and namesake for #5140. From providing the bulk of the funding for the team, they provide the new facilities, FTC team fees, equipment, tools and training field. Without their generous support and leadership, #5140 would not exist.
Collins Aerospace generous donation to the newly established WACO Learning center has provided #5140 with beautiful team room to build and collaborate.

Radiance Technologies sponsored the team for a second year. Their assistance with team membership greatly helps us in our ability to recruit new members.
Second year sponsor, Canvas has directly assisted in the purchase of parts and equipment.

Mission, Goals & Design Process
Inspire Emerging Engineers One Robot at a Time
Learn | Build | Fly
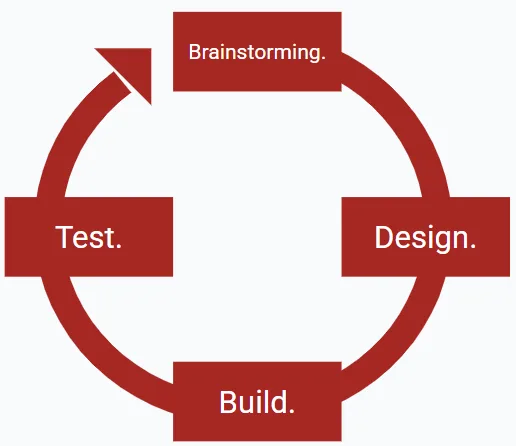
Design Process
In past years, our design process was practically non-existent resulting in subpar robots whose subsystems did not fit or work together efficiently.

As a specific change this year, we took a very disciplined approach and closely followed the formal Engineering Design Process as follows:
- Define overall challenge, tasks and goals
- Brainstorm various approaches and robot designs
- Narrow ideas down into feasible concepts
- Design a concept robot in CAD
- Rapid Prototype any subsystems
- 3D print prototype assemblies
- Build and test our prototypes
- Iterate, repeating the process until we come up with a final product
Lastly, we documented all our results, which we are excited to share with you!
Program Goals
Encourage the growth of engineering in local community and increase awareness of FIRST.
Provide education opportunities to an area low in STEM programs and prepare members for future careers
Community Outreach
In reflection of our Mission Statement and Program Goals, we made a specific increase this year in outreach efforts. This was a product of some off-season brainstorming which culminated in designating a Marketing Lead to oversee this aspect of our club.
Under Nick’s leadership, we designed an outreach program with the primary goals of raising awareness in our community and increasing the numbers on our team. All while maintaining gracious professionalism and making FIRST loud in our community.
As a results of our efforts, we:
- Doubled the size of our Team
- Tripled the number of Coaches
- Reached an estimated 5000 People around Troy Ohio
- Have caught the attention of our school superintendent who has goals of beefing up STEM programming
- Added to the networking and recruiting abilities of our sponsoring entities
Initiatives
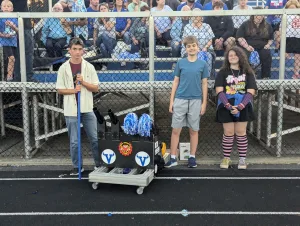
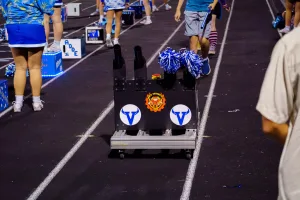
Remote Controlled T-Shirt Cannon
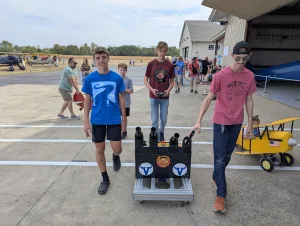
Built a drivable T-shirt cannon robot to showcase the First Program. With remote control and four cannons, our robot became a valuable attention grabber wherever it went.
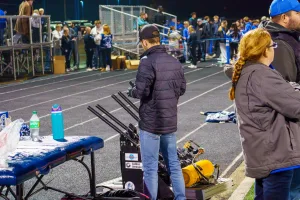
Loudly displaying FIRST as, we deployed the robot to multiple community events, including:
- WPAFB STEM Event
- High School football games
- Band festivals
- The WACO Fly-in
- WACO Museum Board Meeting
- Sponsor websites and marketing programs
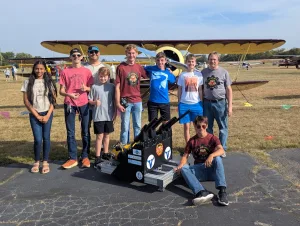
WACO Fly-In
In partnership with our main sponsor, we attended and showcased First at their yearly air show, which draws more than 1,000 attendees each year. Specific activities included:
- Running a display field from previous years
- Recruiting participants for future teams
- Showing off the T-shirt Cannon
Others
- Website / Blog: https://wacoaerobotics.synology.me
- YouTube Channel: @WACOAerobotics5140
- Local High School Partnership Exploration
- Sponsor Website Articles and Marketing
- Coordinated Marketing Program and Planning
Defining the Challenge and Brainstorming
Getting Ideas Out There
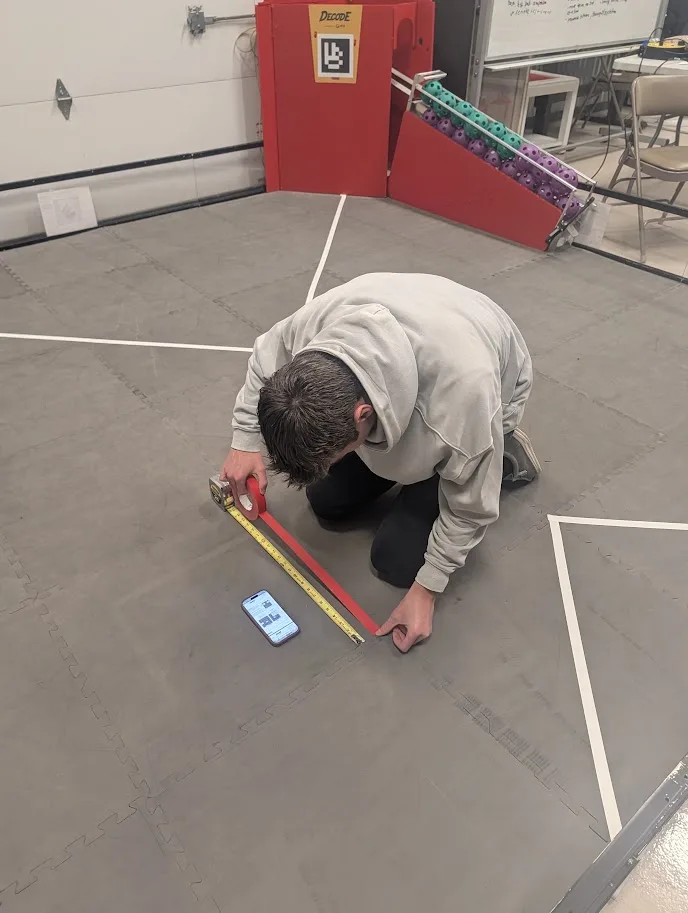
Prior to season start, the team tested various base construction options, specifically with 3D printed components. Heat inserts connected designed and printed walls and then were tested for strength.
Purpose of this testing was to validate that 3D printed components would be able to handle the torque put on it during robot operation.
As seen in the video, the inset joined part at a 90° angle was able to hold up our Team Lead for a few seconds before breaking apart along the layer lines. Results were recorded on video and uploaded to our YouTube channel.
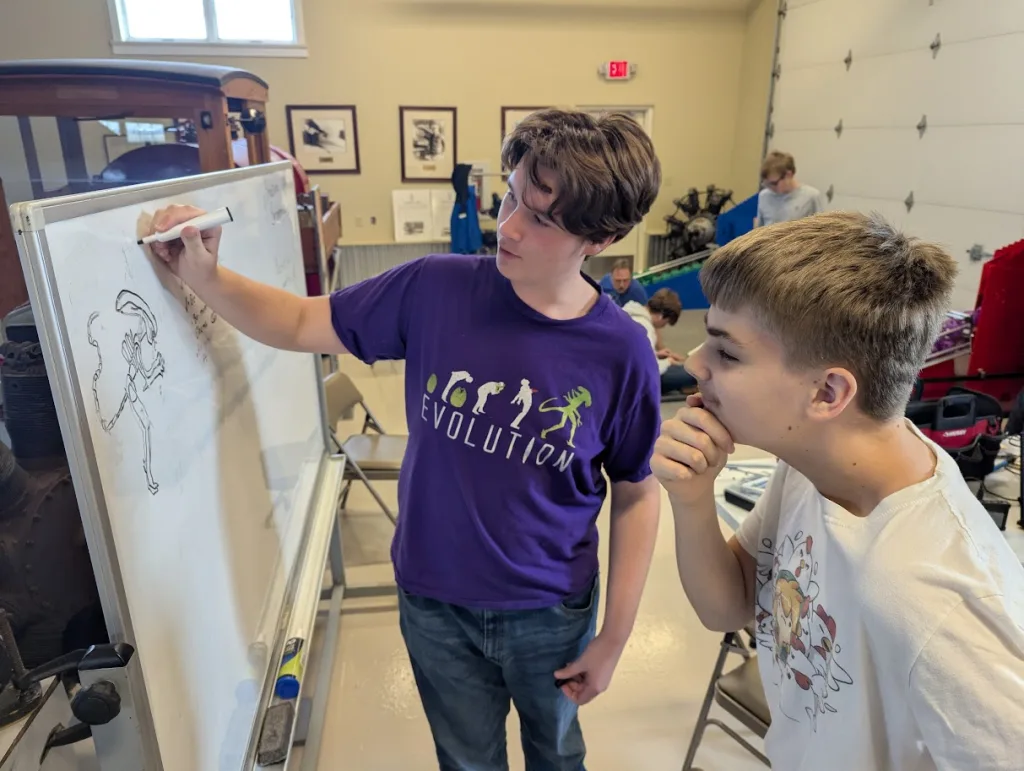
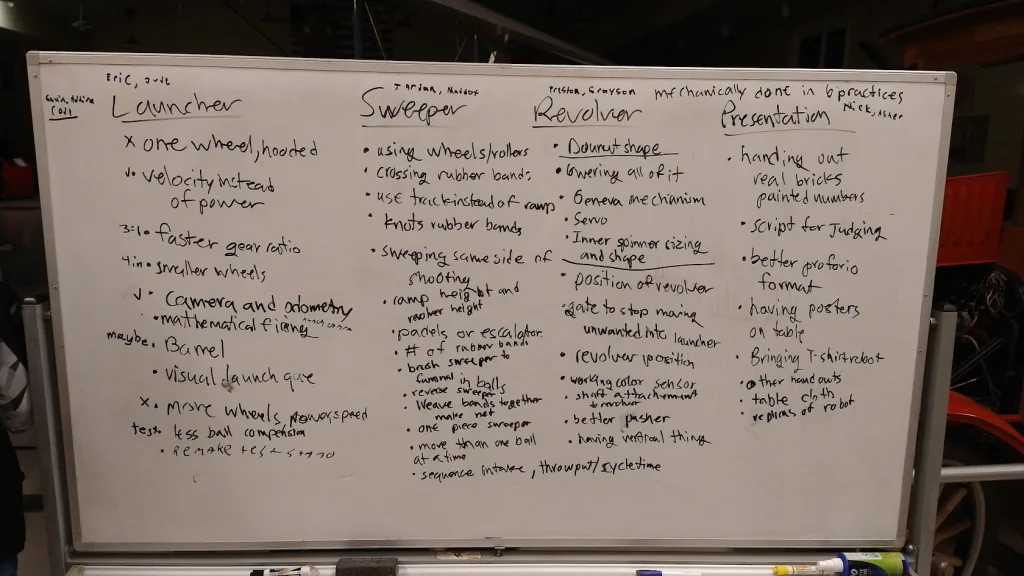
Immediately after Kickoff, the entire team gathered around a whiteboard where we first clarified the overall challenge. This went quickly so the next step was suggested any and all ideas that crossed our minds. Whether the idea was good, bad, or completely outrageous, we wrote it down. After filling the whiteboard, we began evaluating the ideas.
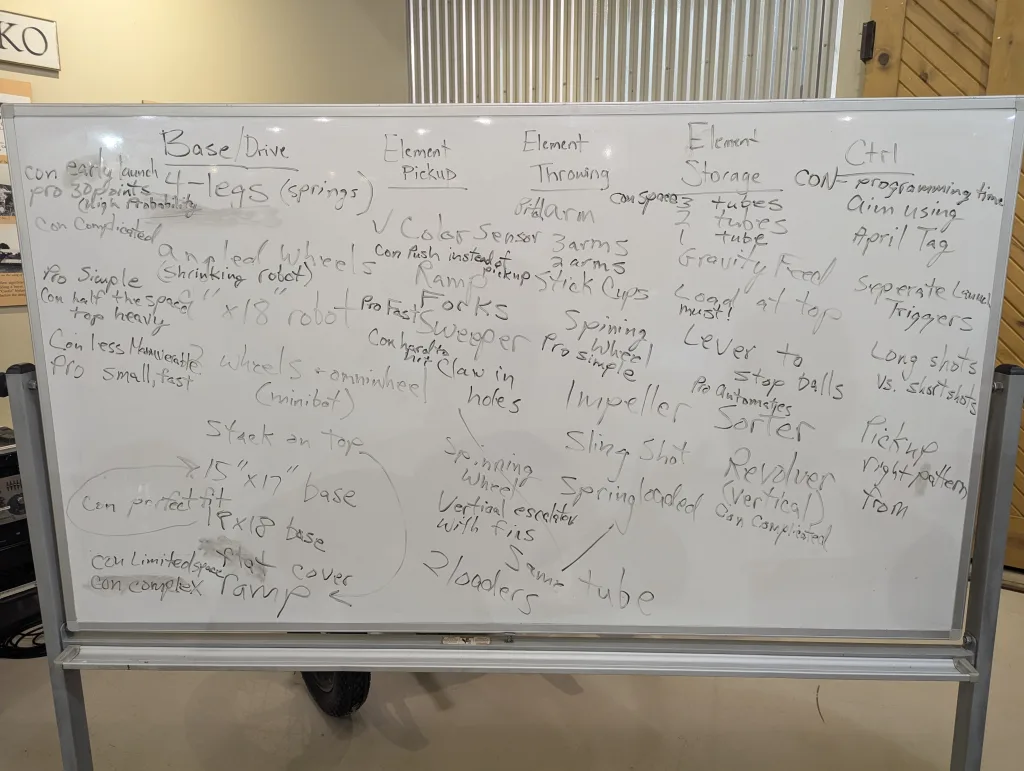
Funneling
After narrowing down our ideas, each member drafted a basic outline of how they thought the robot should be laid out. From there, we pulled the best ideas from each draft to come up with a final design concept as follows:
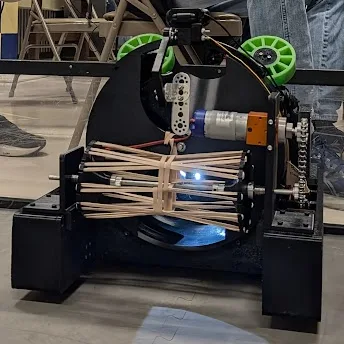
- A “sweeper” to collect artifacts
- A “revolver” to sort and index artifacts
- A two-wheel launcher to shoot artifacts
Quality over Quantity
This was the first question answered, “what game element do we want to prioritize?” We decided on making correct patterns to edge past teams that just go for quantity. Most of our design was based on completing this task.
Growth from Past Years
Compared to previous years, where nearly zero brainstorming was done, we spent a dedicated 3 practices to brainstorming solutions to this year’s challenge.
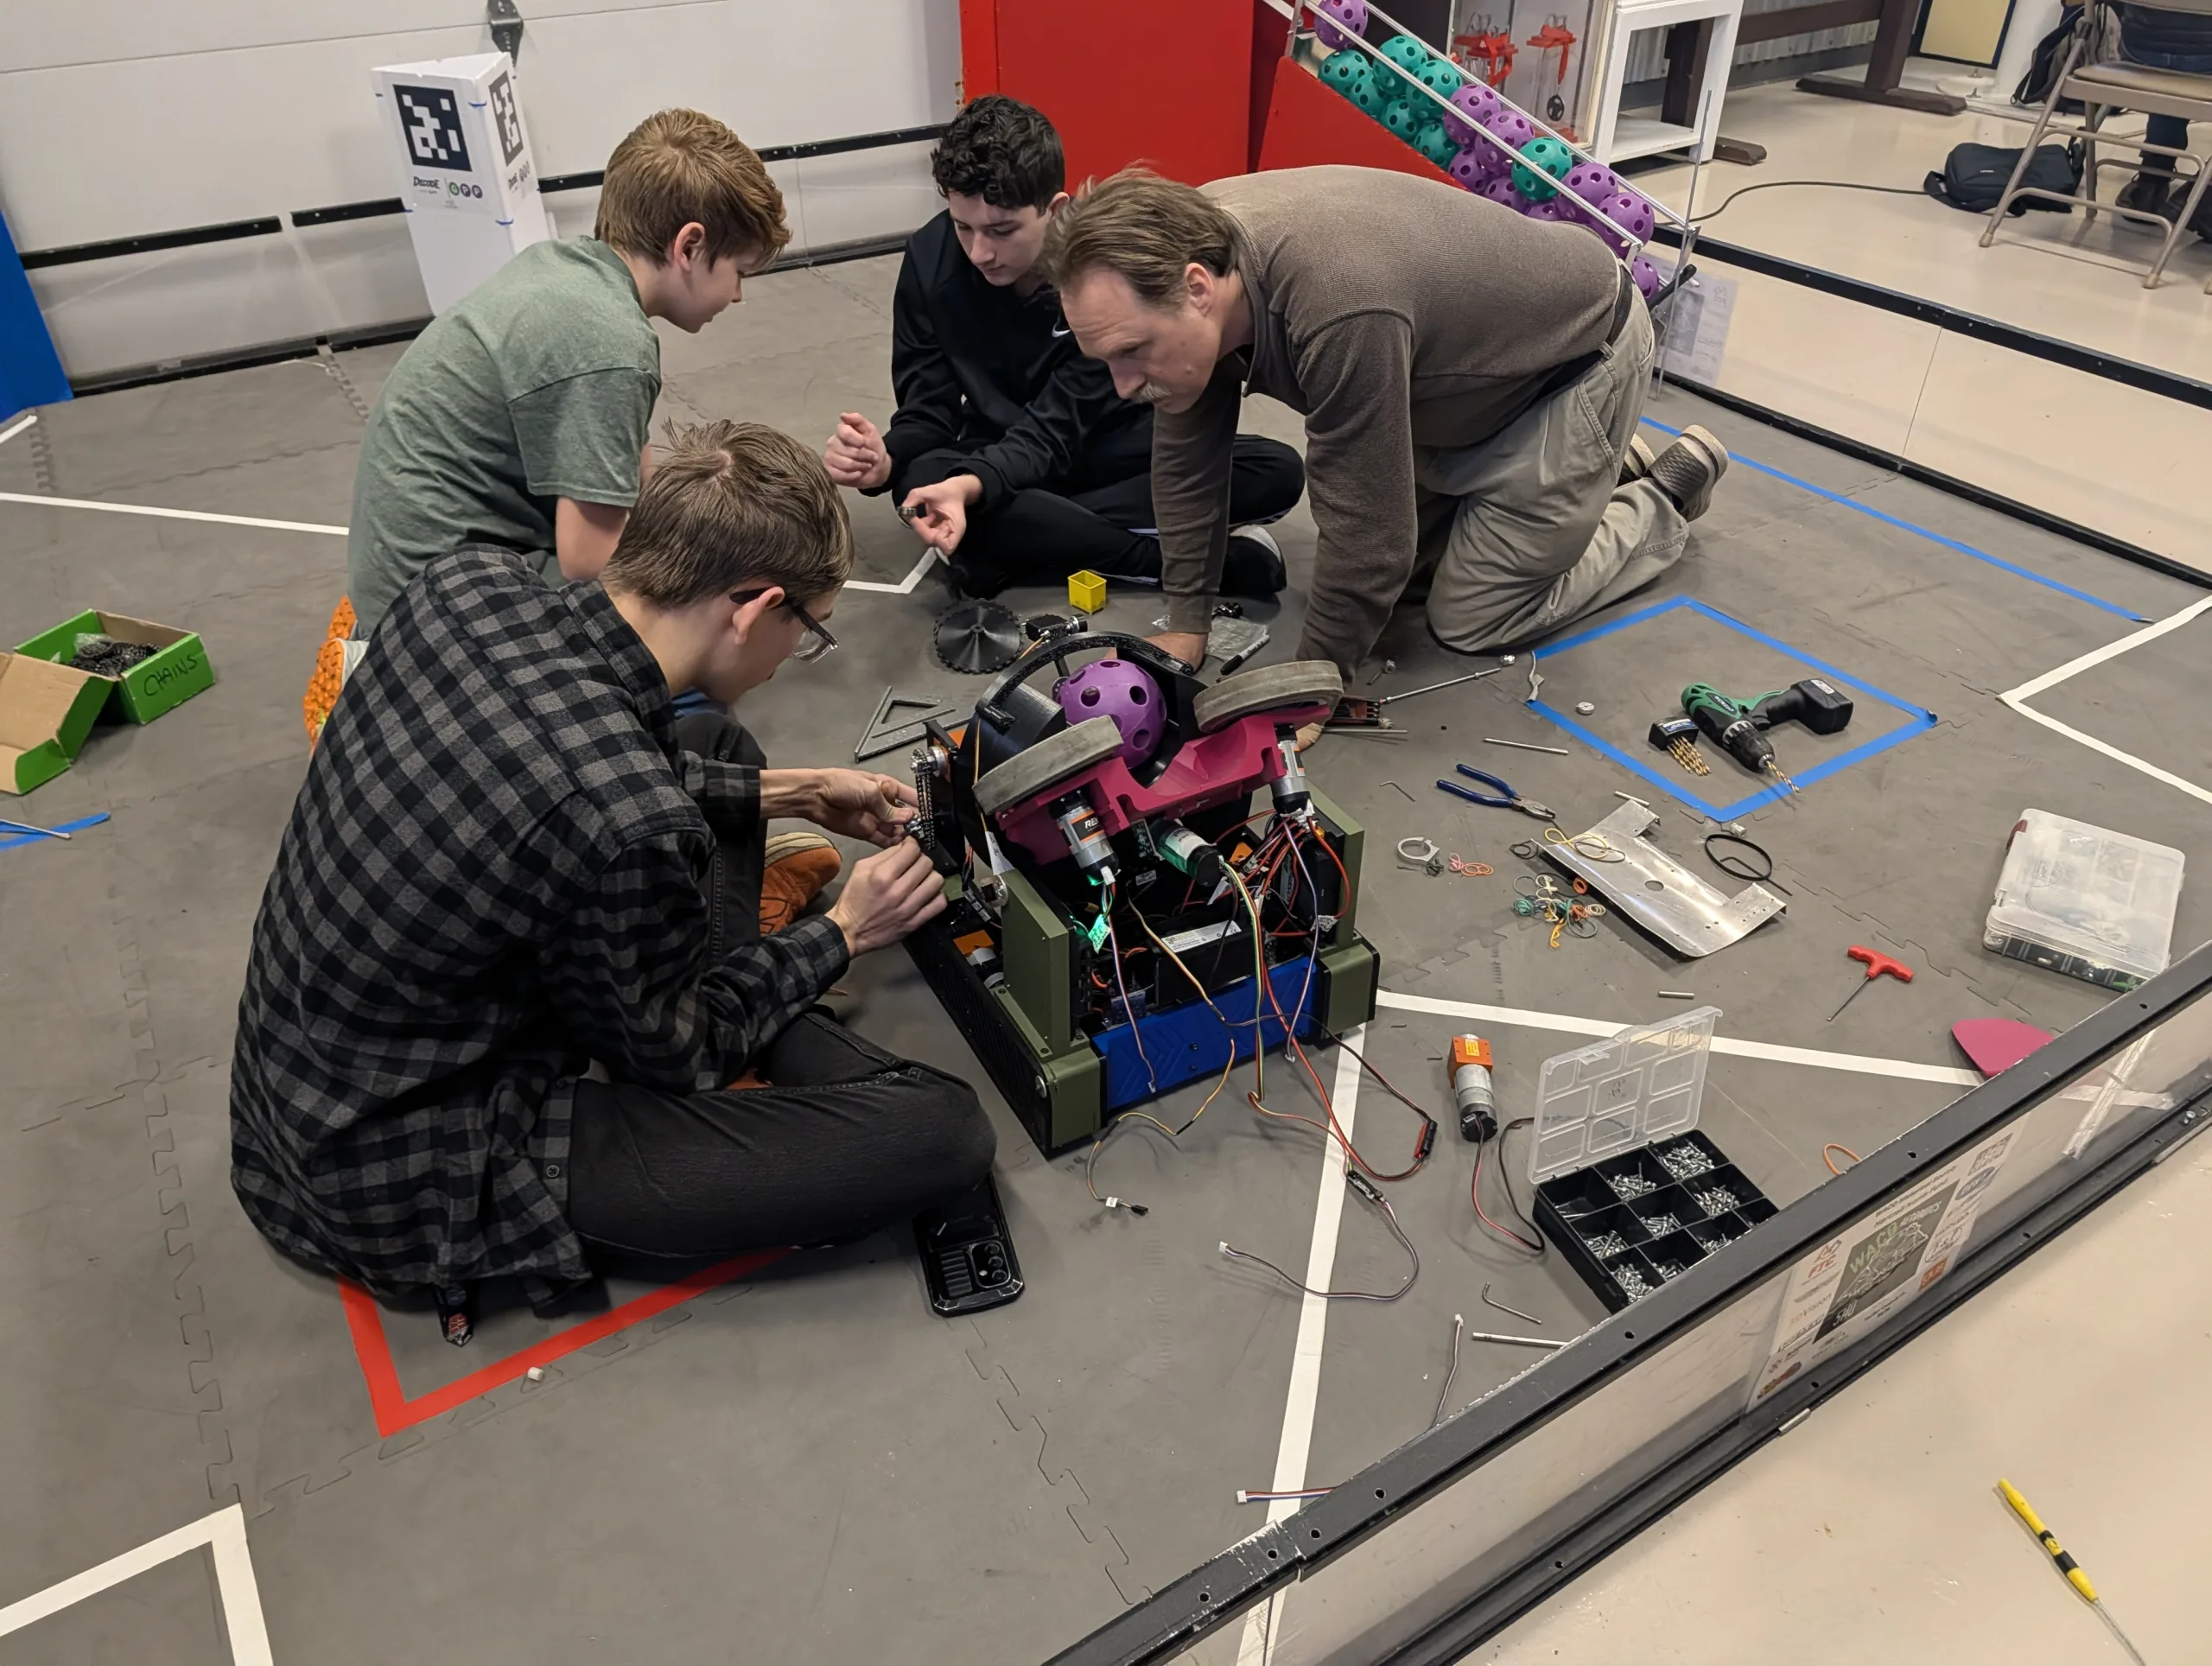
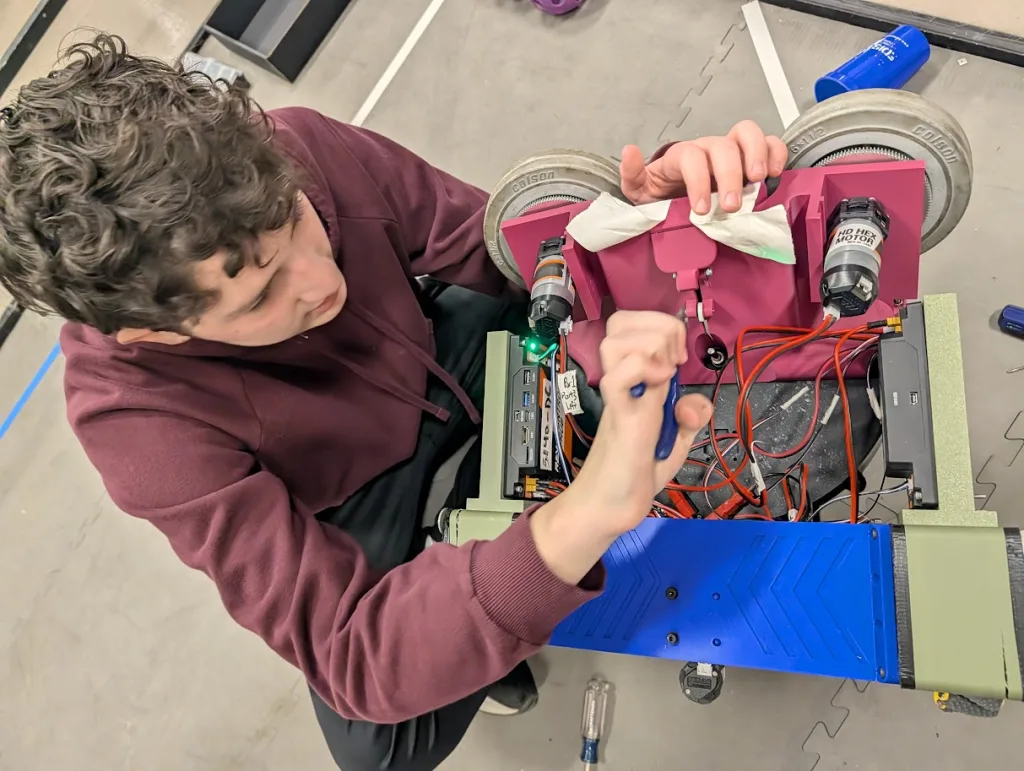
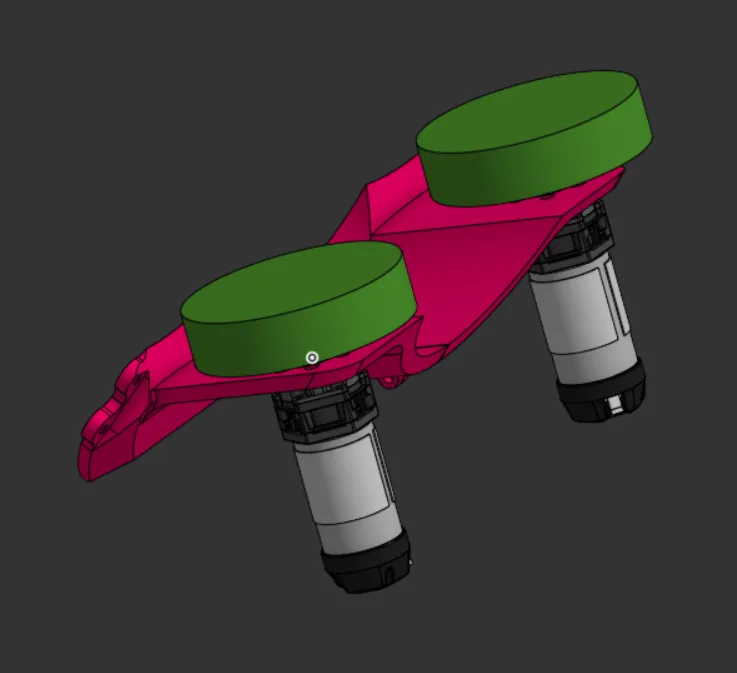
Design and Build
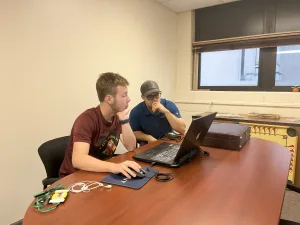
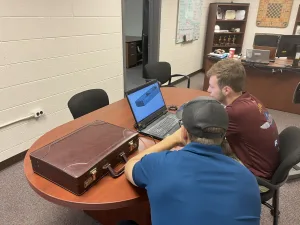
After creating the drawings and settling on a design, our senior members put together a 3D model in CAD. Starting with a 3D printed drivetrain that was designed pre-season, we added the intake, indexing, and firing assemblies to complete the robot.
One senior member and one newer member were assigned to work on each subassembly. This way, senior members could maintain quality control, while also coaching younger members

CAD and Paper
Not everyone can work in CAD right off the bat, so many of our younger members created schematics on paper that could easily be translated into 3D.
Building Patience
Unlike last year, when we just threw our robot together, our team waited to design everything in either CAD or paper before anything was built physically

Important Lessons
- 3D printing takes a long time to prototype
- More initial designing up front leads to a more cohesive robot
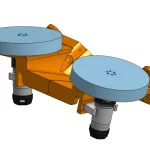
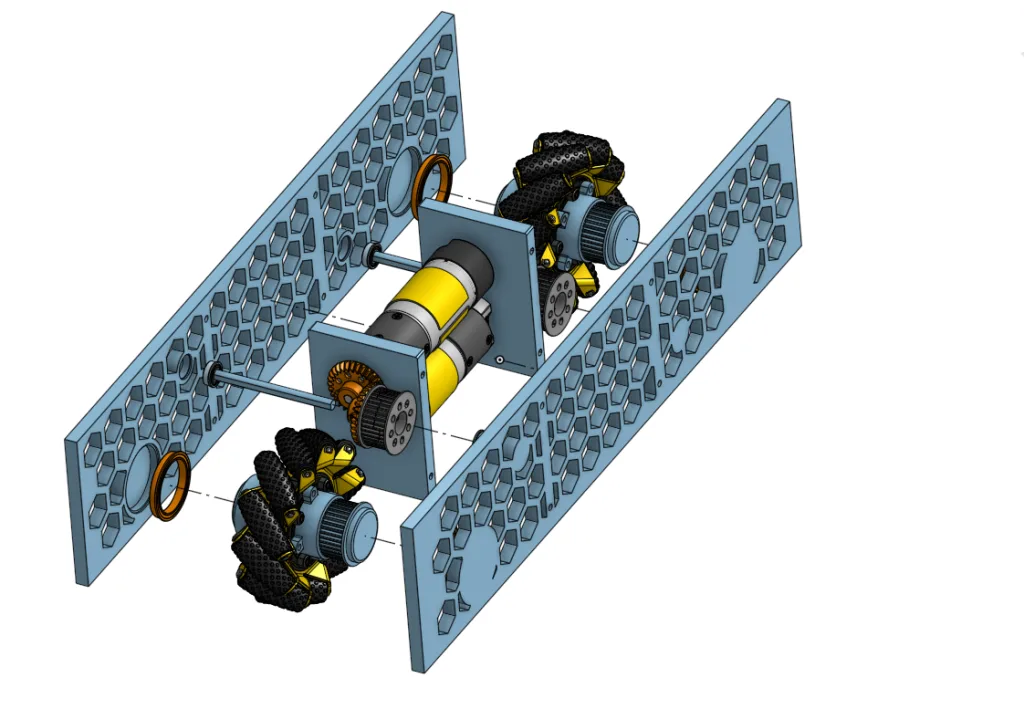
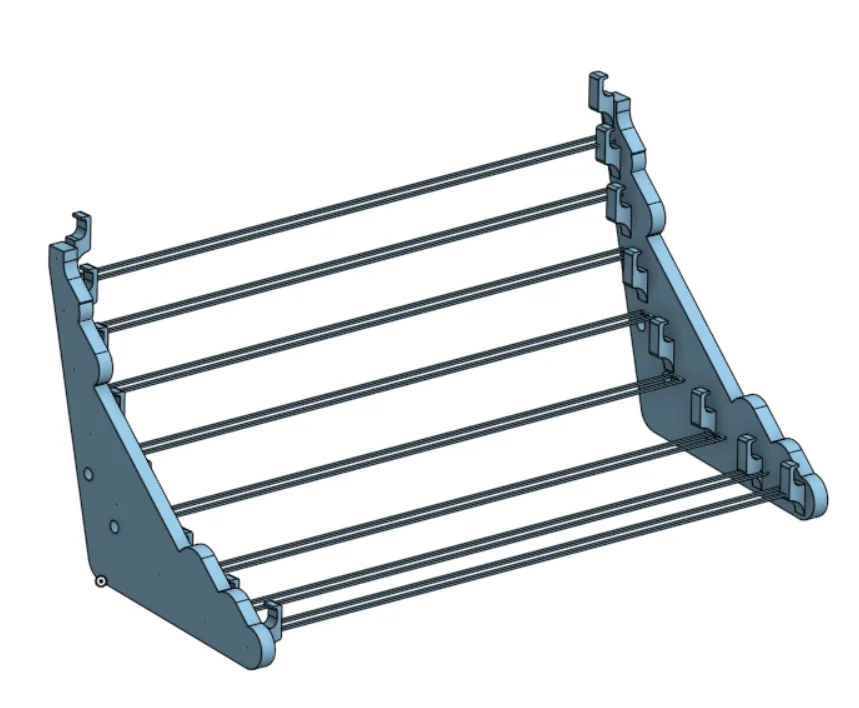
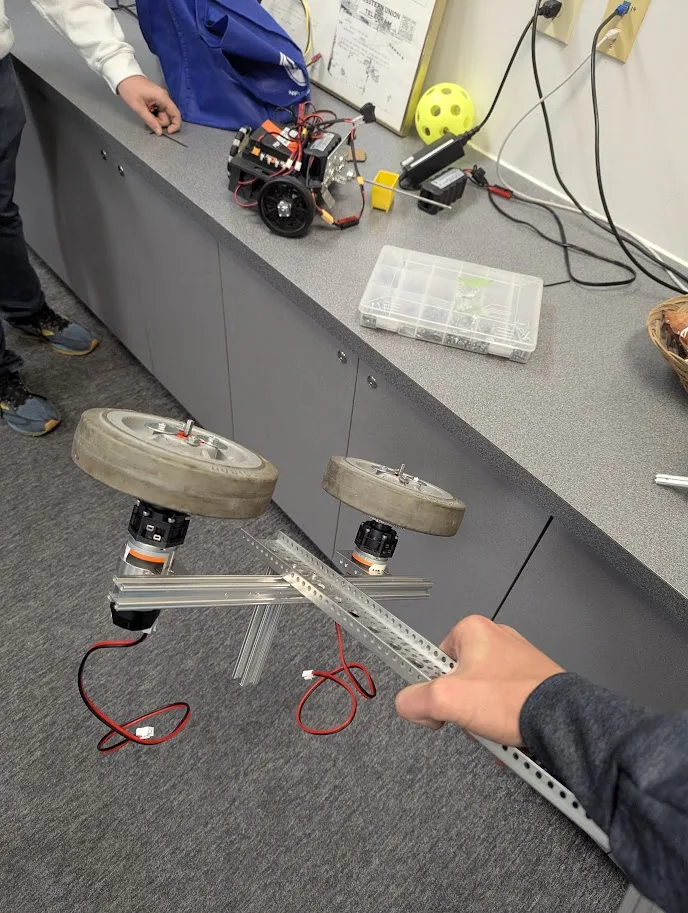
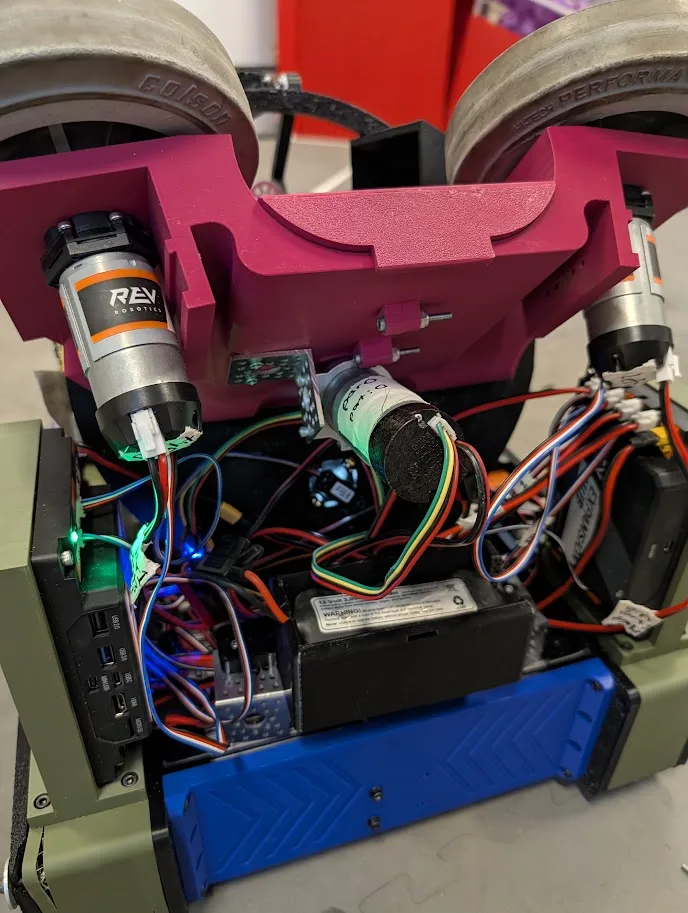
Drivetrain
One of our biggest problems in past was our drivetrain. It would take up 3-4 weeks to assemble it after kickoff. It also was always rushed and turned out bulky, getting in the way of the components on top of the robot.
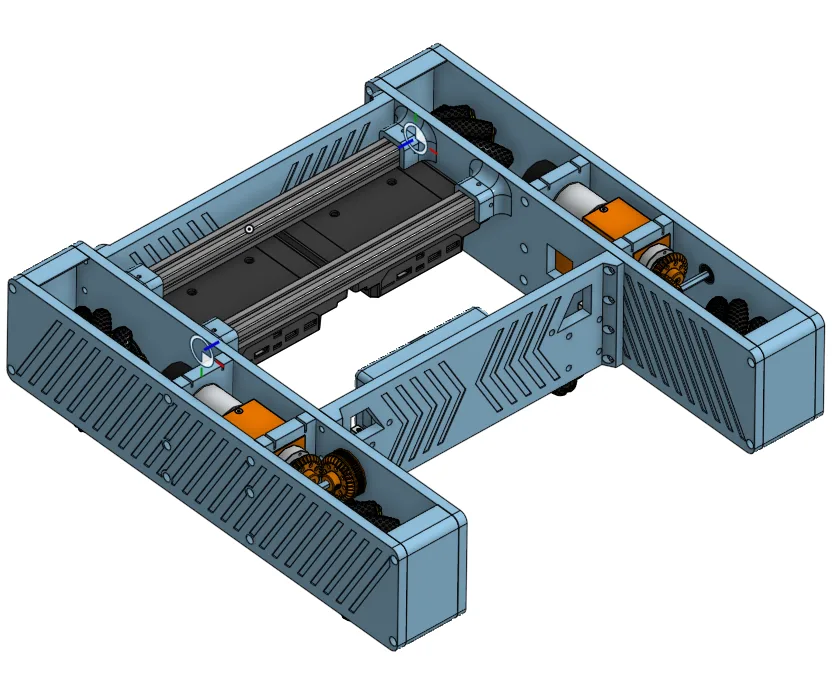
The solution was to start before kickoff. Therefore, in June of 2025, we started the design and build process. After much testing and ordering parts, the team had a functional 3D printed base before kickoff.
Professional Discussion
We consulted one of our Sponsor’s Engineers who advised on pitfalls to avoid during assembly.
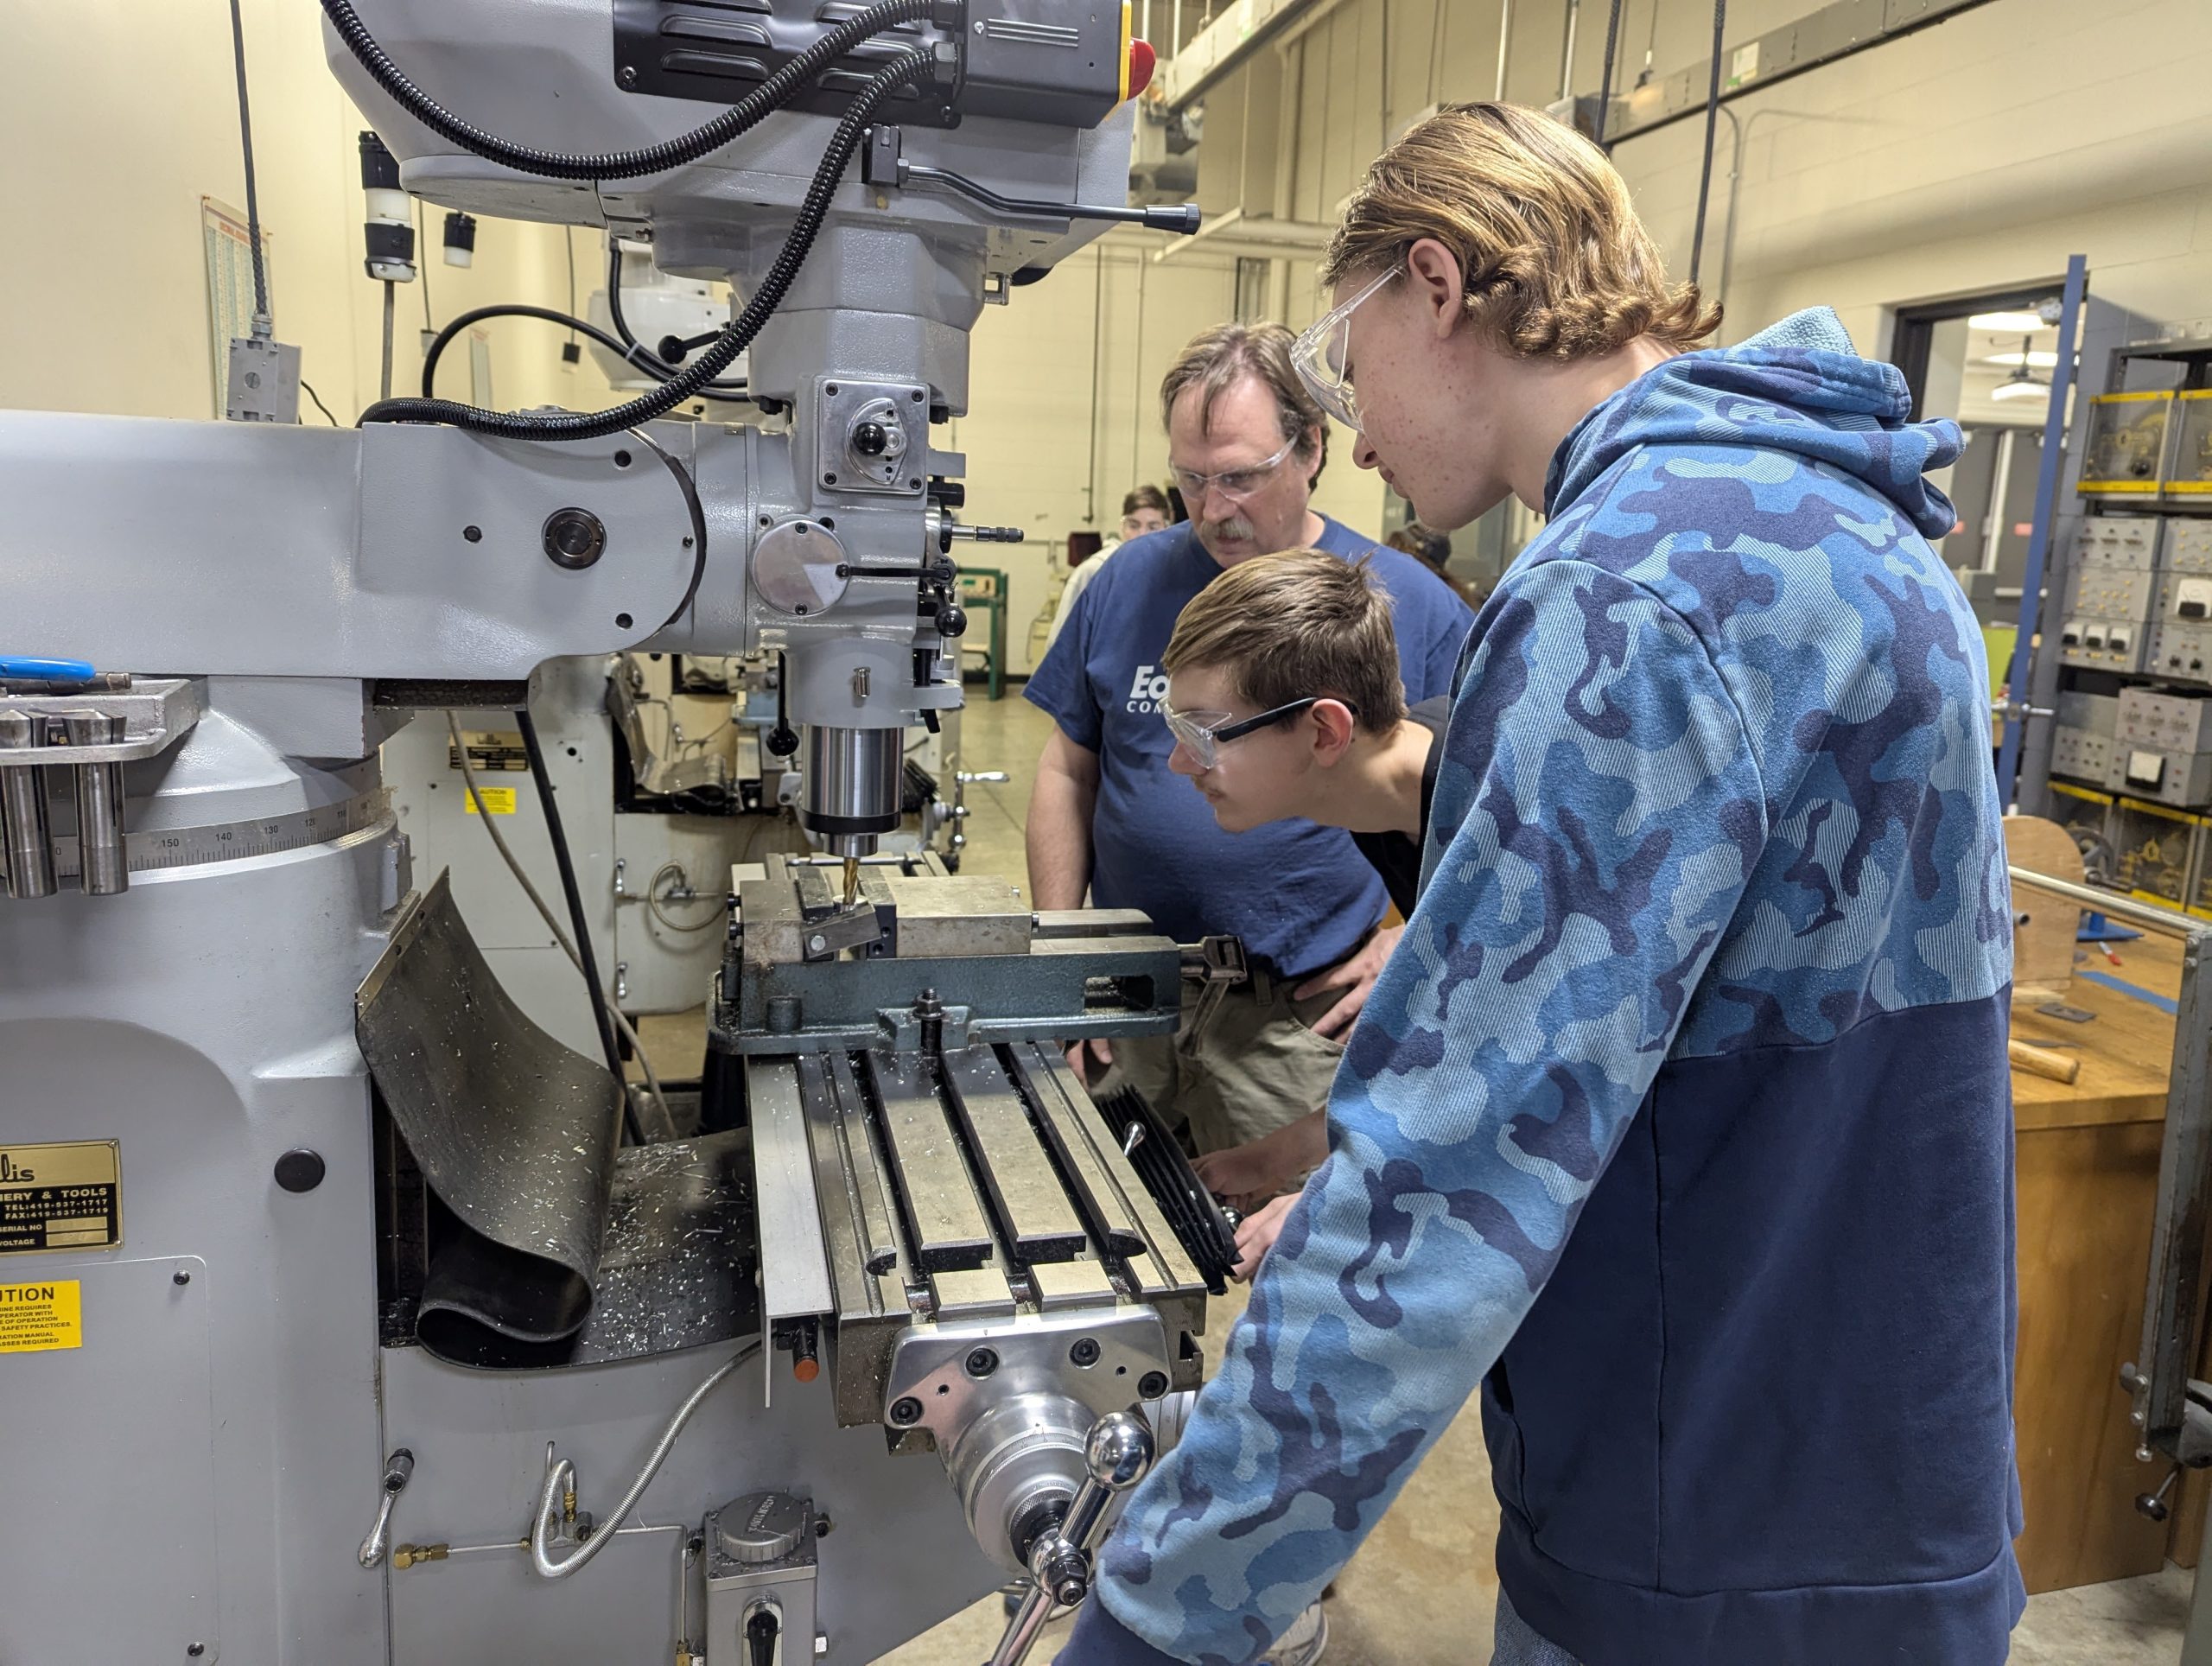
Learning CNC
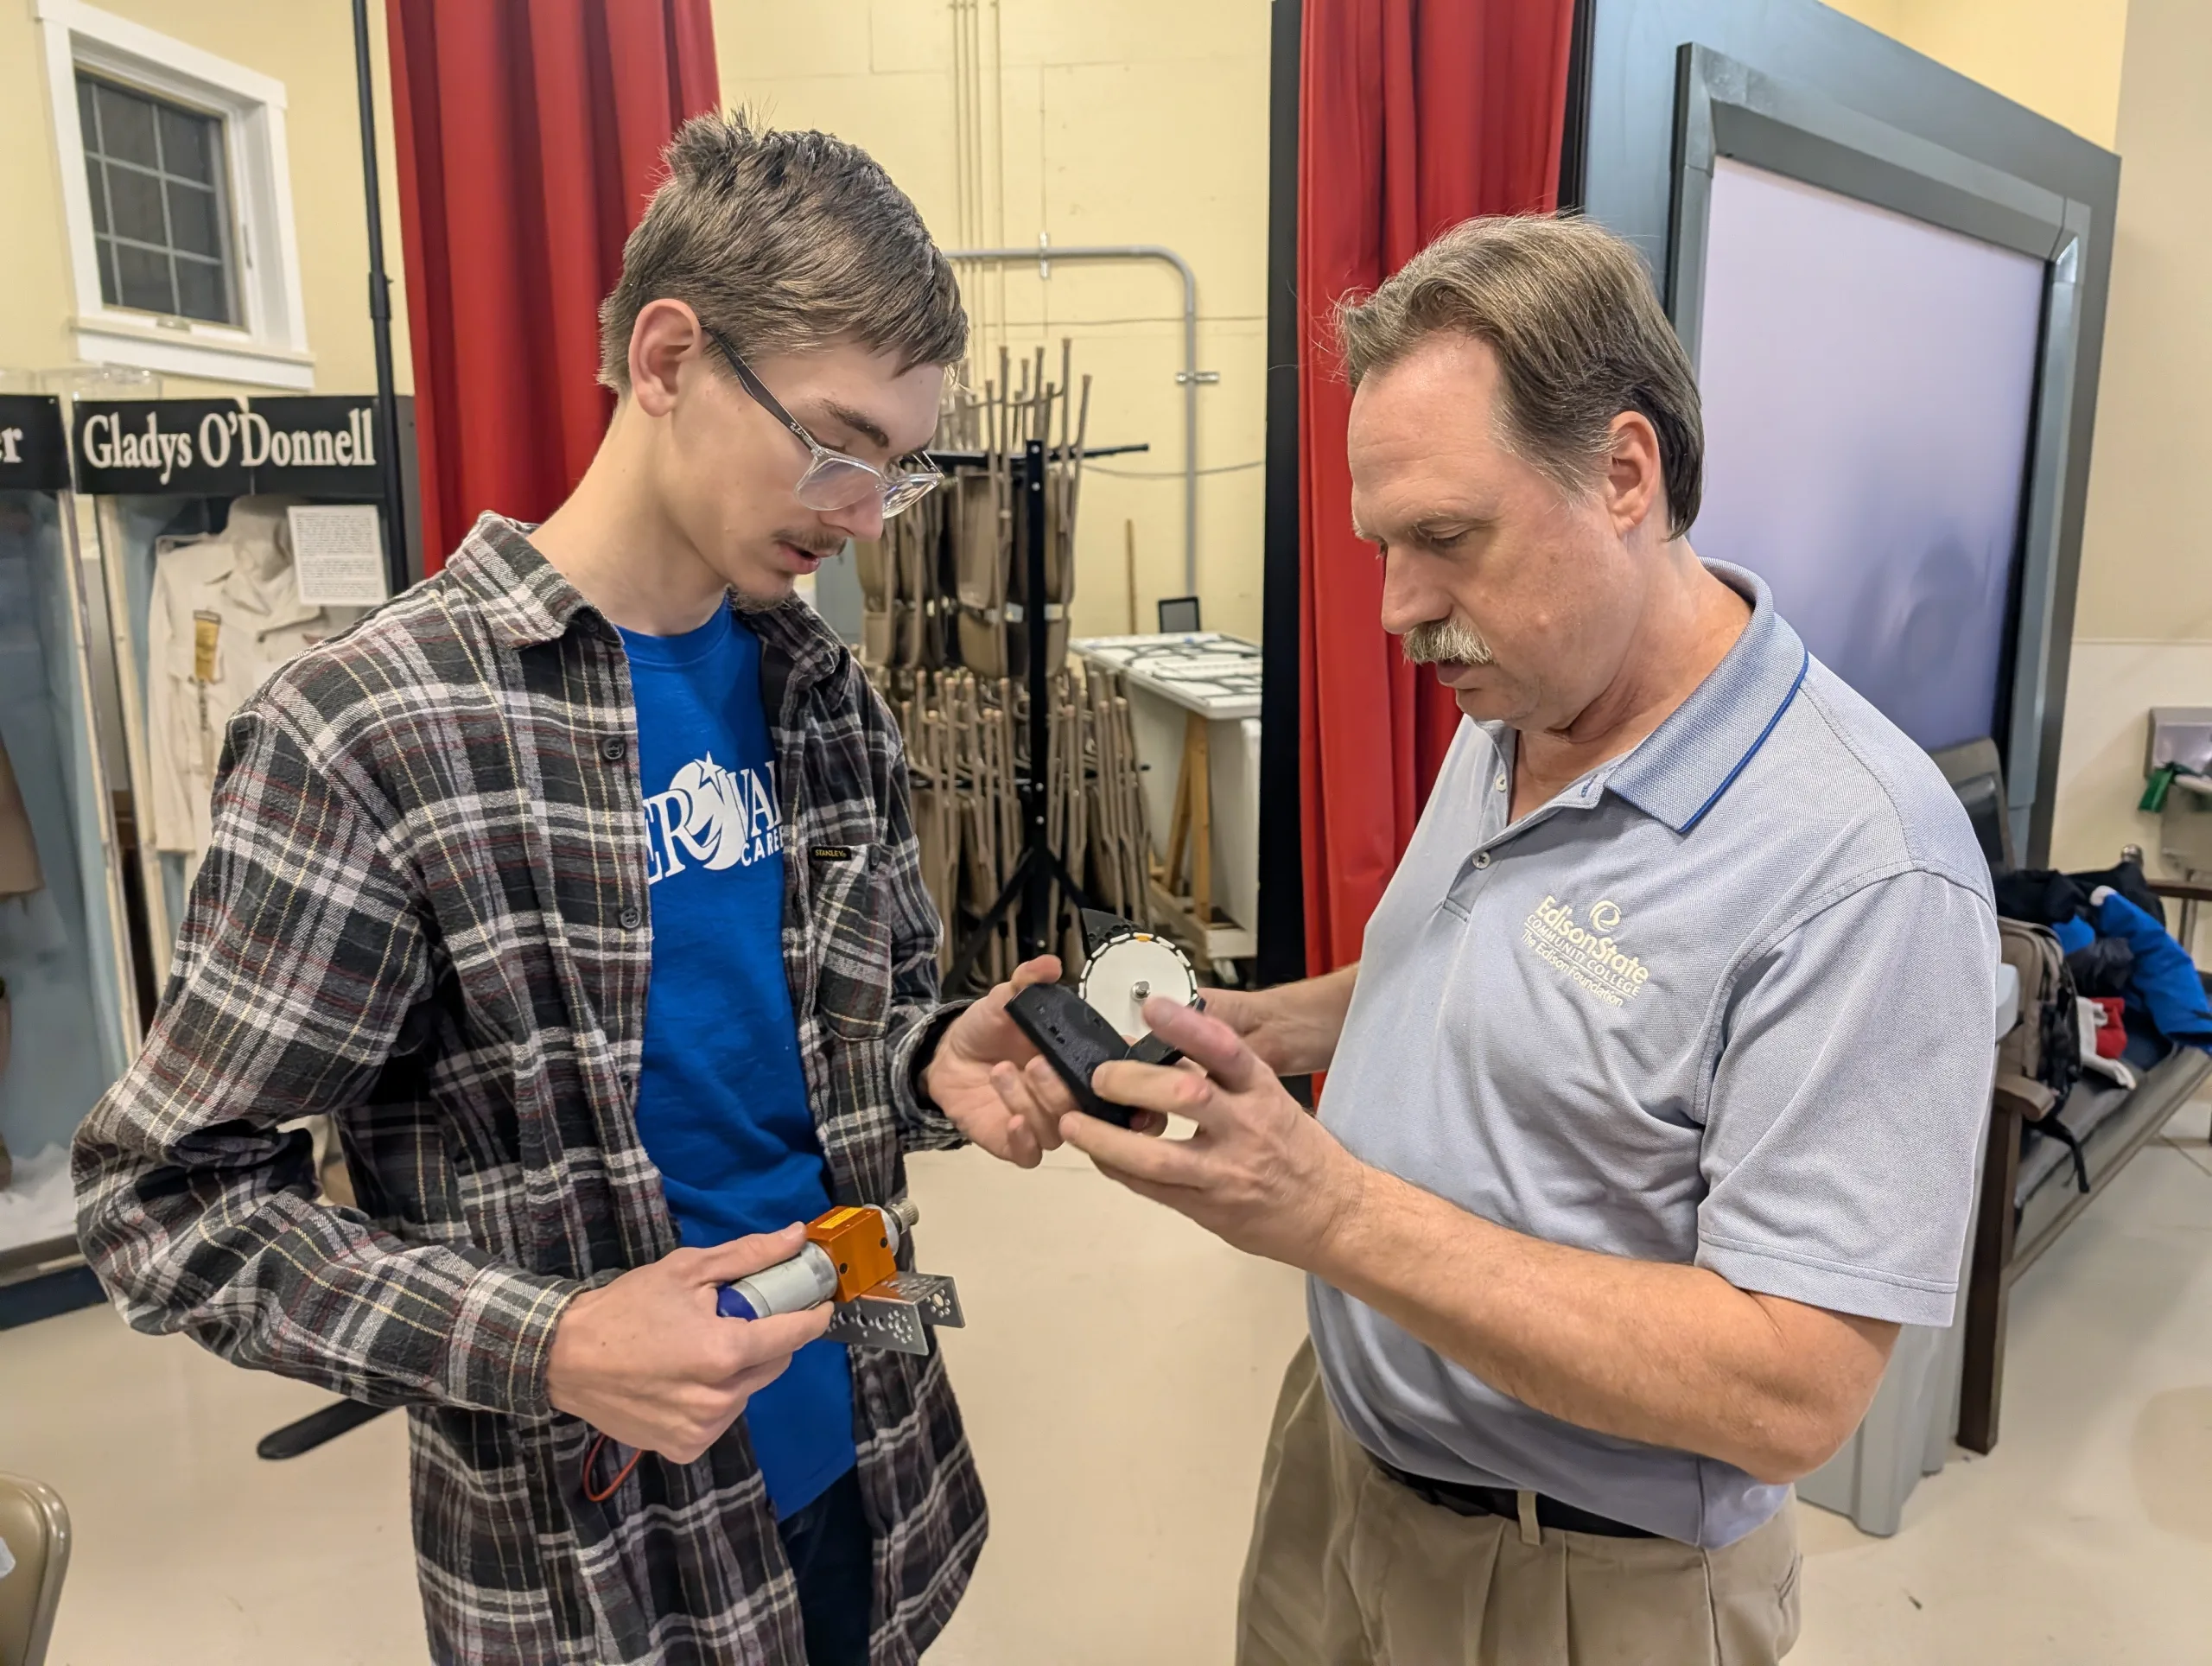
A problem with buying off brand gearboxes was their nonconformity with GoBILDA wheels. To fix this we asked Edison Community College to teach us how to CNC our own parts. The team took a day and made our own CNC adapters for our wheels.
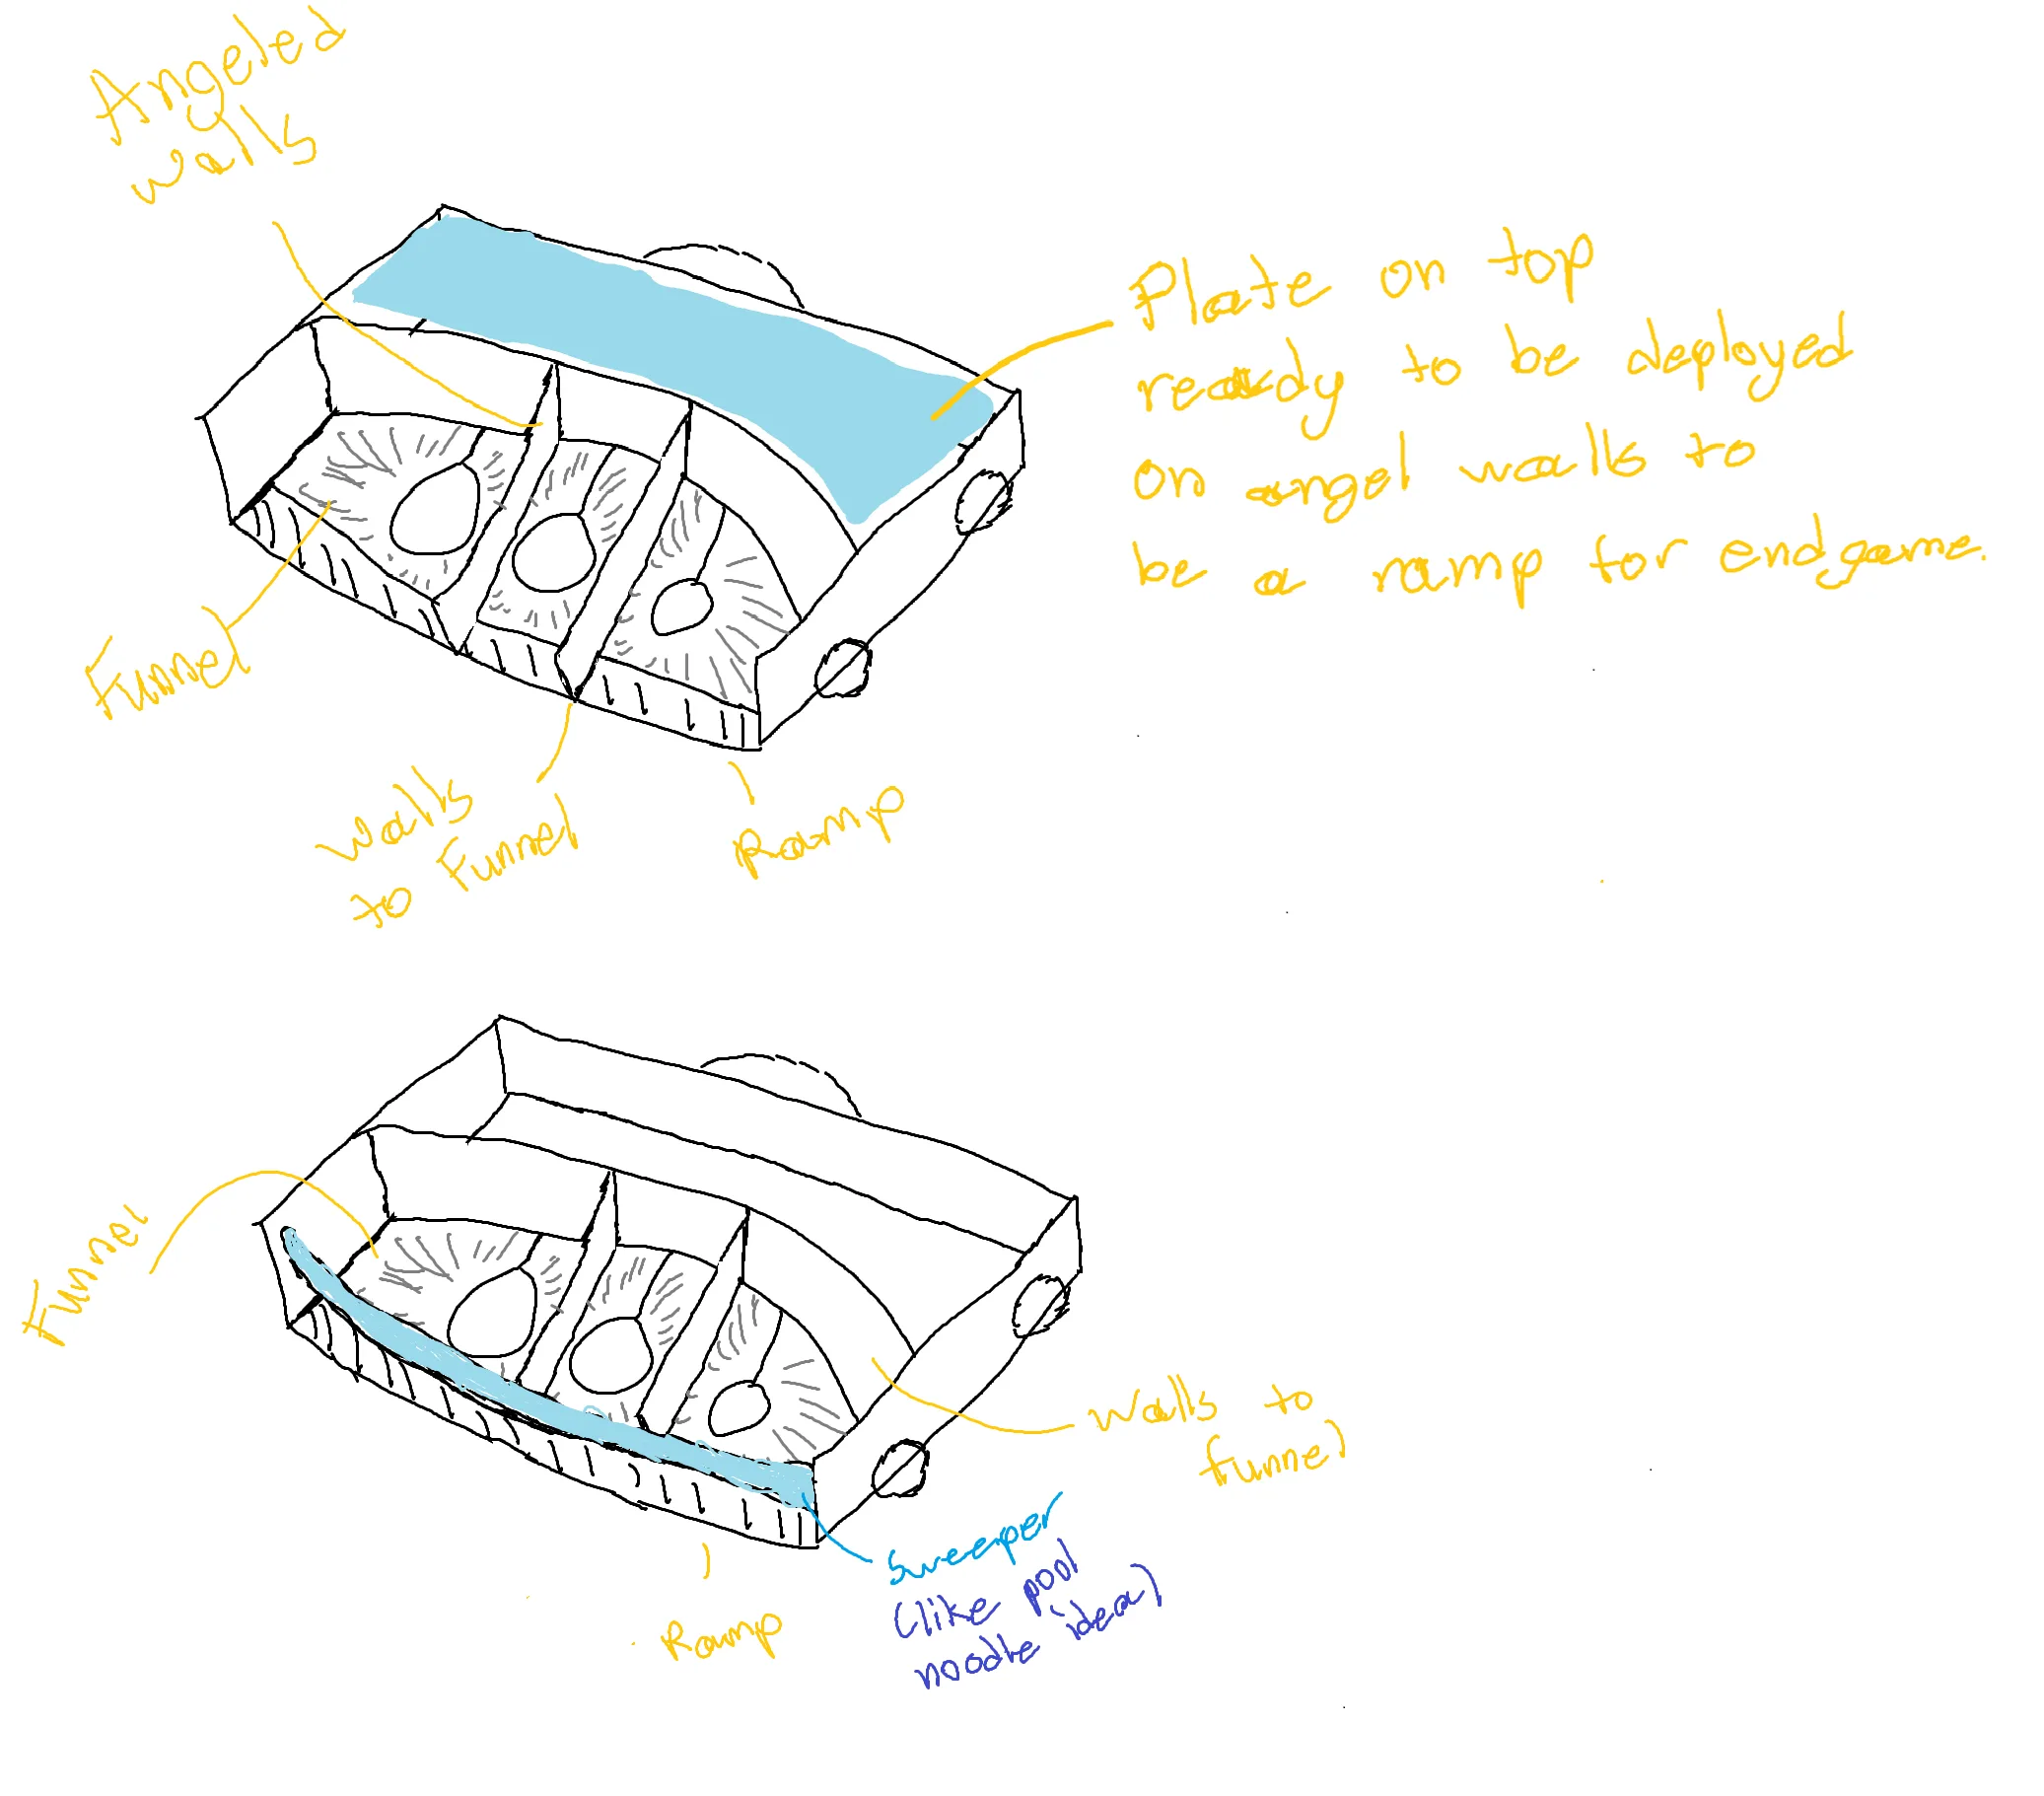
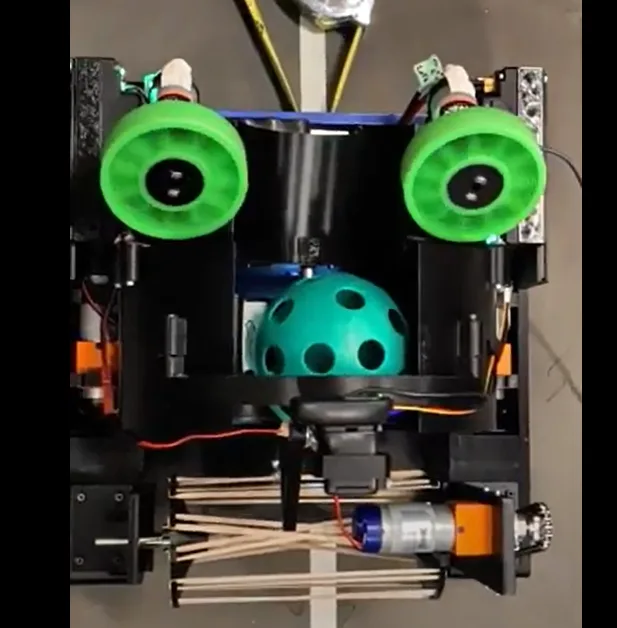
Sweeper
Lead Builder Jordan and First-year Maddox worked on the design for the intake.
Our “sweeper” team was inspired by the rotating brush of a vacuum cleaner. The biggest challenge was enough space to retrieve a 5 inch ball into the robot. To fix this we opted for rubber bands which responded well to the ball and gripped far better than a solid wheel.
In addition to the “sweeper,” a ramp was designed following the same idea as the sweeper. However, this proved to be ineffective and the final design opted for a solid ramp modeled around the ball.
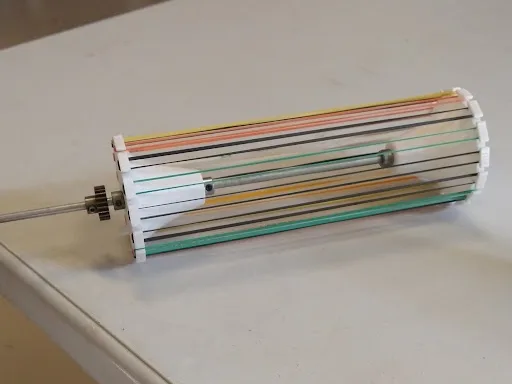
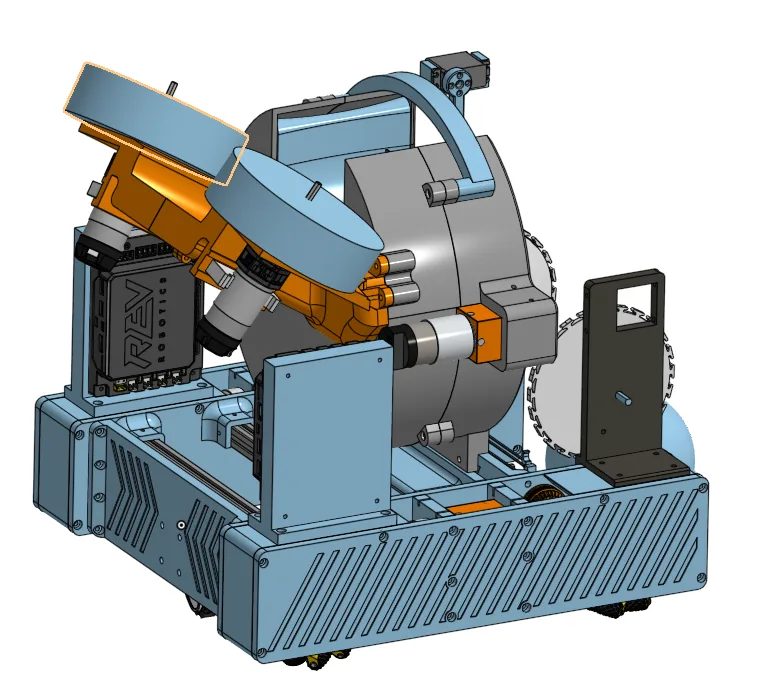
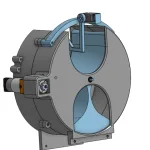
Revolver
During our initial brainstorming, we decided that we wanted to solve one of FTC’s biggest goals; completing the motifs. We went about this by forming a “revolver” that could allow the drive team to select the correct ball to complete the motif.
The revolver sits prominently in the middle of the robot and is the connecting link between intake and output. The design team had the challenge of communicating with other component designers the most.
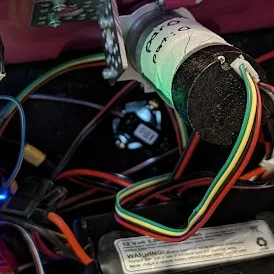
The first model of the revolver had two major problems. Both made the drive team work harder. To fix this we swapped in a positional servo and a color sensor to allow make indexing 100% automated.

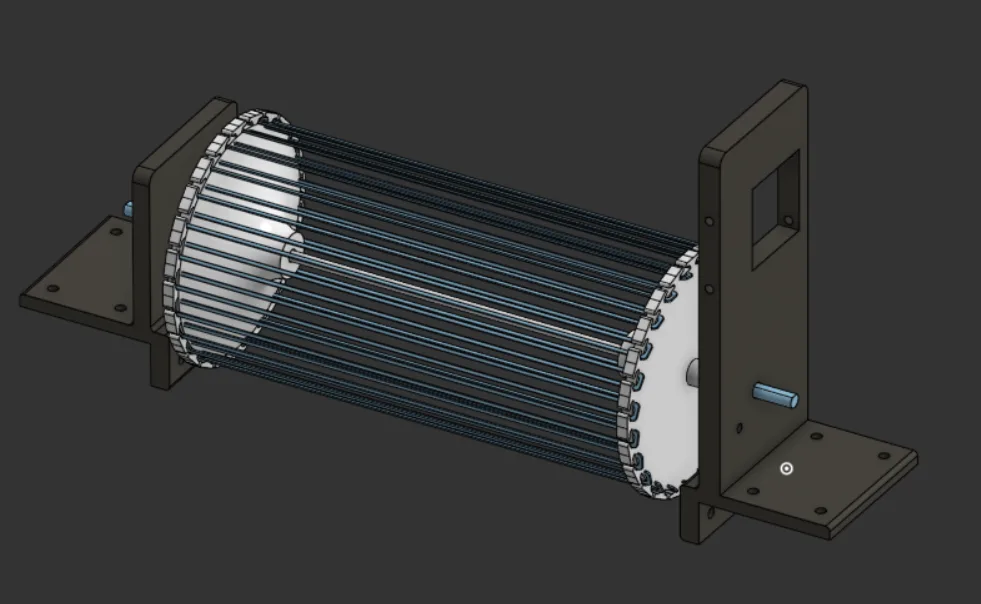
Launcher
Second-year Eric and first-year Jude were assigned to the development of the Launcher.
As the most immediate step in scoring, the launcher is one of the most important parts of the robot. Without it the simplest goal set by FTC this year is unattainable.
The design team decided to make a 2-wheeled launcher for more power and faster throughput. An exercise in rapid prototyping determined this to be a viable approach, then a fixed launch angle was determined for consistency.
Midway through testing, the launch team discovered that our motors were too slow to launch artifacts effectively. To fix this, new motors were purchased with sponsor money to more effectively propel artifacts.
The launcher team went through the most testing and revisions. There were over 10 branches in design just for the launcher.
Controls
| Driver 1 | Driver 2 | |
|---|---|---|
| Left Joystick | Mecanum steer forward, back, strafe left/right | – |
| Right Joystick | Mecanum drive rotate left/right (yaw) | – |
| D-Pad | – | Step revolver up/down |
| A | – | Spin revolver to next loading position |
| B | – | Spin revolver to next firing position |
| X | – | manually fire launcher at current velocity |
| Y | – | – |
| Left Bumper | – | Reverse direction of sweeper |
| Right Bumper | – | Ingest, spin up sweeper |
| Left Trigger | Reduce the drive train speed 25% | Auto-aim and fire launcher |
| Right Trigger | Set drive train speed to 100% | – |
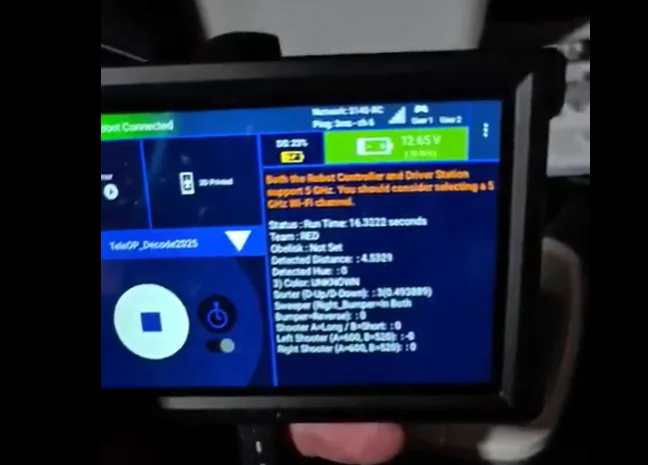
The controls featured are what our robot uses during TeleOp. Controls include speed settings, auto firing and auto aligning.
One of our coder’s prioritizes this year was to make the robot less dependent on driver skill and more on code.
Coding
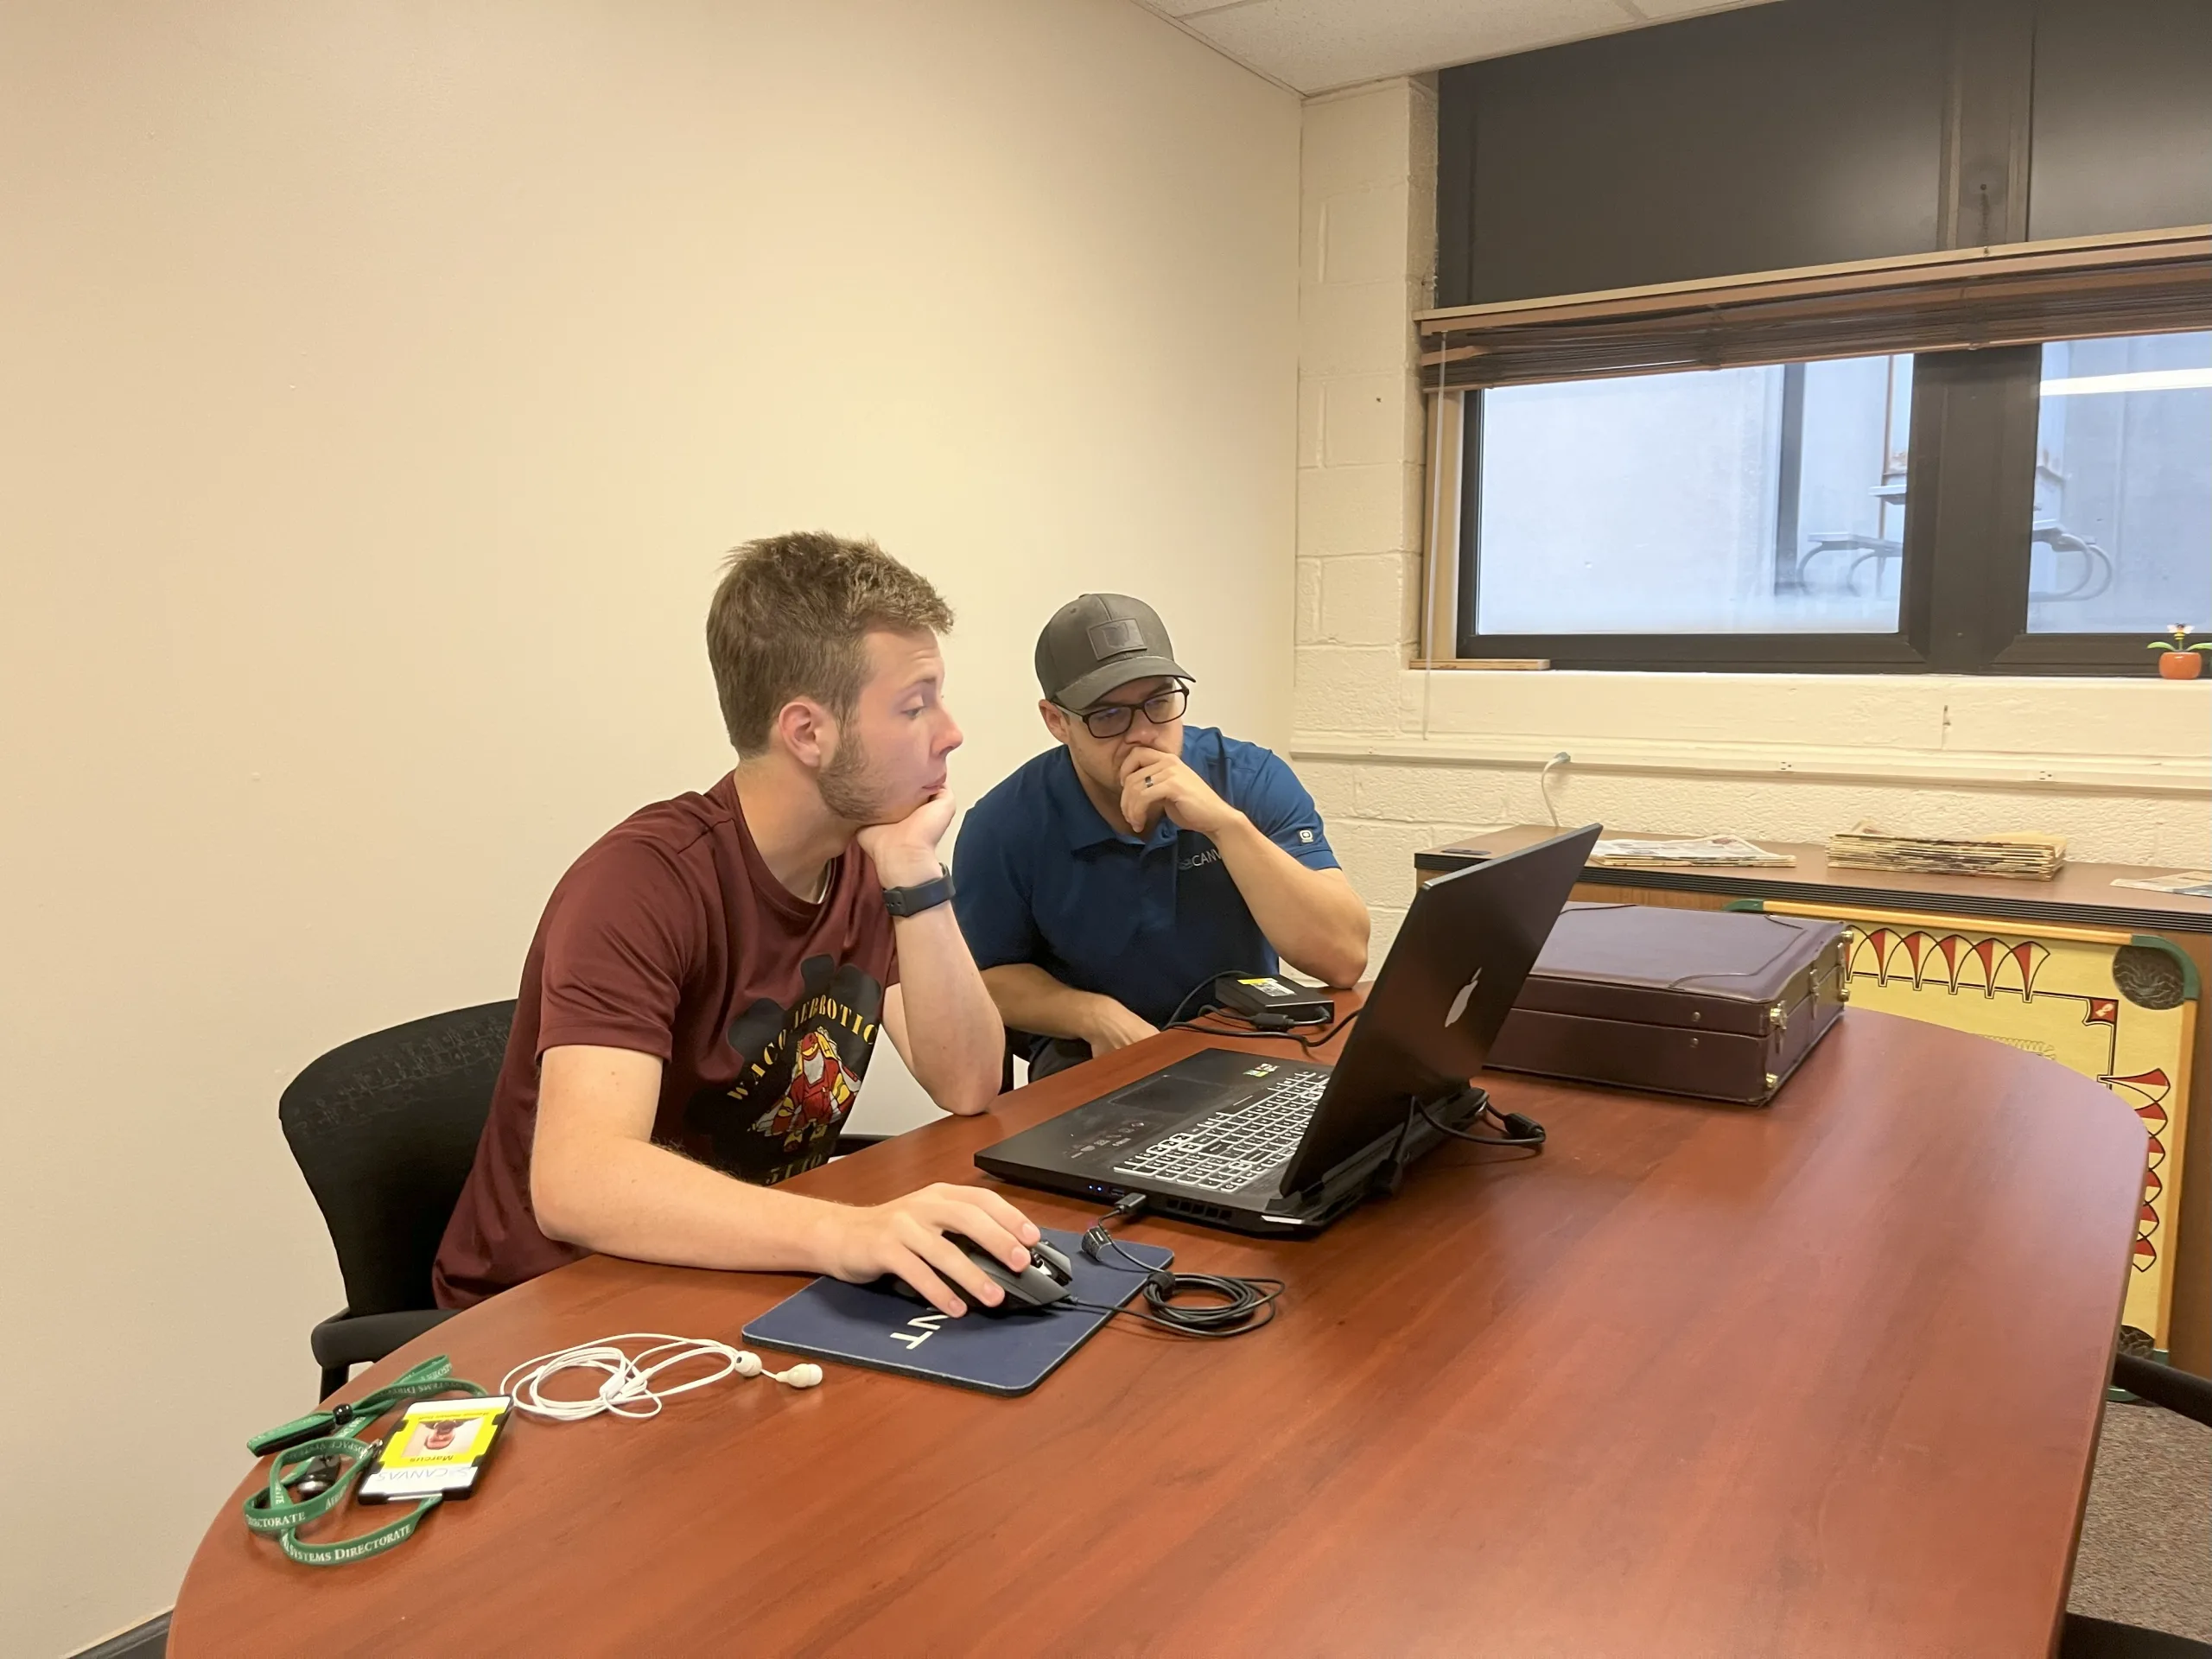
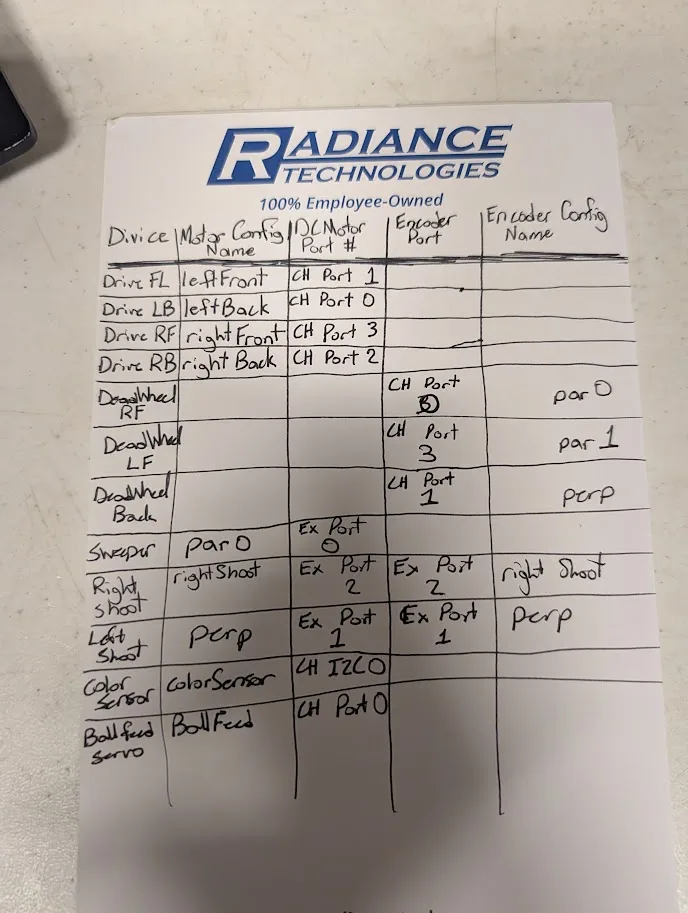
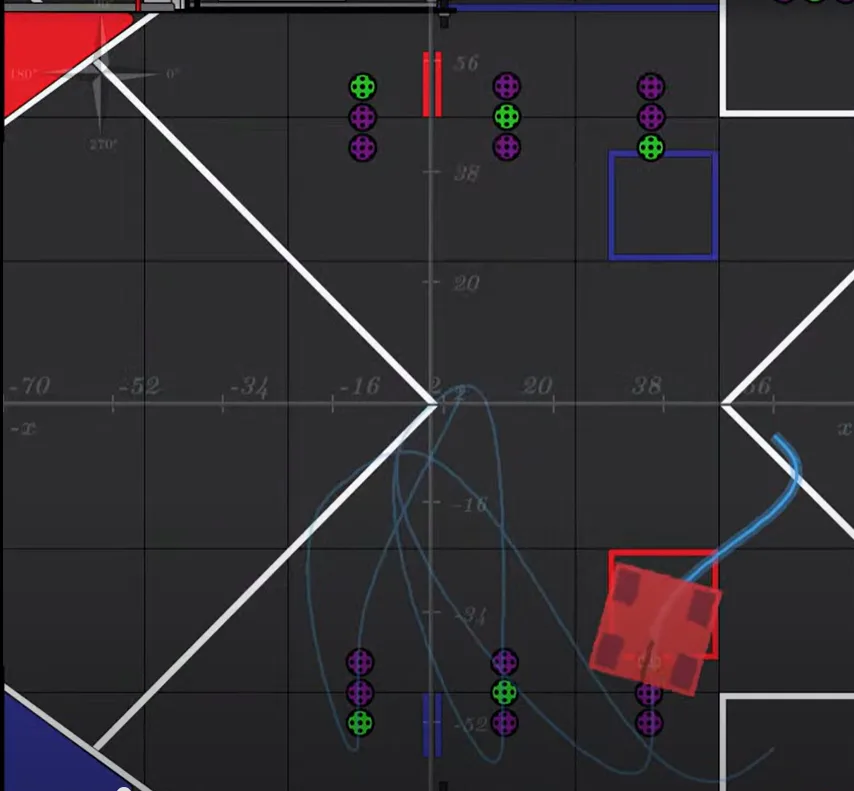
Developing robust robotics applications in Android Studio relies fundamentally on Java. Specialized frameworks, like RoadRunner, are key for efficient autonomous navigation. RoadRunner is crucial for precise control over complex drive systems, such as a mecanum drive train, ensuring accurate path following and sophisticated motion planning for autonomous operations. With RoadRunner, we were able to accurately simulate the exact route of our autonomous program.
Code was broken into various classes based on the system they interacted with: drive, intake, indexing, and firing. OpModes (TeleOp & Autonomous) wove those components together for the complete system.
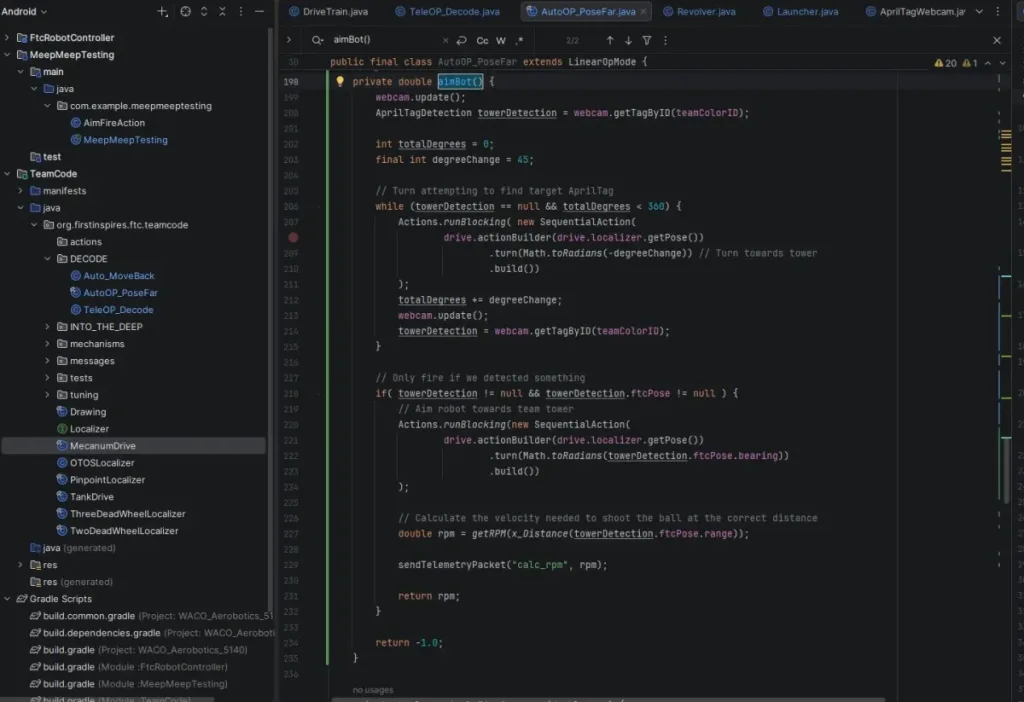
Our programmer was able to engineer an algorithm to utilize the FTC AprilTag detection data (range, bearing) to calculate the necessary velocity to spin our launcher wheels, reducing the potential for human error. Coupling this with an auto-tracking program, the system based on AprilTags is extremely efficient.
/
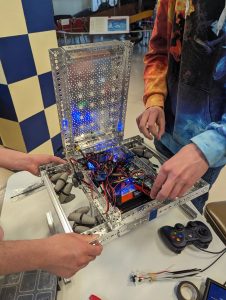
Final Assembly
All the parts of the machine are assembled to seamlessly work together, not as singular parts but as a machine.

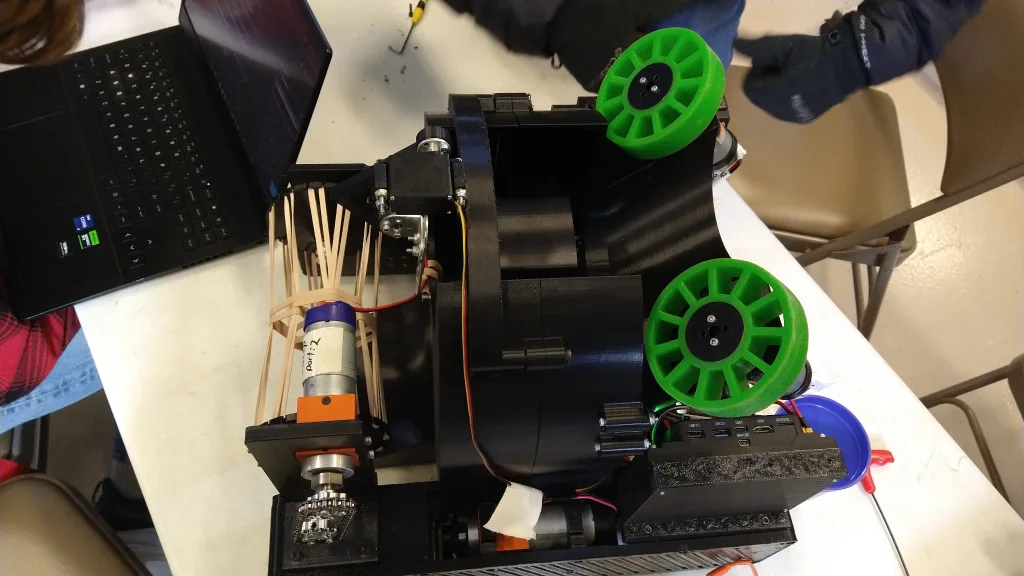
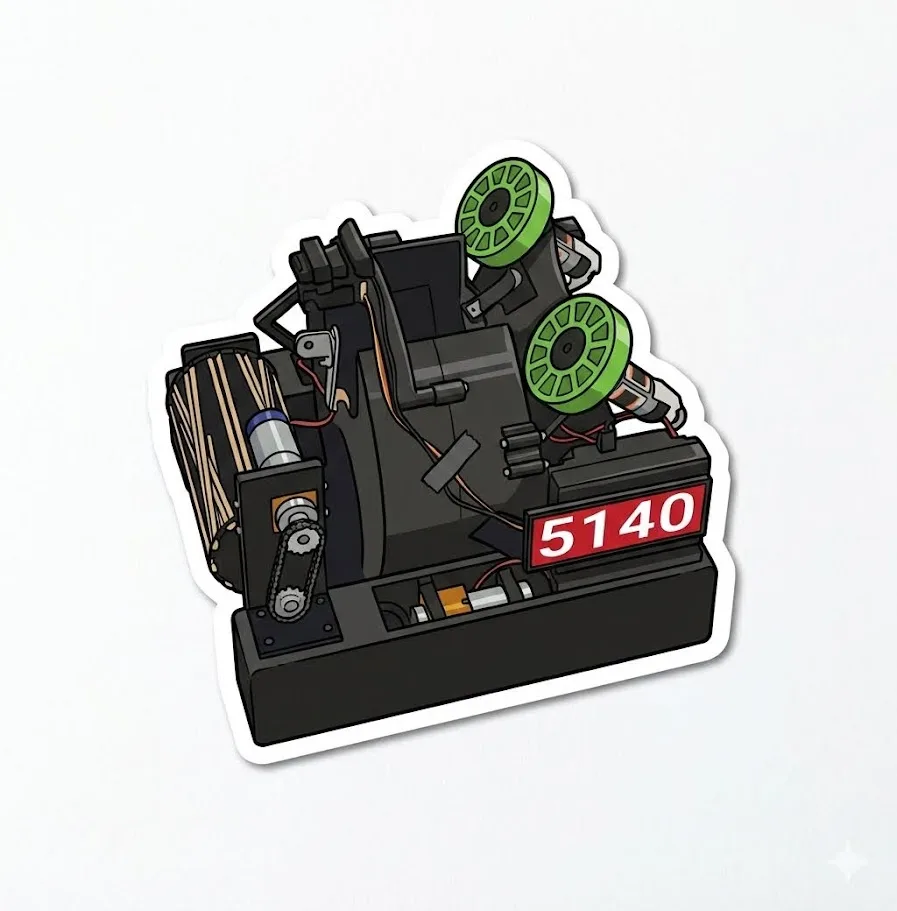
The robot is completely black with 2 accent wheels to draw the eye. It is a model of streamlined professionalism with modern simplicity and monochromatism. Every section has a purpose for the game strategy, solving a task set by FTC. The B2 Midnight is not only functional and effective, but sleek and aesthetic.
The B2 Midnight is very easy to understand having 3 main functions.

Testing and Revision
Does the Plan Work?
As the build team pieced together components, they tested their function individually before combining as a whole.
After testing, we repeat the process to make it more efficient and effective. We repeat this as many as 10 times to get the most effective robot possible.
Failure to Test
Our team made a key error when planning our timeline. We tended to test the robot as a whole, rather than first testing each component individually. This made testing slow and cost us time to code and practice driving.
Improvement Deadline
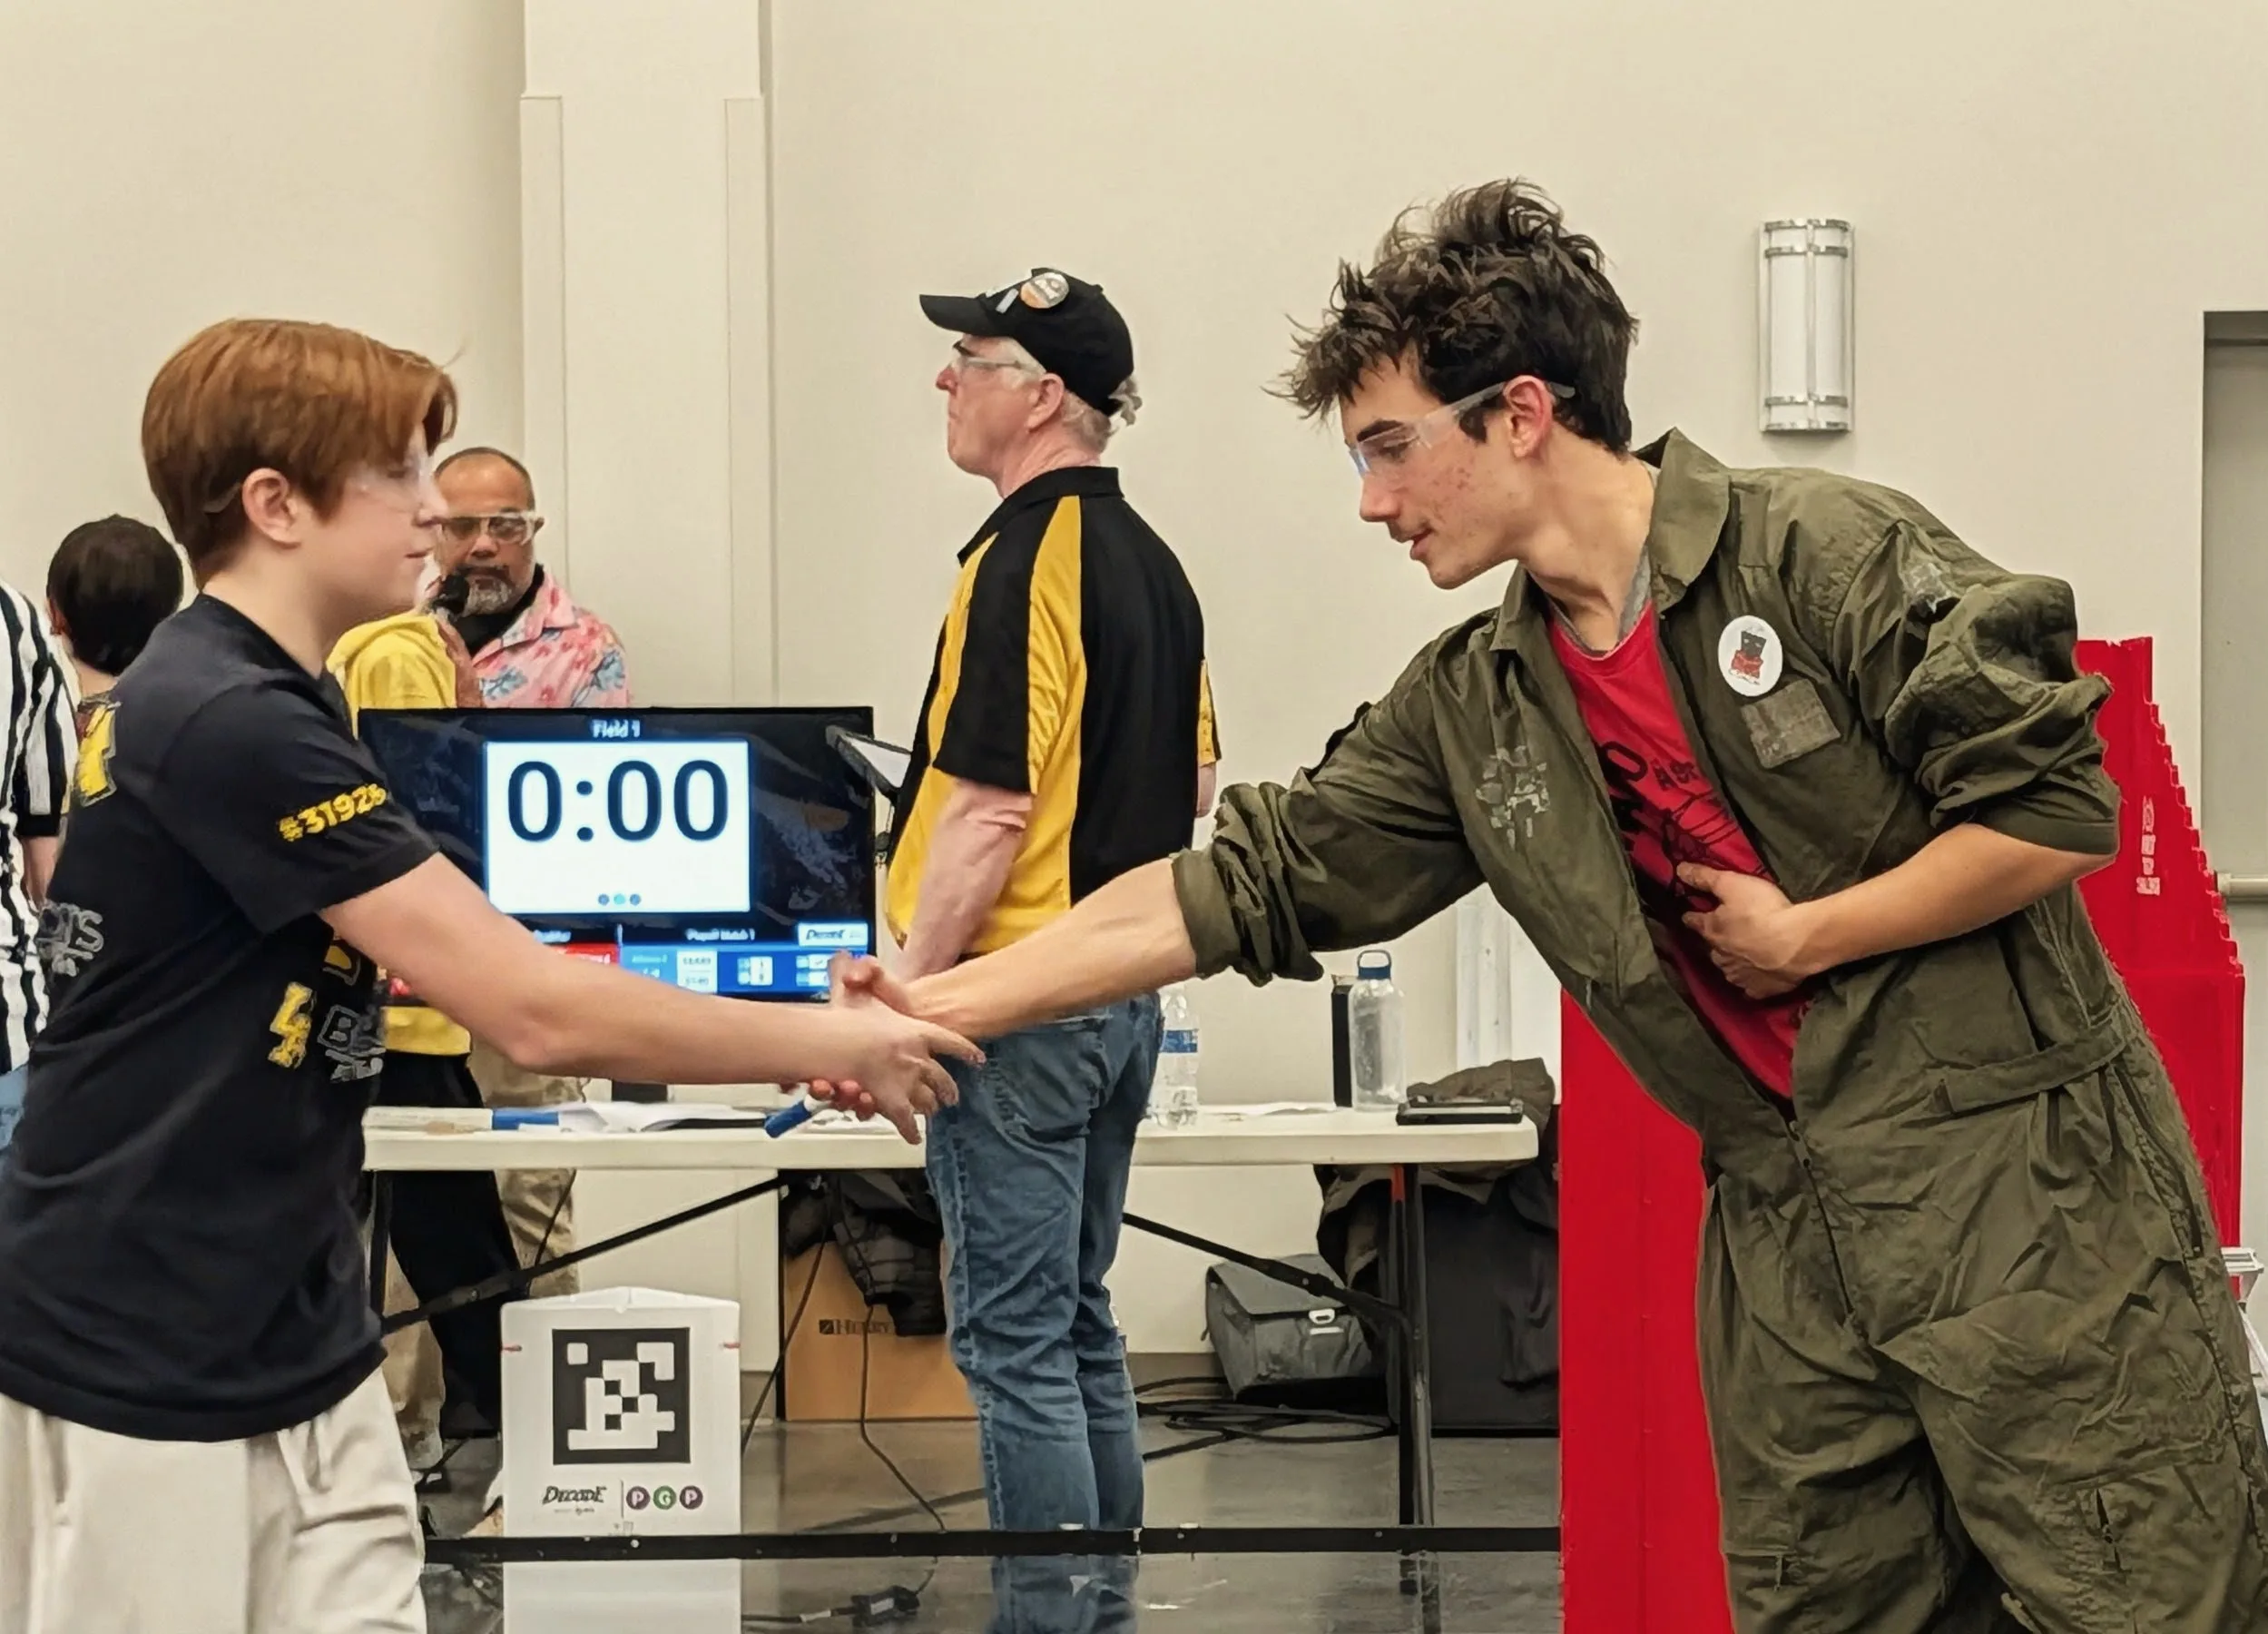
Following the competition in December, we immediately started a revision process with a deadline of having all mechanical revisions finished 7 practices before competition. We achieved this harsh deadline and experienced the most prepared robot in over 5 years.
The Whiteboard 2.0
After the first qualifier our team sat down and once again wrote all our thoughts. “What was needed to have us complete our team goal?” was our biggest question. After sifting through them again, the process started all over again.

Running the Numbers
| 16.1 Geared Motors | 4 |
| Servos | 2 |
| High Speed Motors | 3 |
| Weight | 23lbs. |
2,385
Lines of Functional Code
| 3 | Odometry Wheels |
| 4 | Encoder Wires |
| 1 | Color Sensor and Camera |
| 22 | Ports Used |
3 Indexed Artifacts
9 Seconds
87% Custom 3D printed Parts
54+ Hours spent in CAD
Max Launcher Speed: 20,000RPM
Max Launch Distance: 51ft
Accuracy: 95%

If not restricted, the launcher can cause serious damage to artifacts!
This formula was used to calculate the velocity of the launcher based off the distance from the AprilTag
