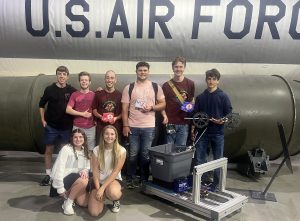
WACO Aerobotics students were approached by Mrs. Beal, a science teacher at Miami East High School to design and develop a STEM related project. Students elected to design and build a t-shirt canon for use at school events.
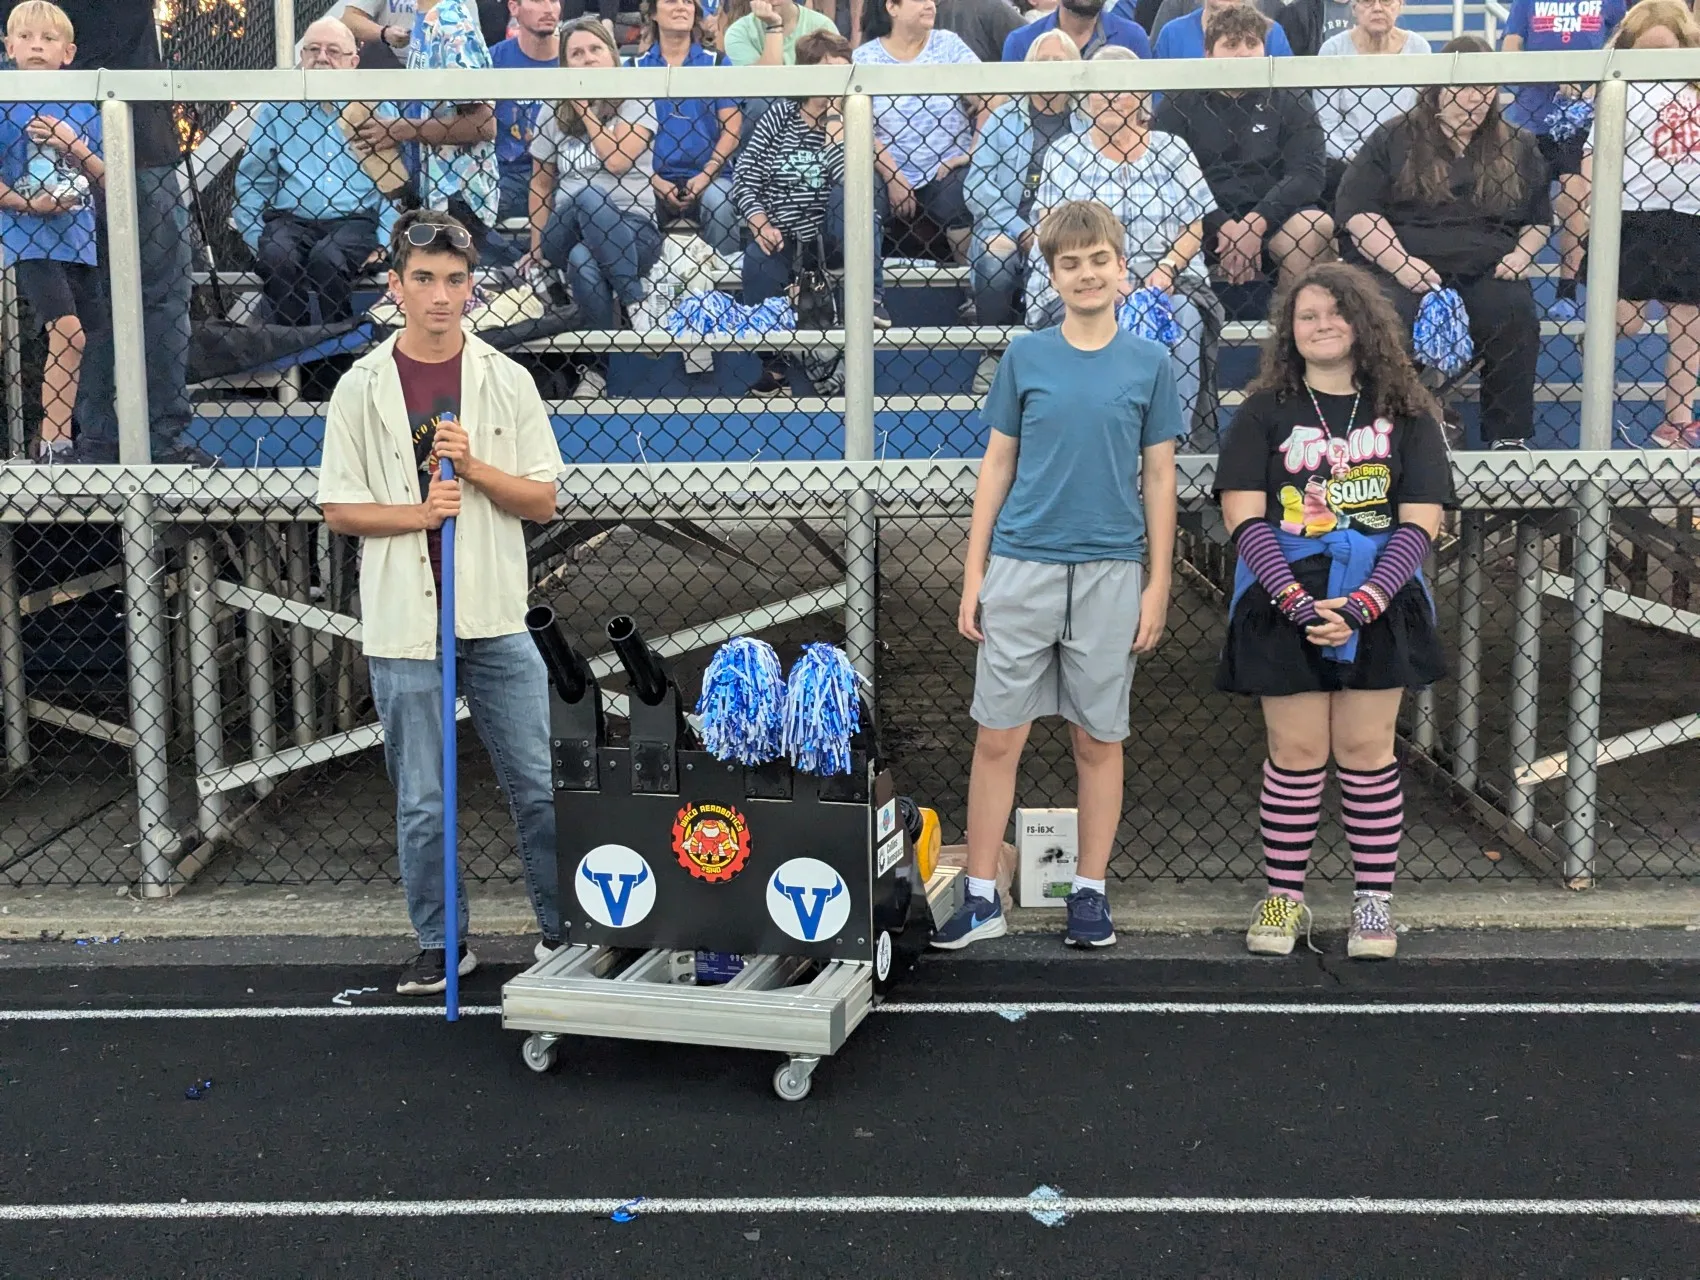
The team received the opportunity to fire off the cannon during the Graham Band Festival and the homecoming football game for the Miami East marching band. The cannon successfully launched streamers and confetti into the crowd during the band festival and t-shirts for the football game.

Requirements
- STEM Related
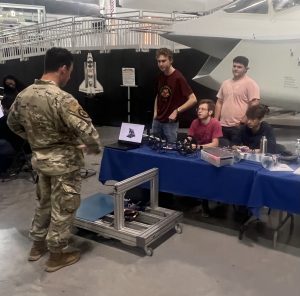
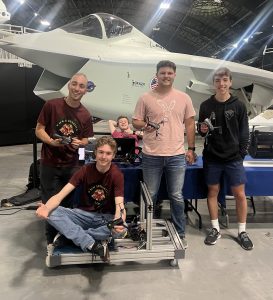
- May 15 demonstration at Air Force Museum
- Fire a T-Shirt to the top of the Miami East High School Gymnasium bleachers (30ft)
Sponsors
Special thank you to the sponsors of this project. Their support with this project helped make this vision come to life!

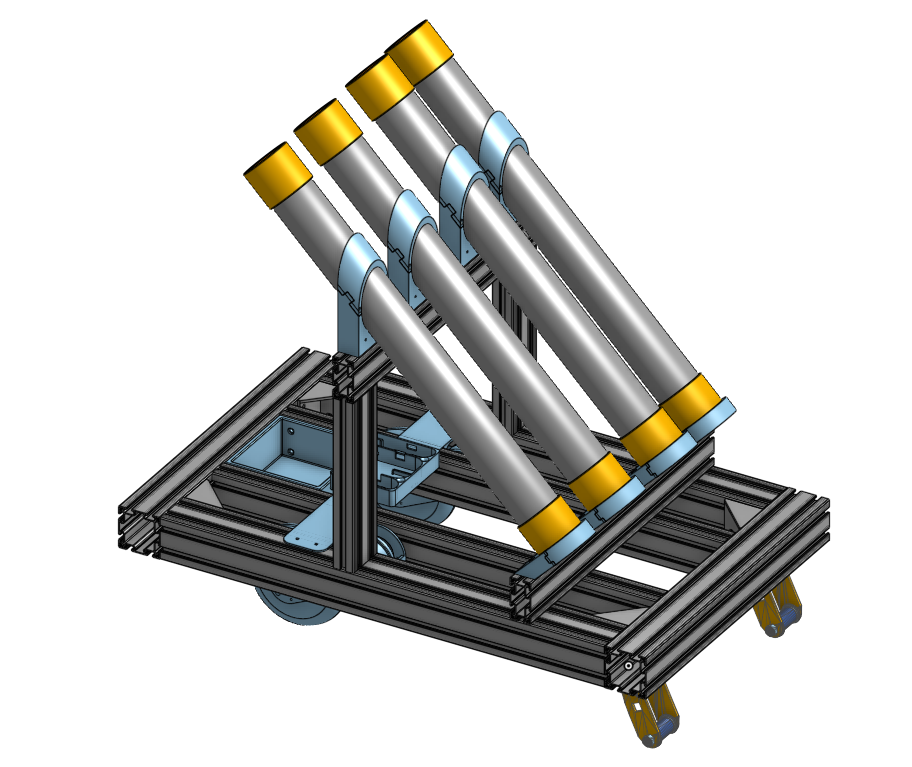
Design
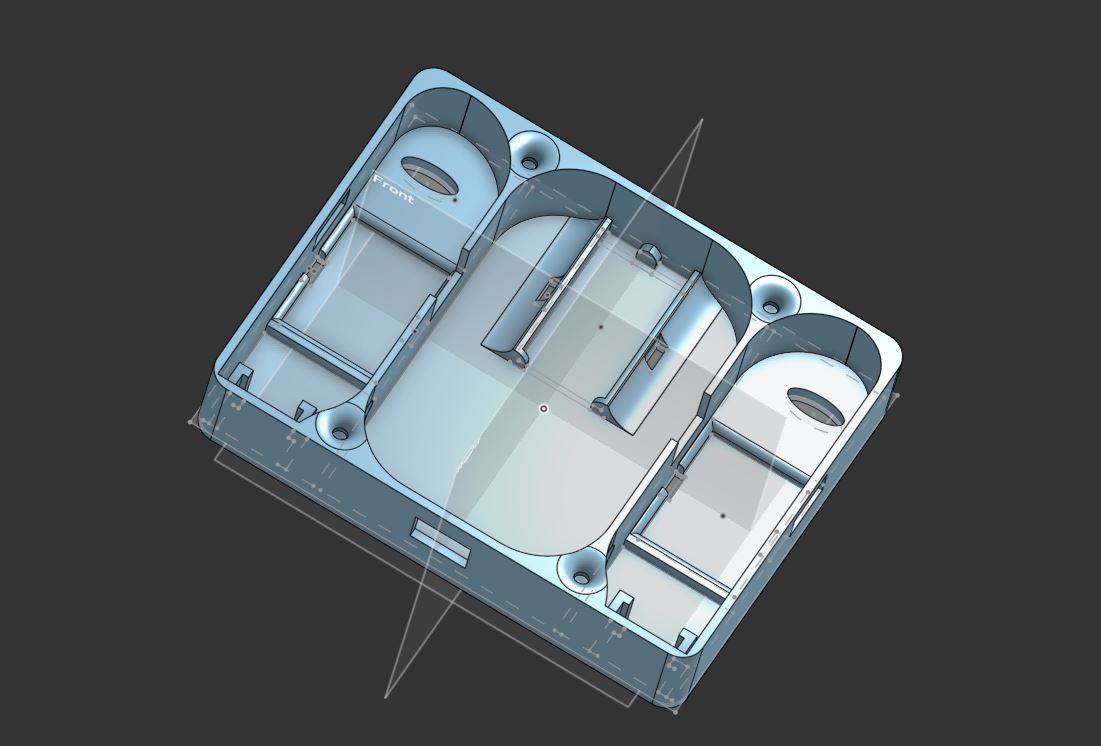
The team started by drawing sketches for what the robot should look like. After the basic sketches, they built a CAD model of how all of the components would fit together. CAD models were built using OnShape Education edition: T-Shirt Cannon Robot Workspace
Frame
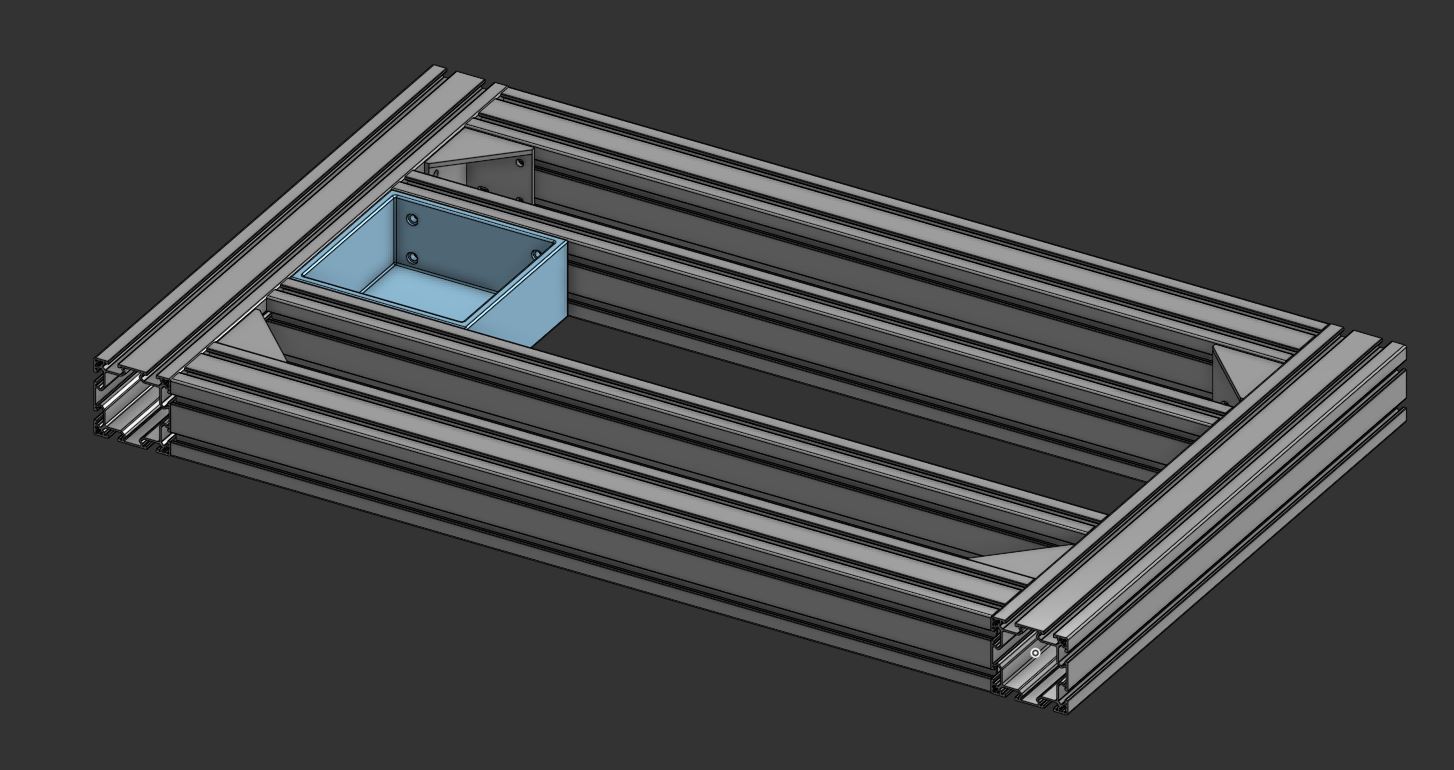
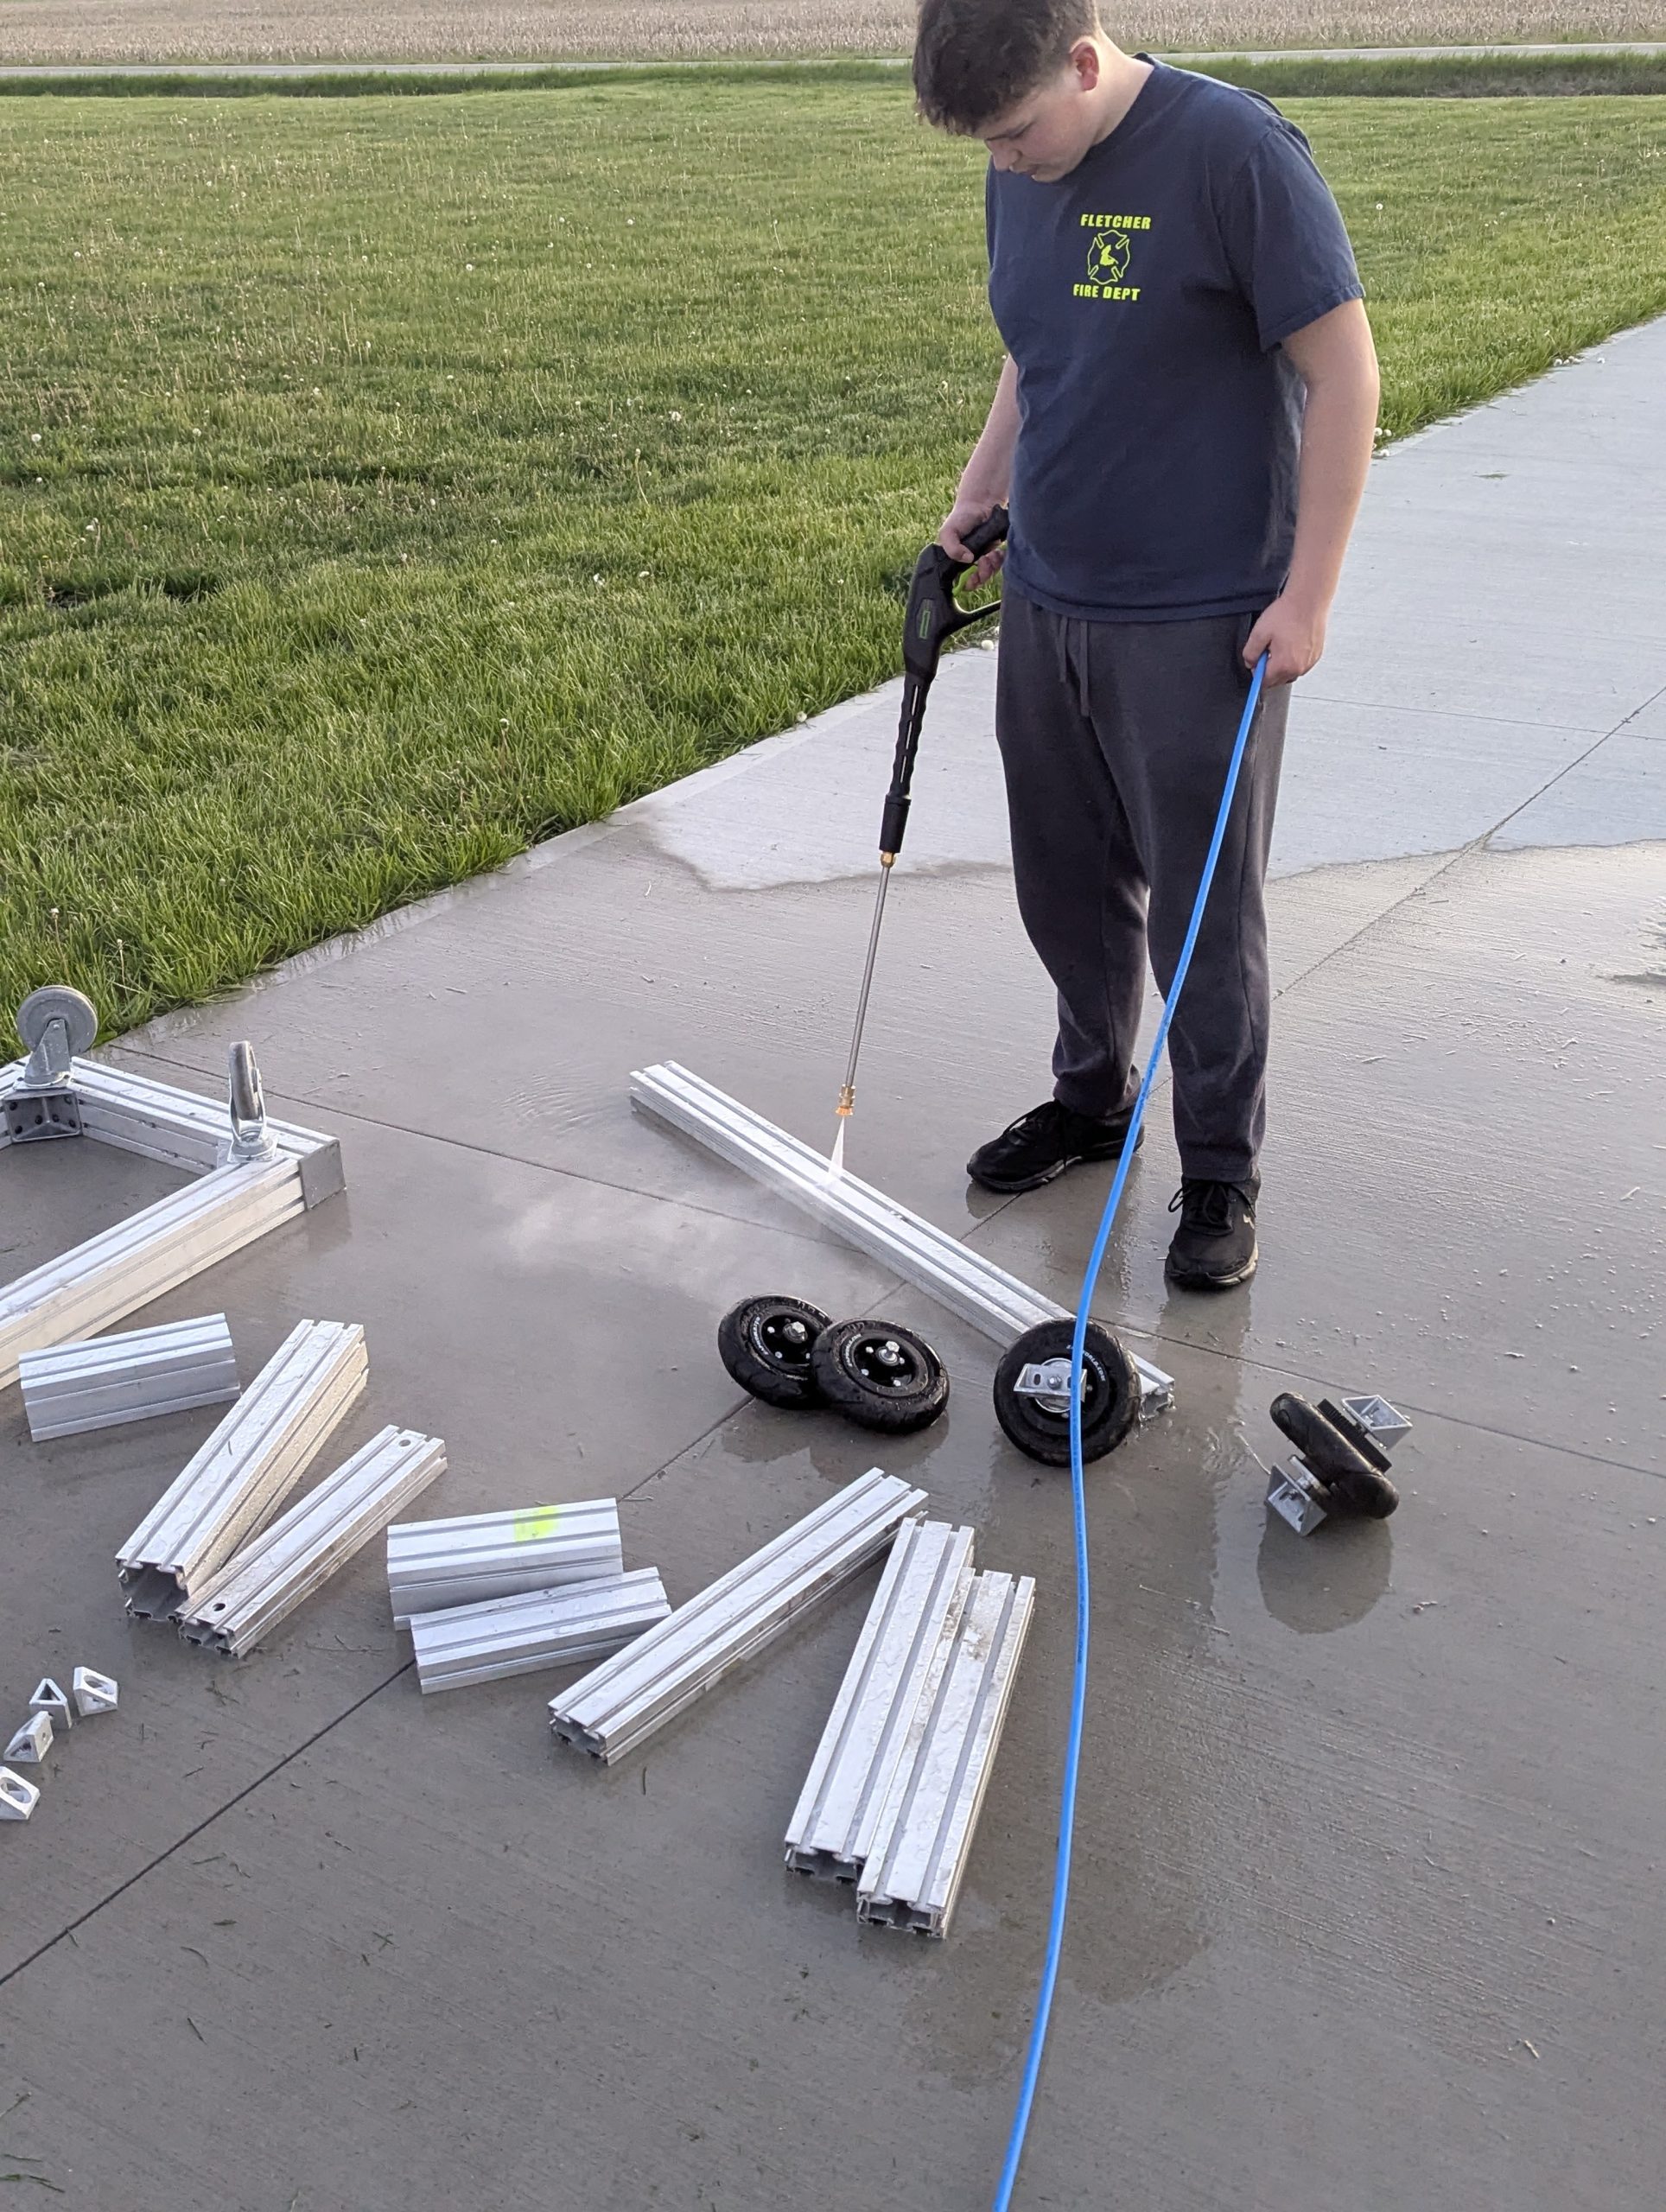
The main structural components of the robot were made out of aluminum extrusion, held together with angle brackets.
Our Coach Dave supplied the aluminum extrusions, nuts, bolts, and wheels to have for the basic frame.
The bottom of the robot was designed around an air cylinder donated by the Fletcher Fire Department. Attached to the bottom are two castor wheels and two drive wheels.
In the design process, we had to think of how all the components were going to fit together. The air tank, battery, and electronics box have to be in the proper positions with minimal crossing. Later in the assembly of the robot, the site of the Electronics box to a more efficient spot.
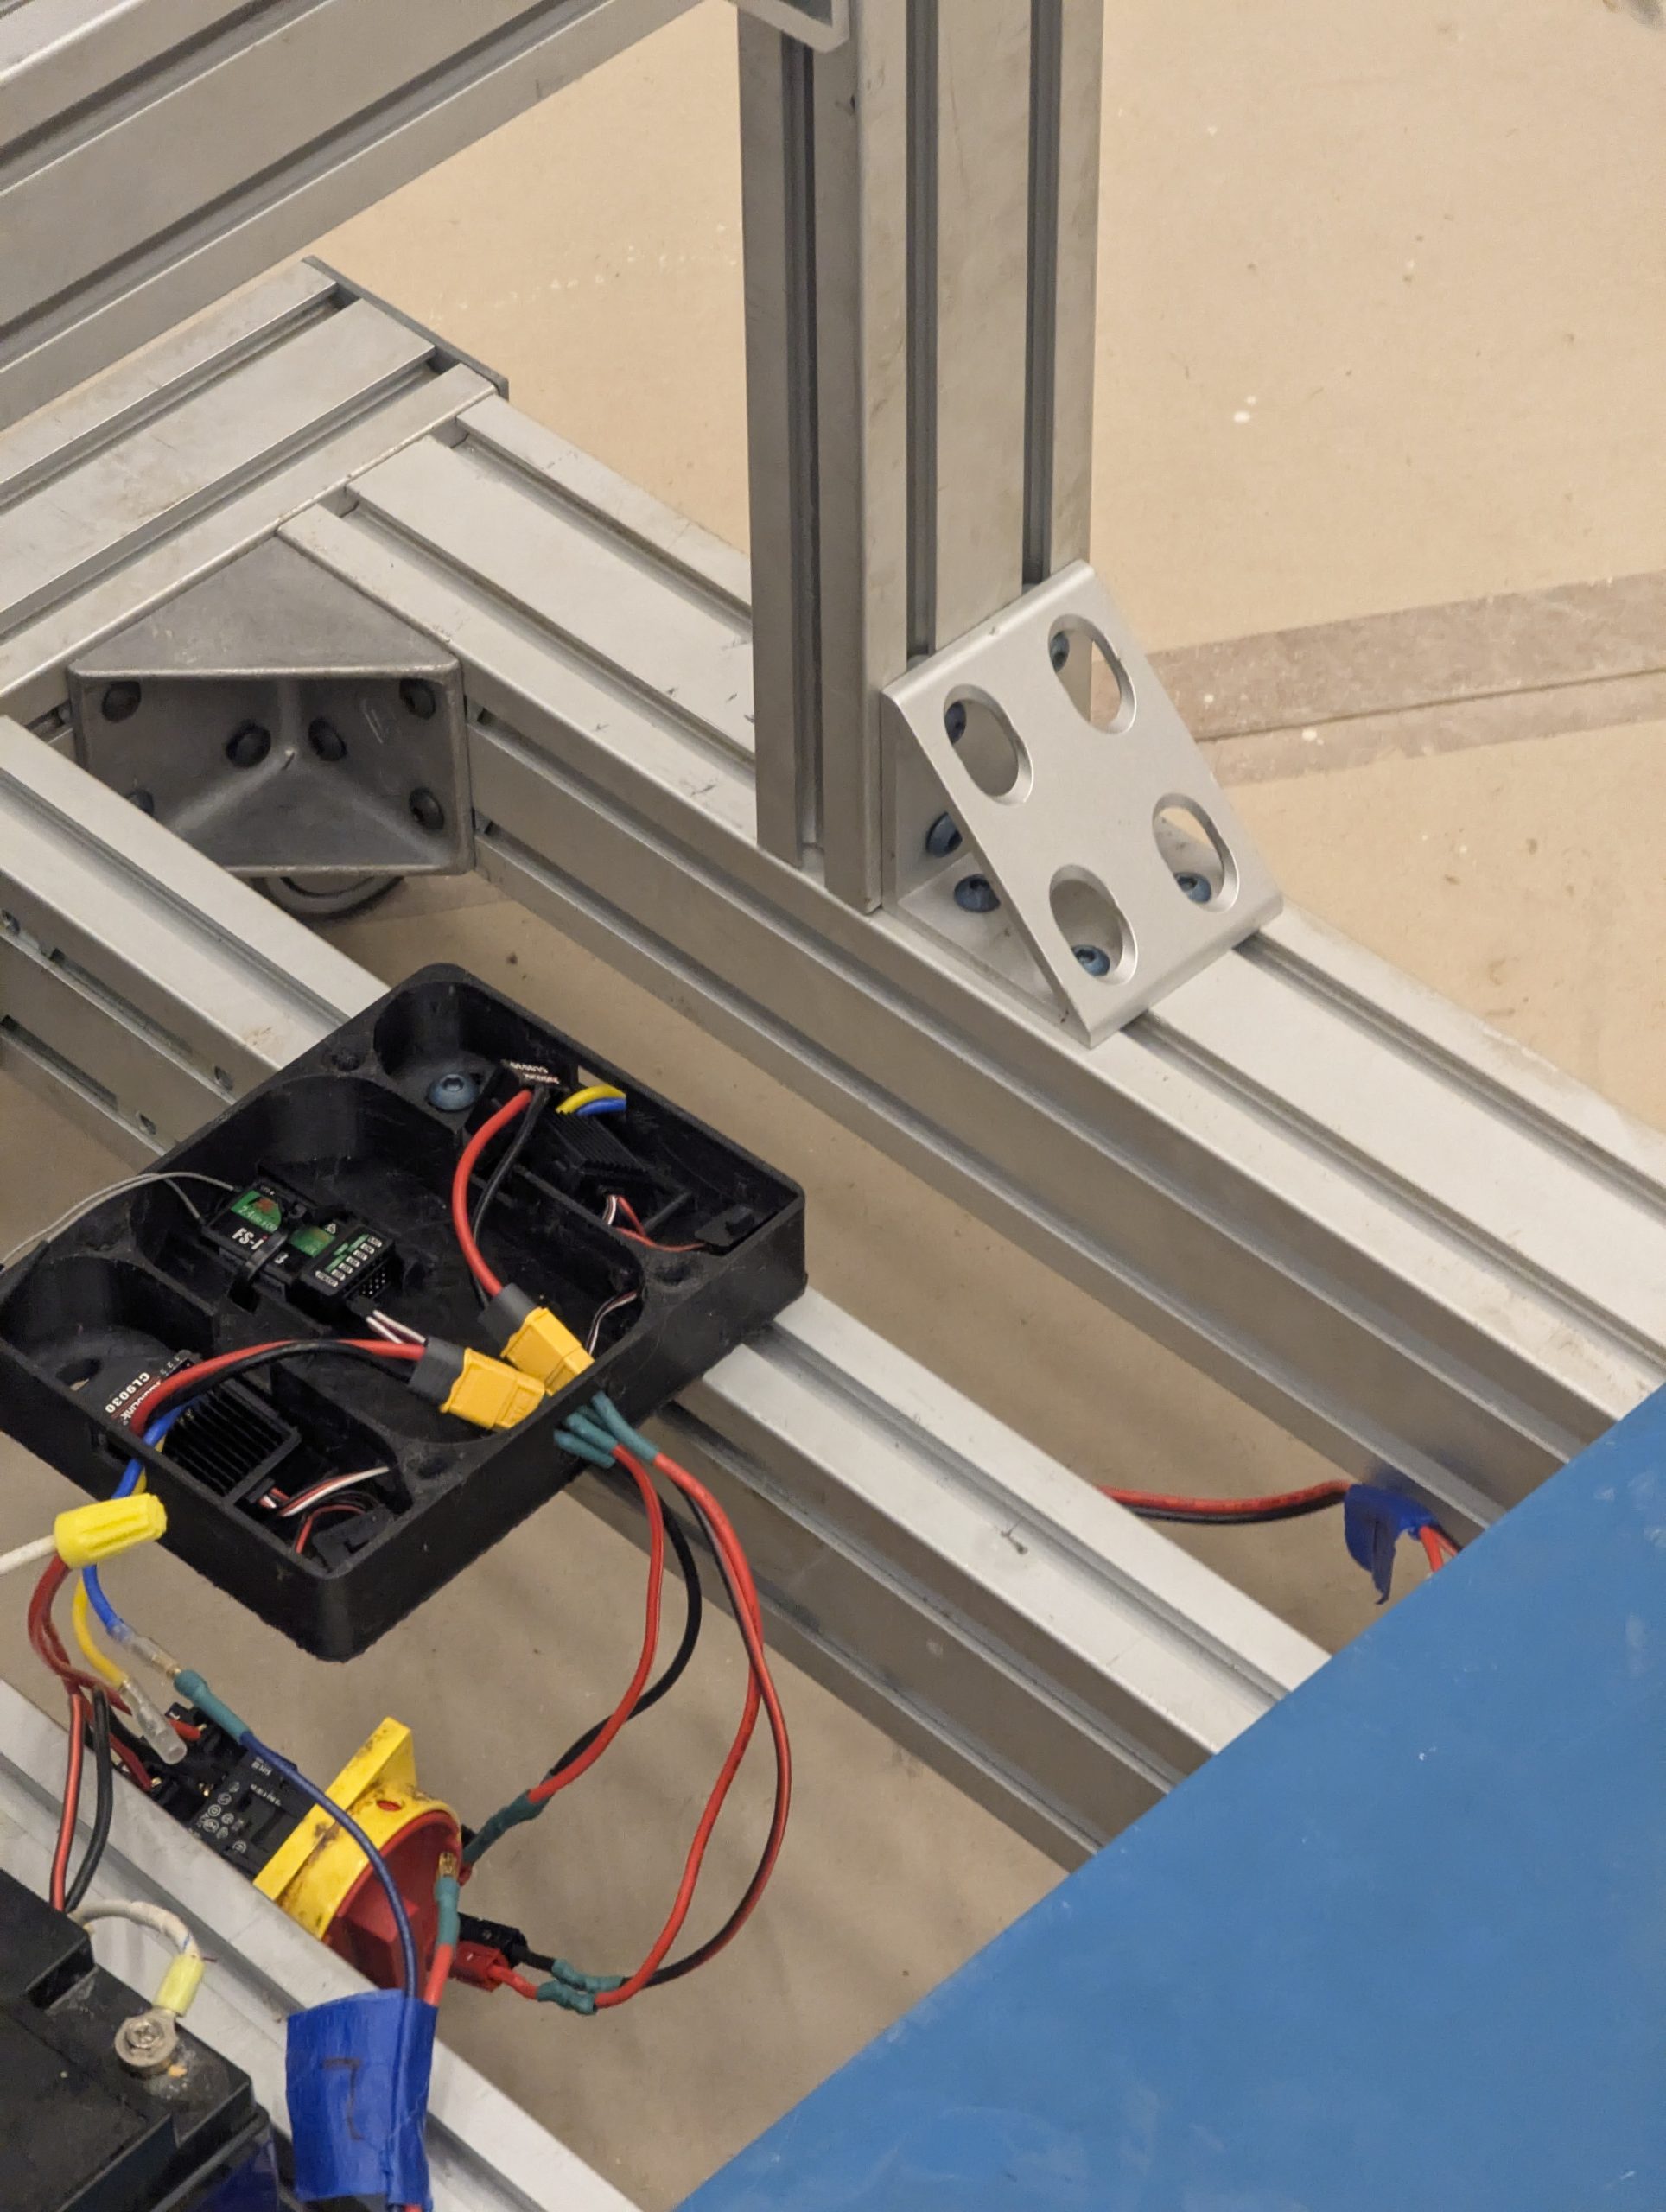
Electronics
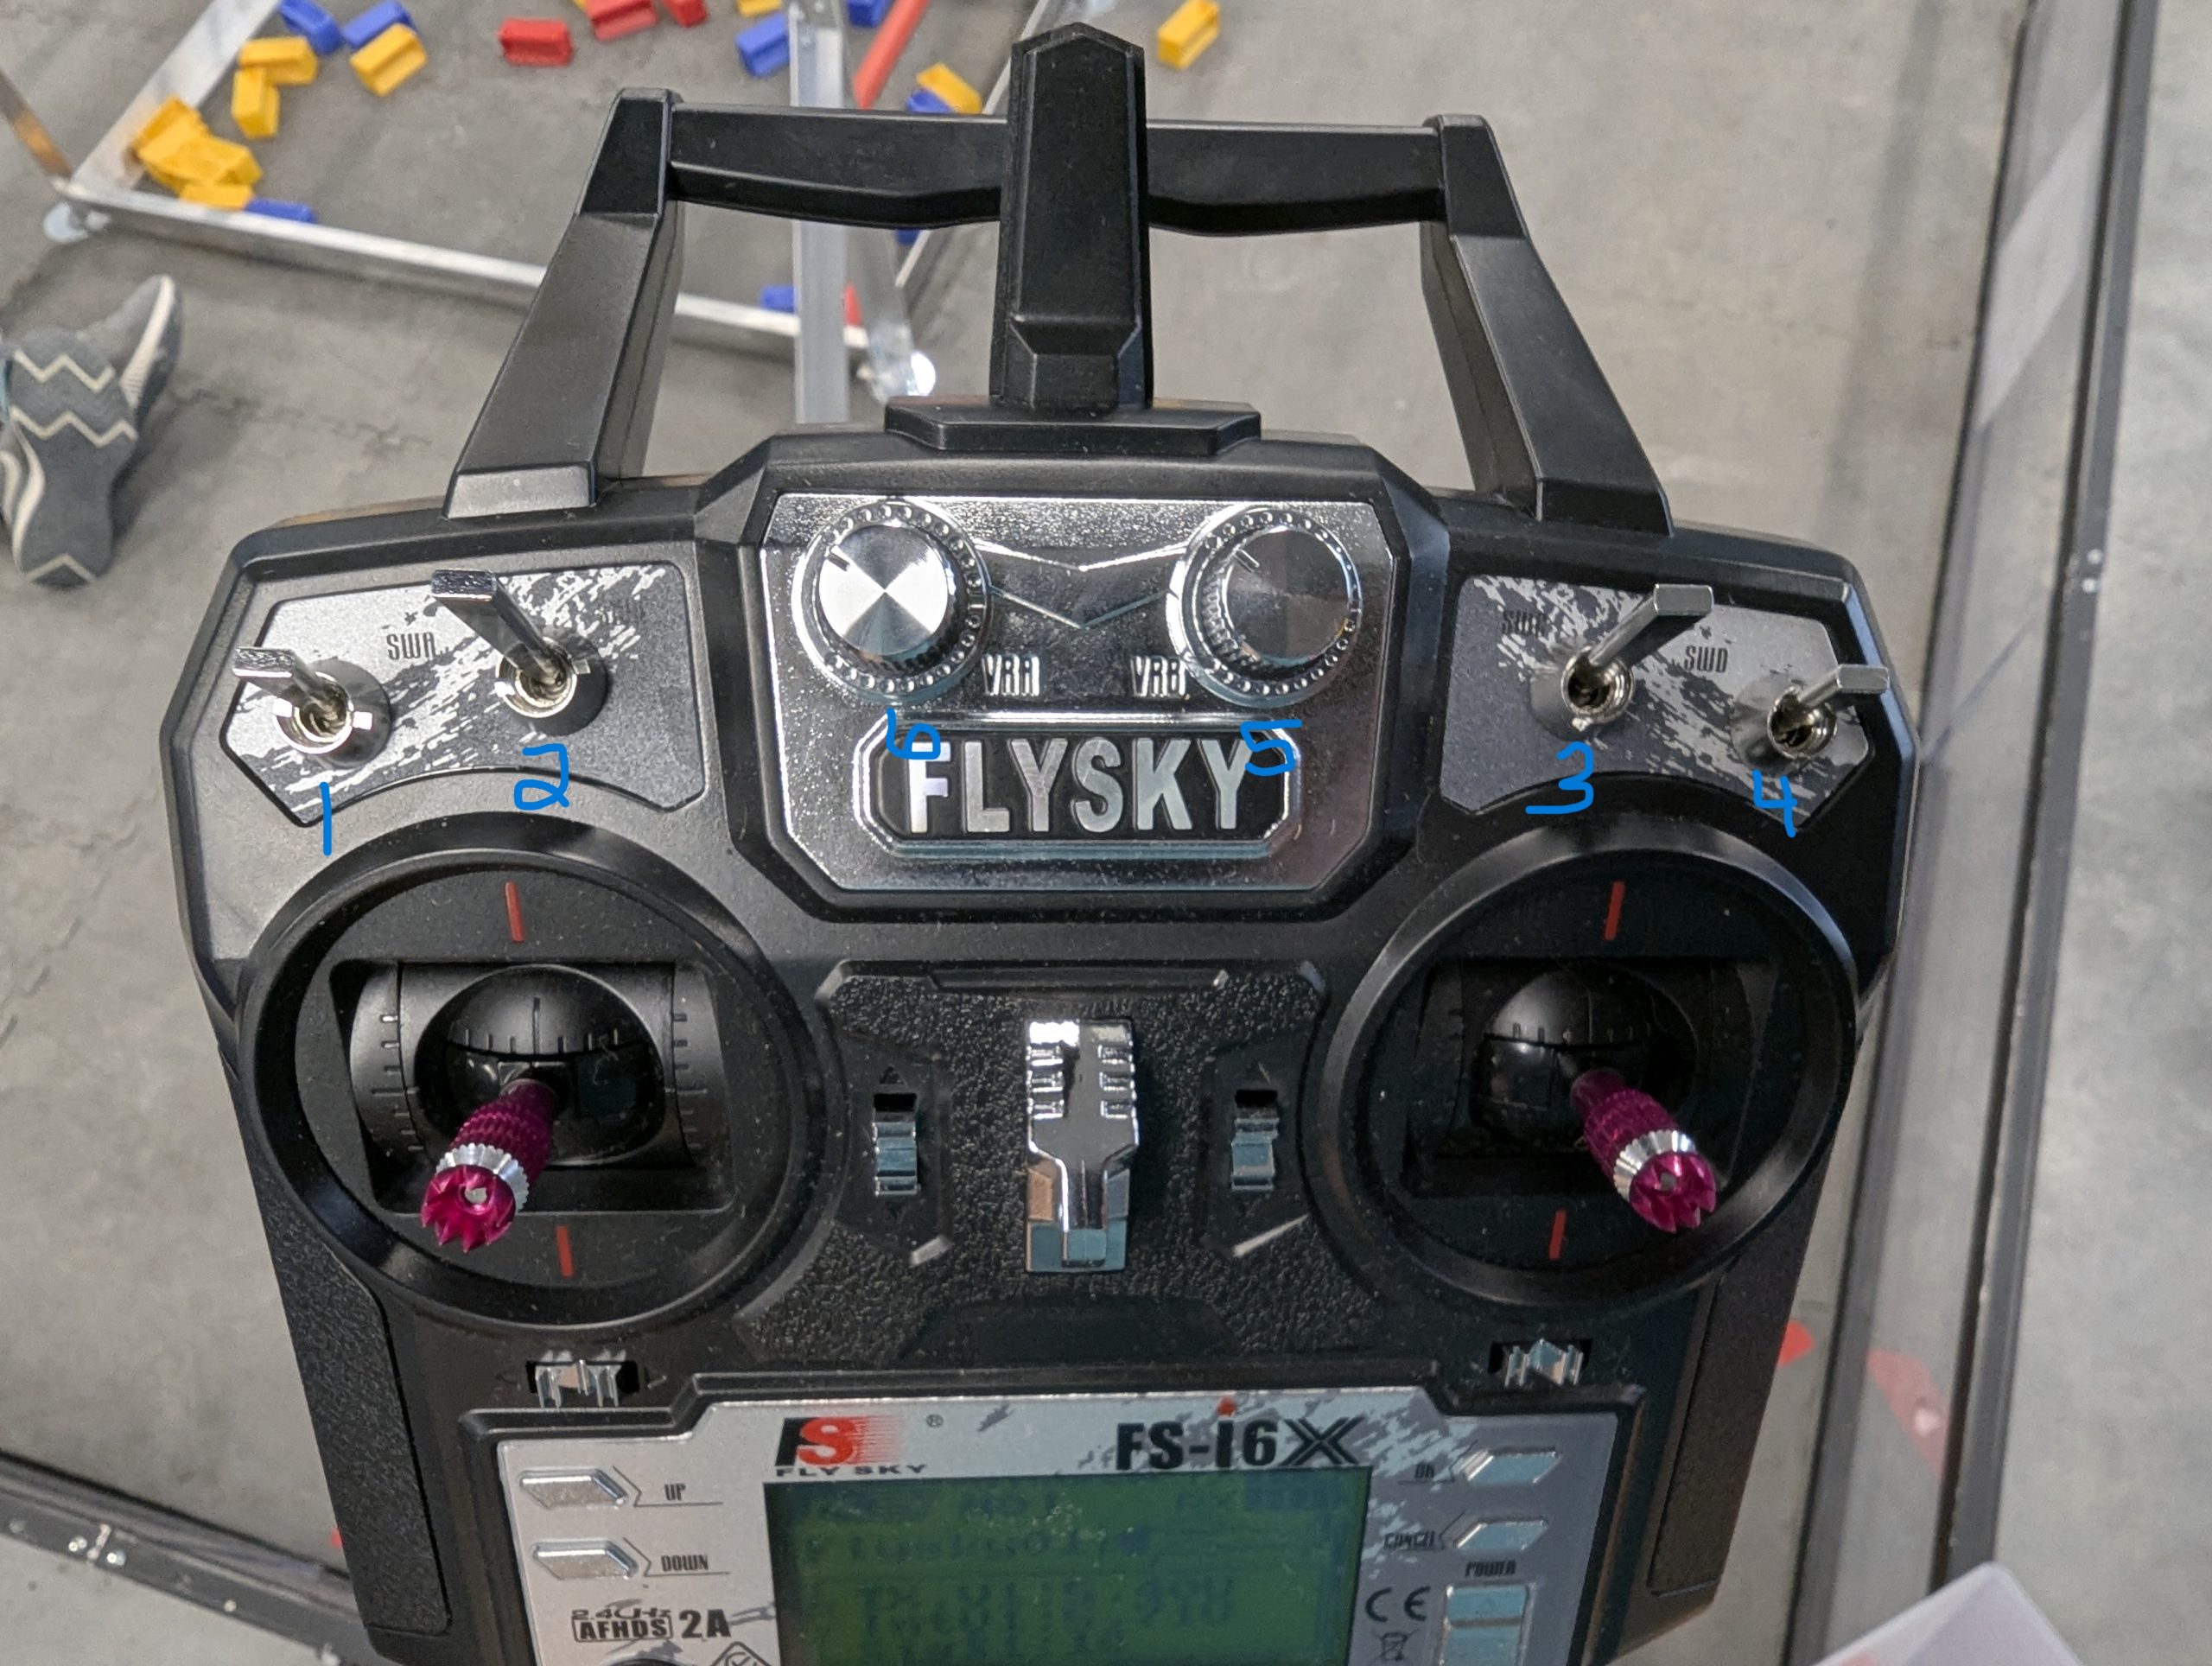
The driving electronics consist of two ZapWorld electric scooter motors, RadioLink speed controllers, and a FlySky radio transmitter, all powered by a 12-volt lead-acid battery. Firing control switches line up with standing at the rear of the barrels with the far left switch coinciding with the far left barrel and then moving across. The right knob refills the fill tank.
| Device | Receiver Channel | Transmitter Channel | Switch |
| Barrel 1 Solenoid | 5 | Switch SWD | 4 |
| Barrel 2 Solenoid | 6 | Switch SWC | 3 |
| Barrel 3 Solenoid | 7 | Switch SWB | 2 |
| Barrel 4 Solenoid | 8 | Switch SWA | 1 |
| Fill Tank Solenoid | 9 | Knob VRB | 5 |
| Right Drive Motor | 2 | Right Joystick | |
| Left Drive Motor | 3 | Left Joystick |
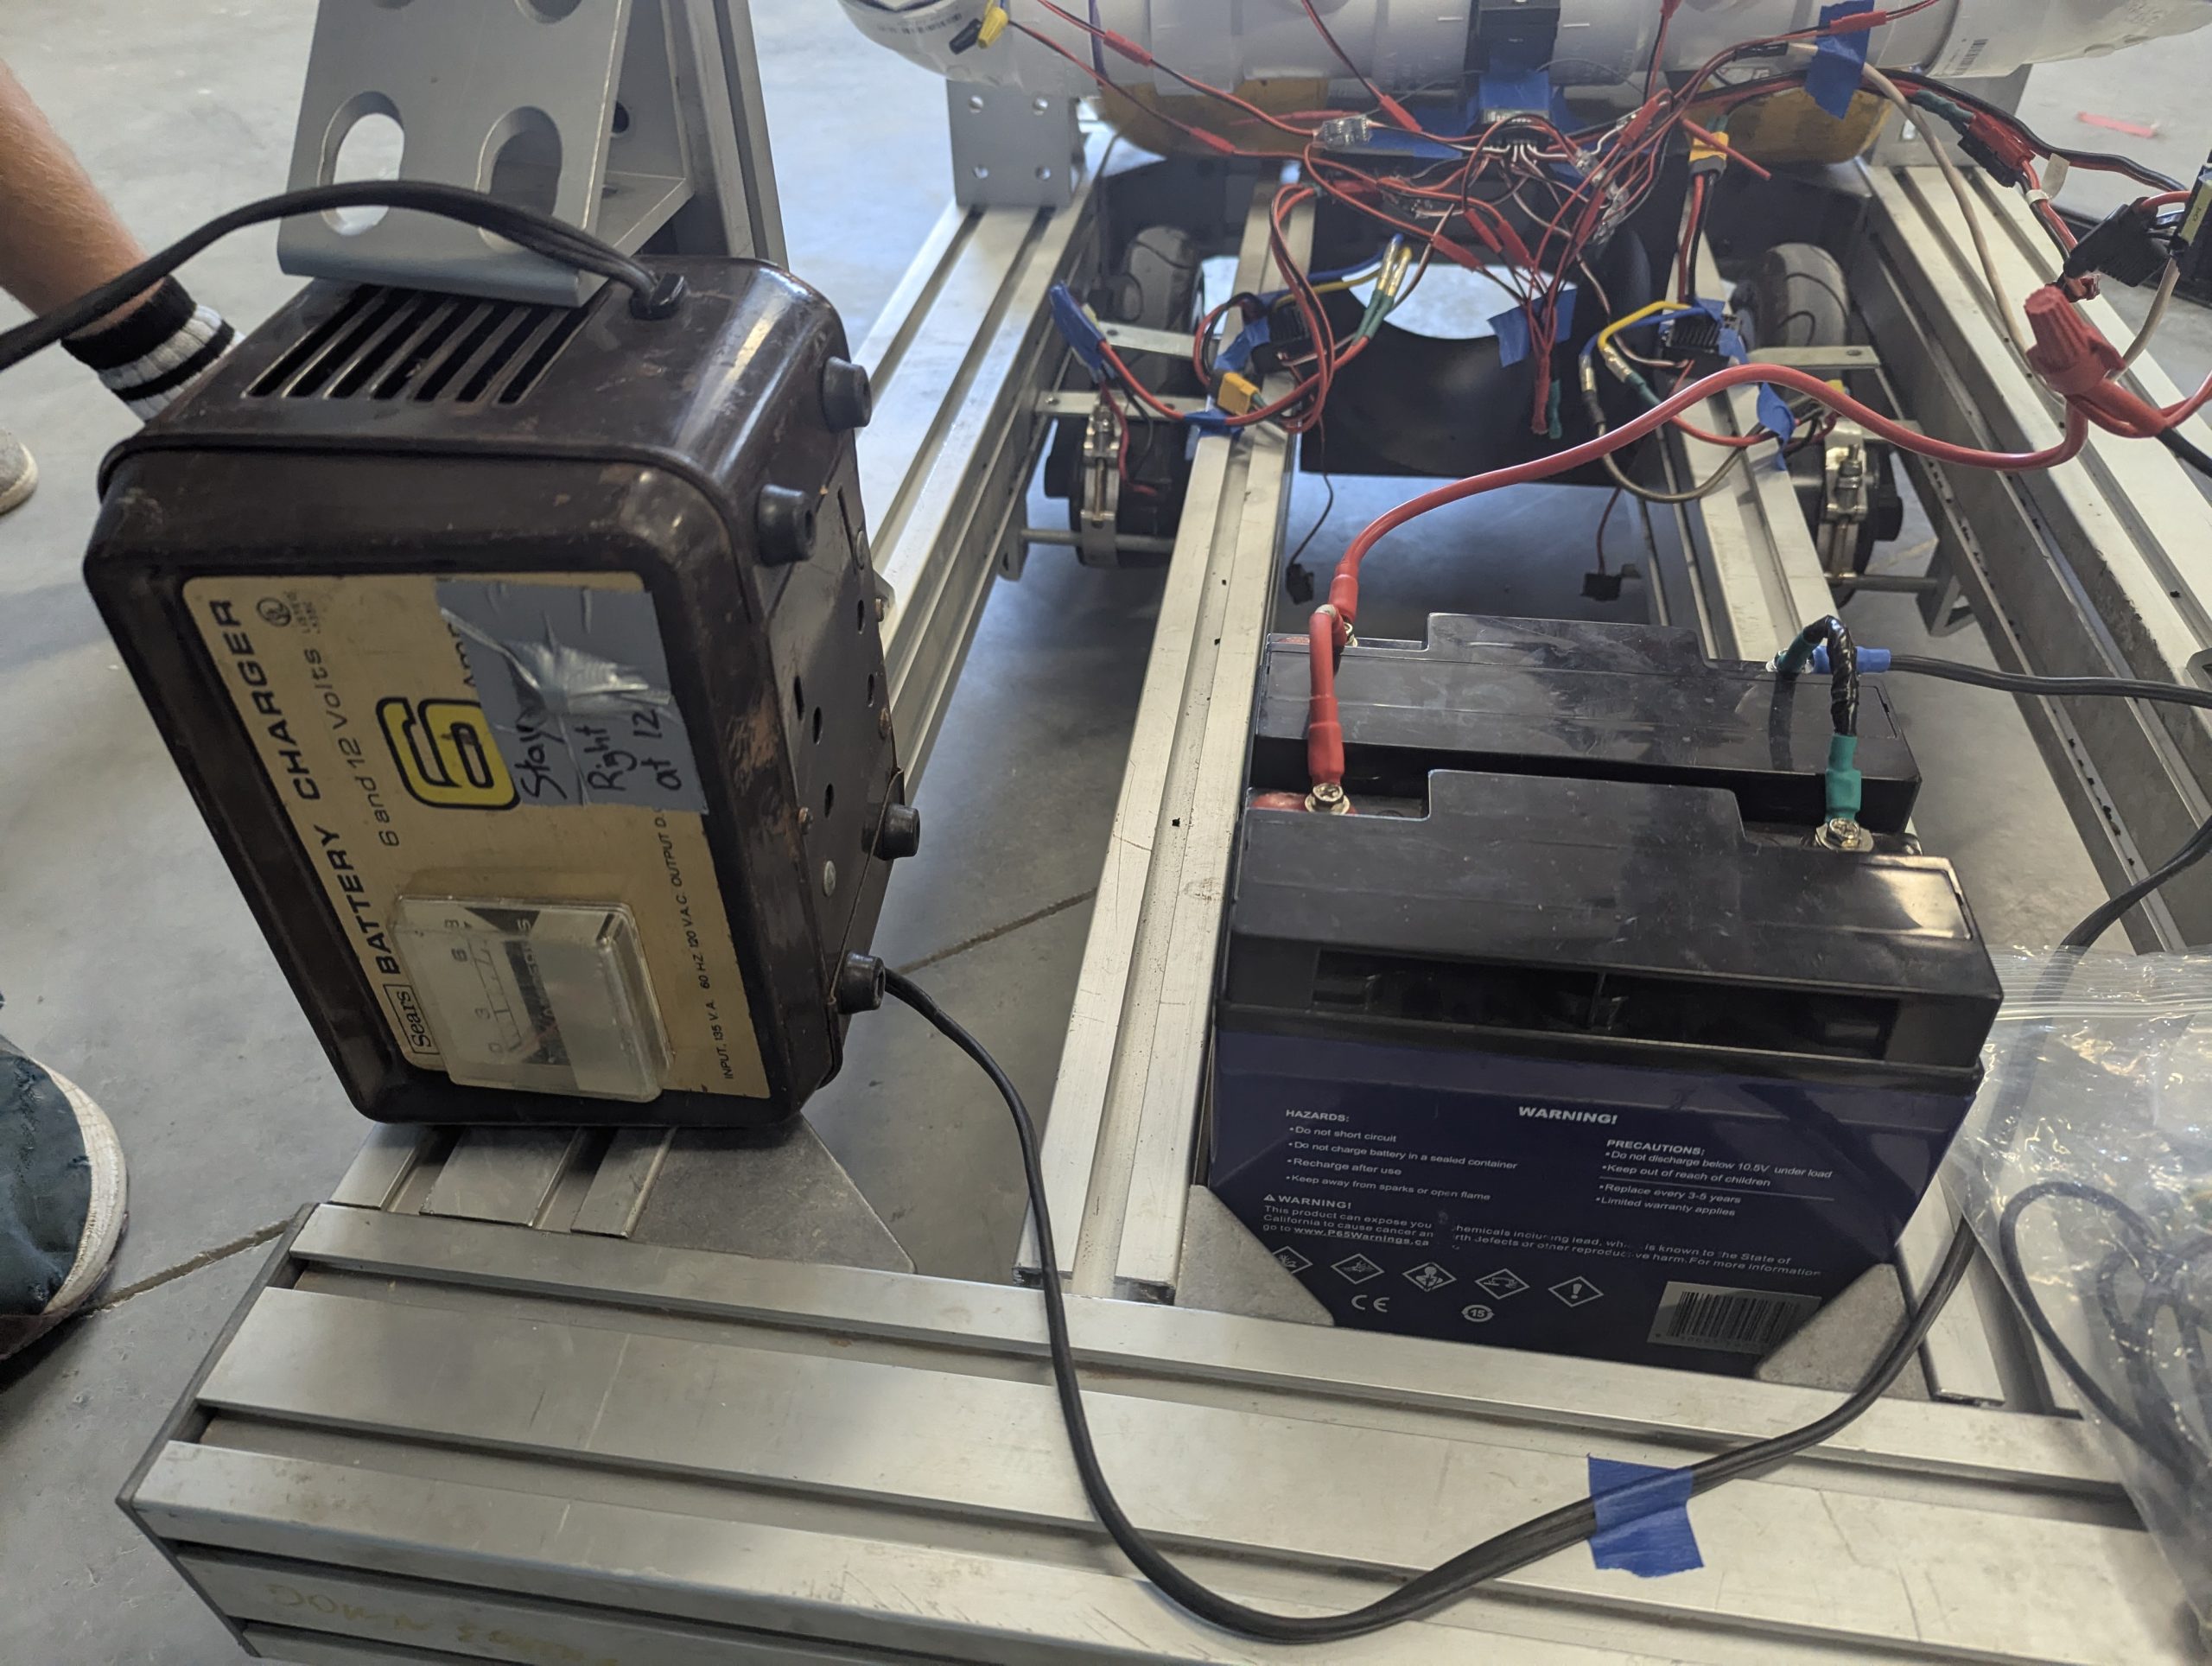
Testing revealed that one 12v battery was not able to provide enough duration for 20+ minutes of use. A second 12v lead-acid battery was wired in parallel to double the amp-hours. A battery charger was wired into the two batteries to provide a ready source for re-charging the batteries by just plugging into the wall. The battery charger provides a 6amp charge with auto-shutoff to the batteries.
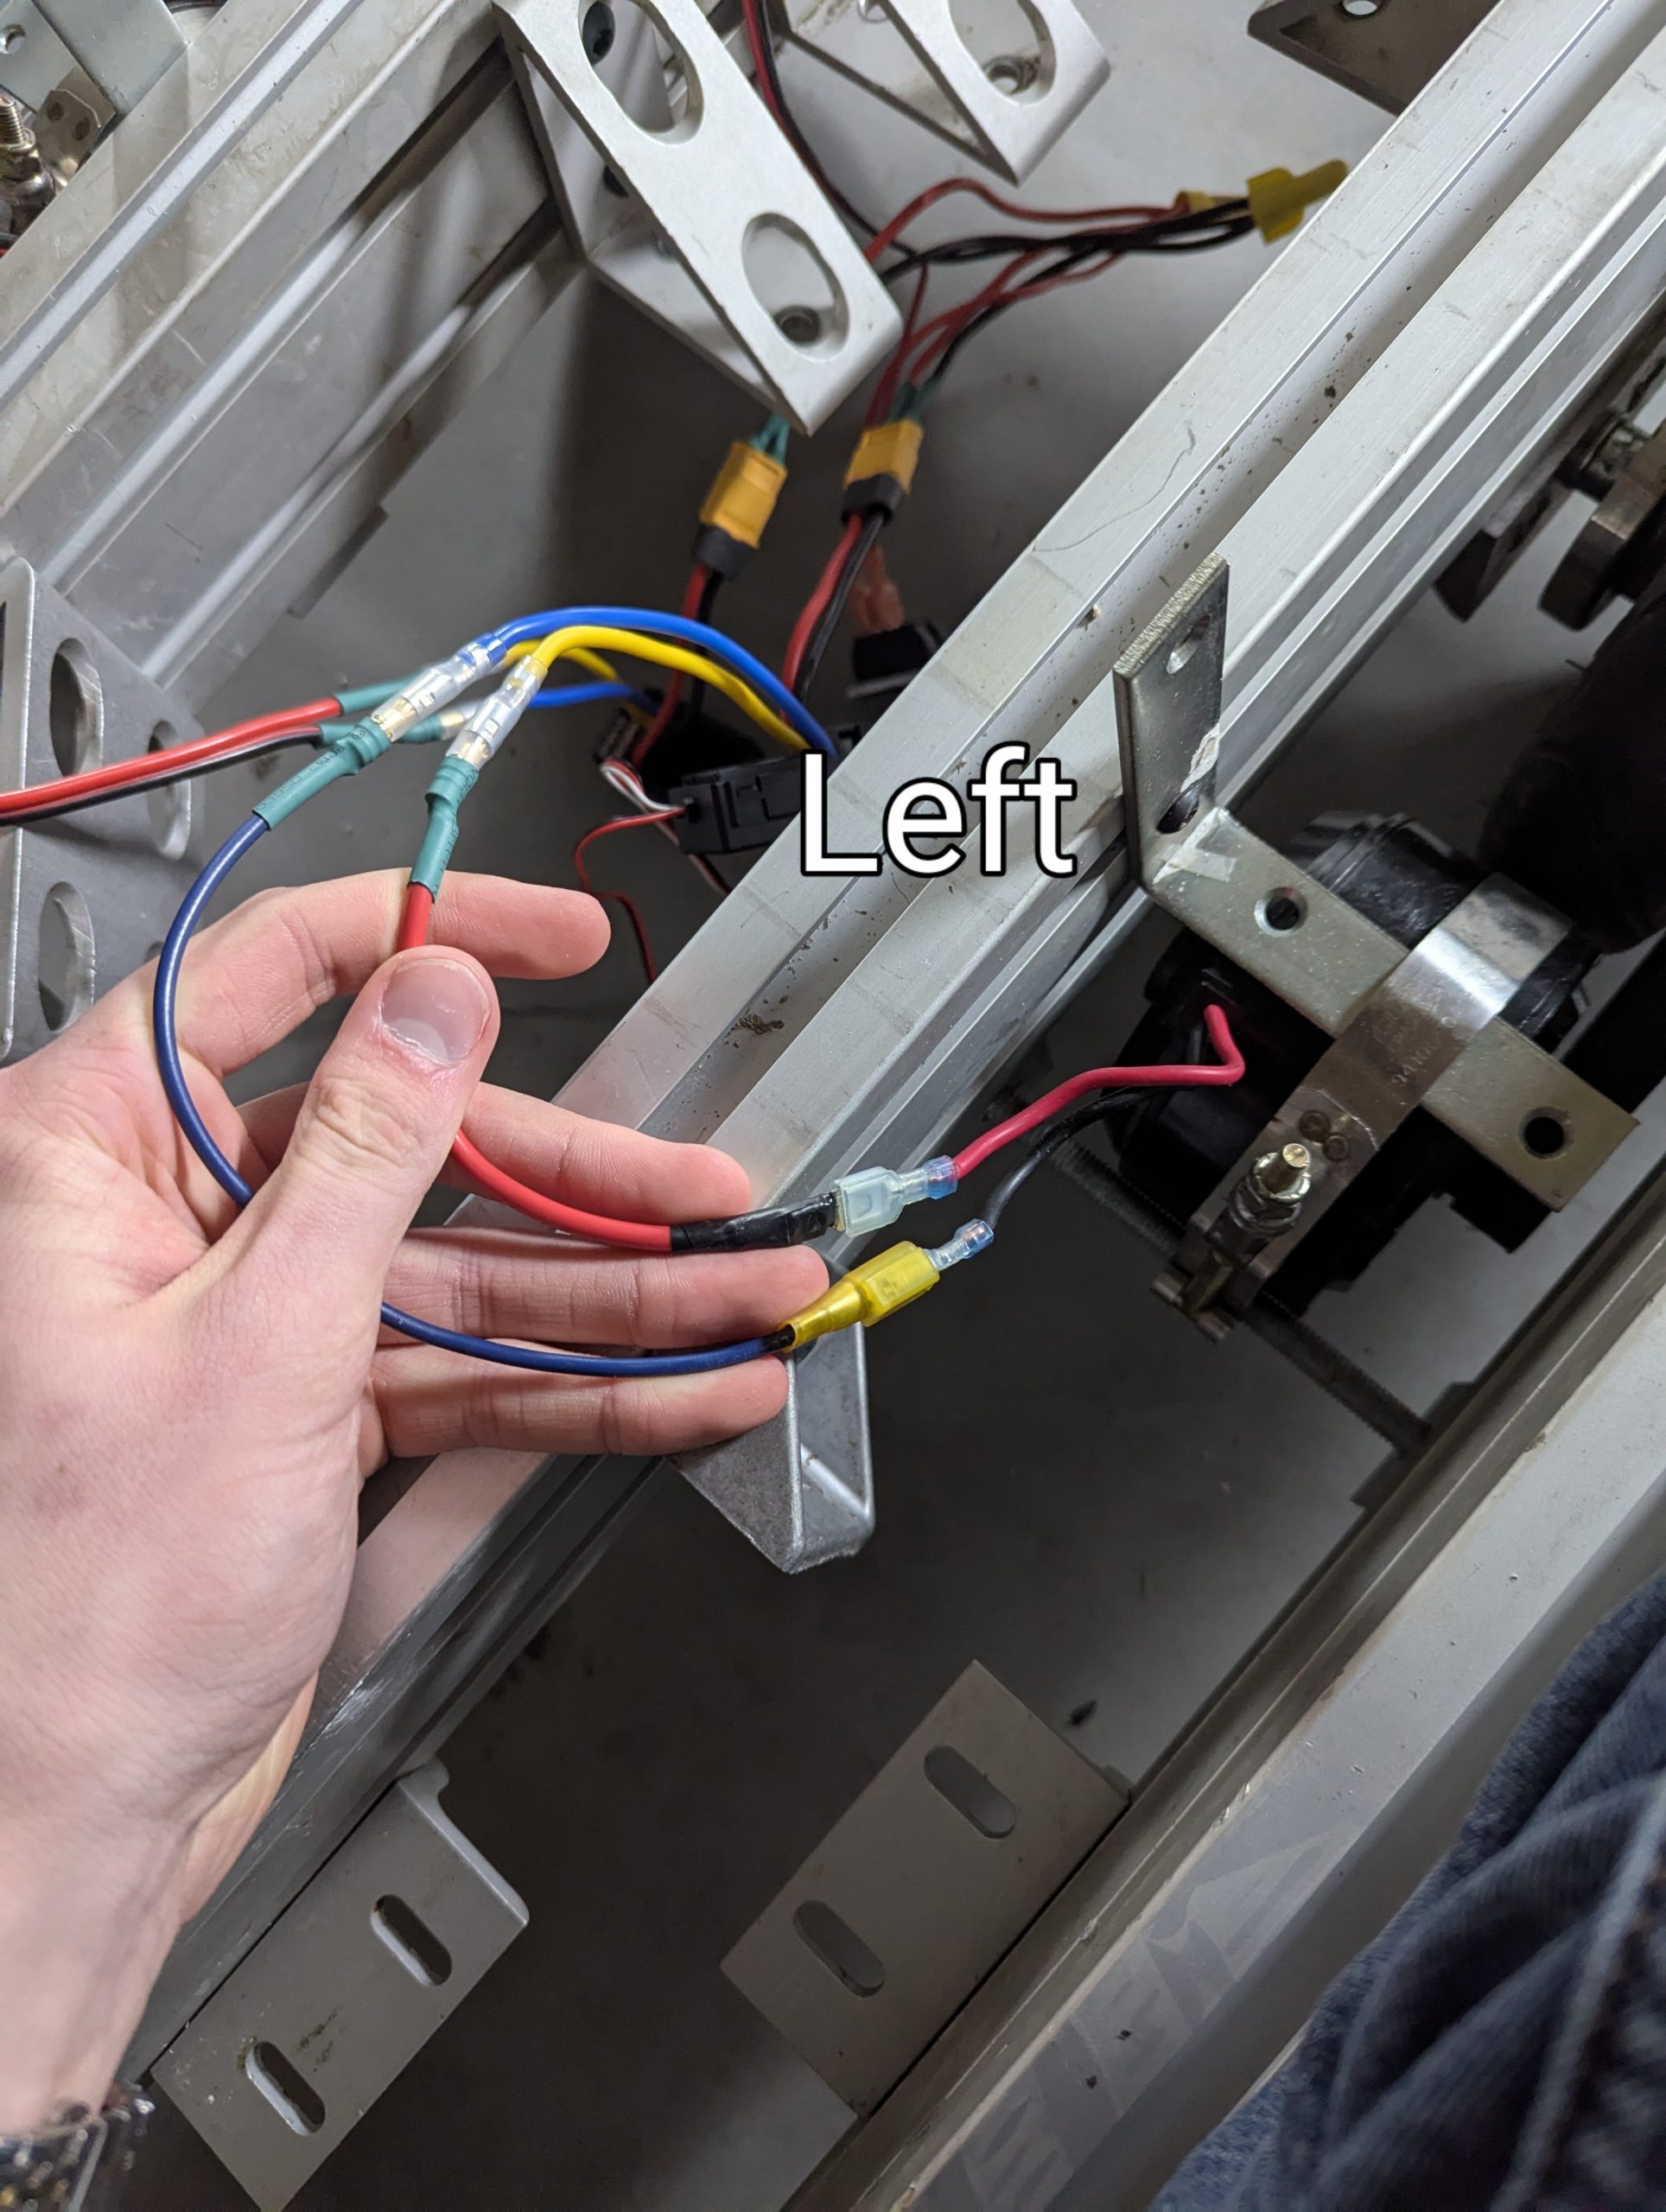
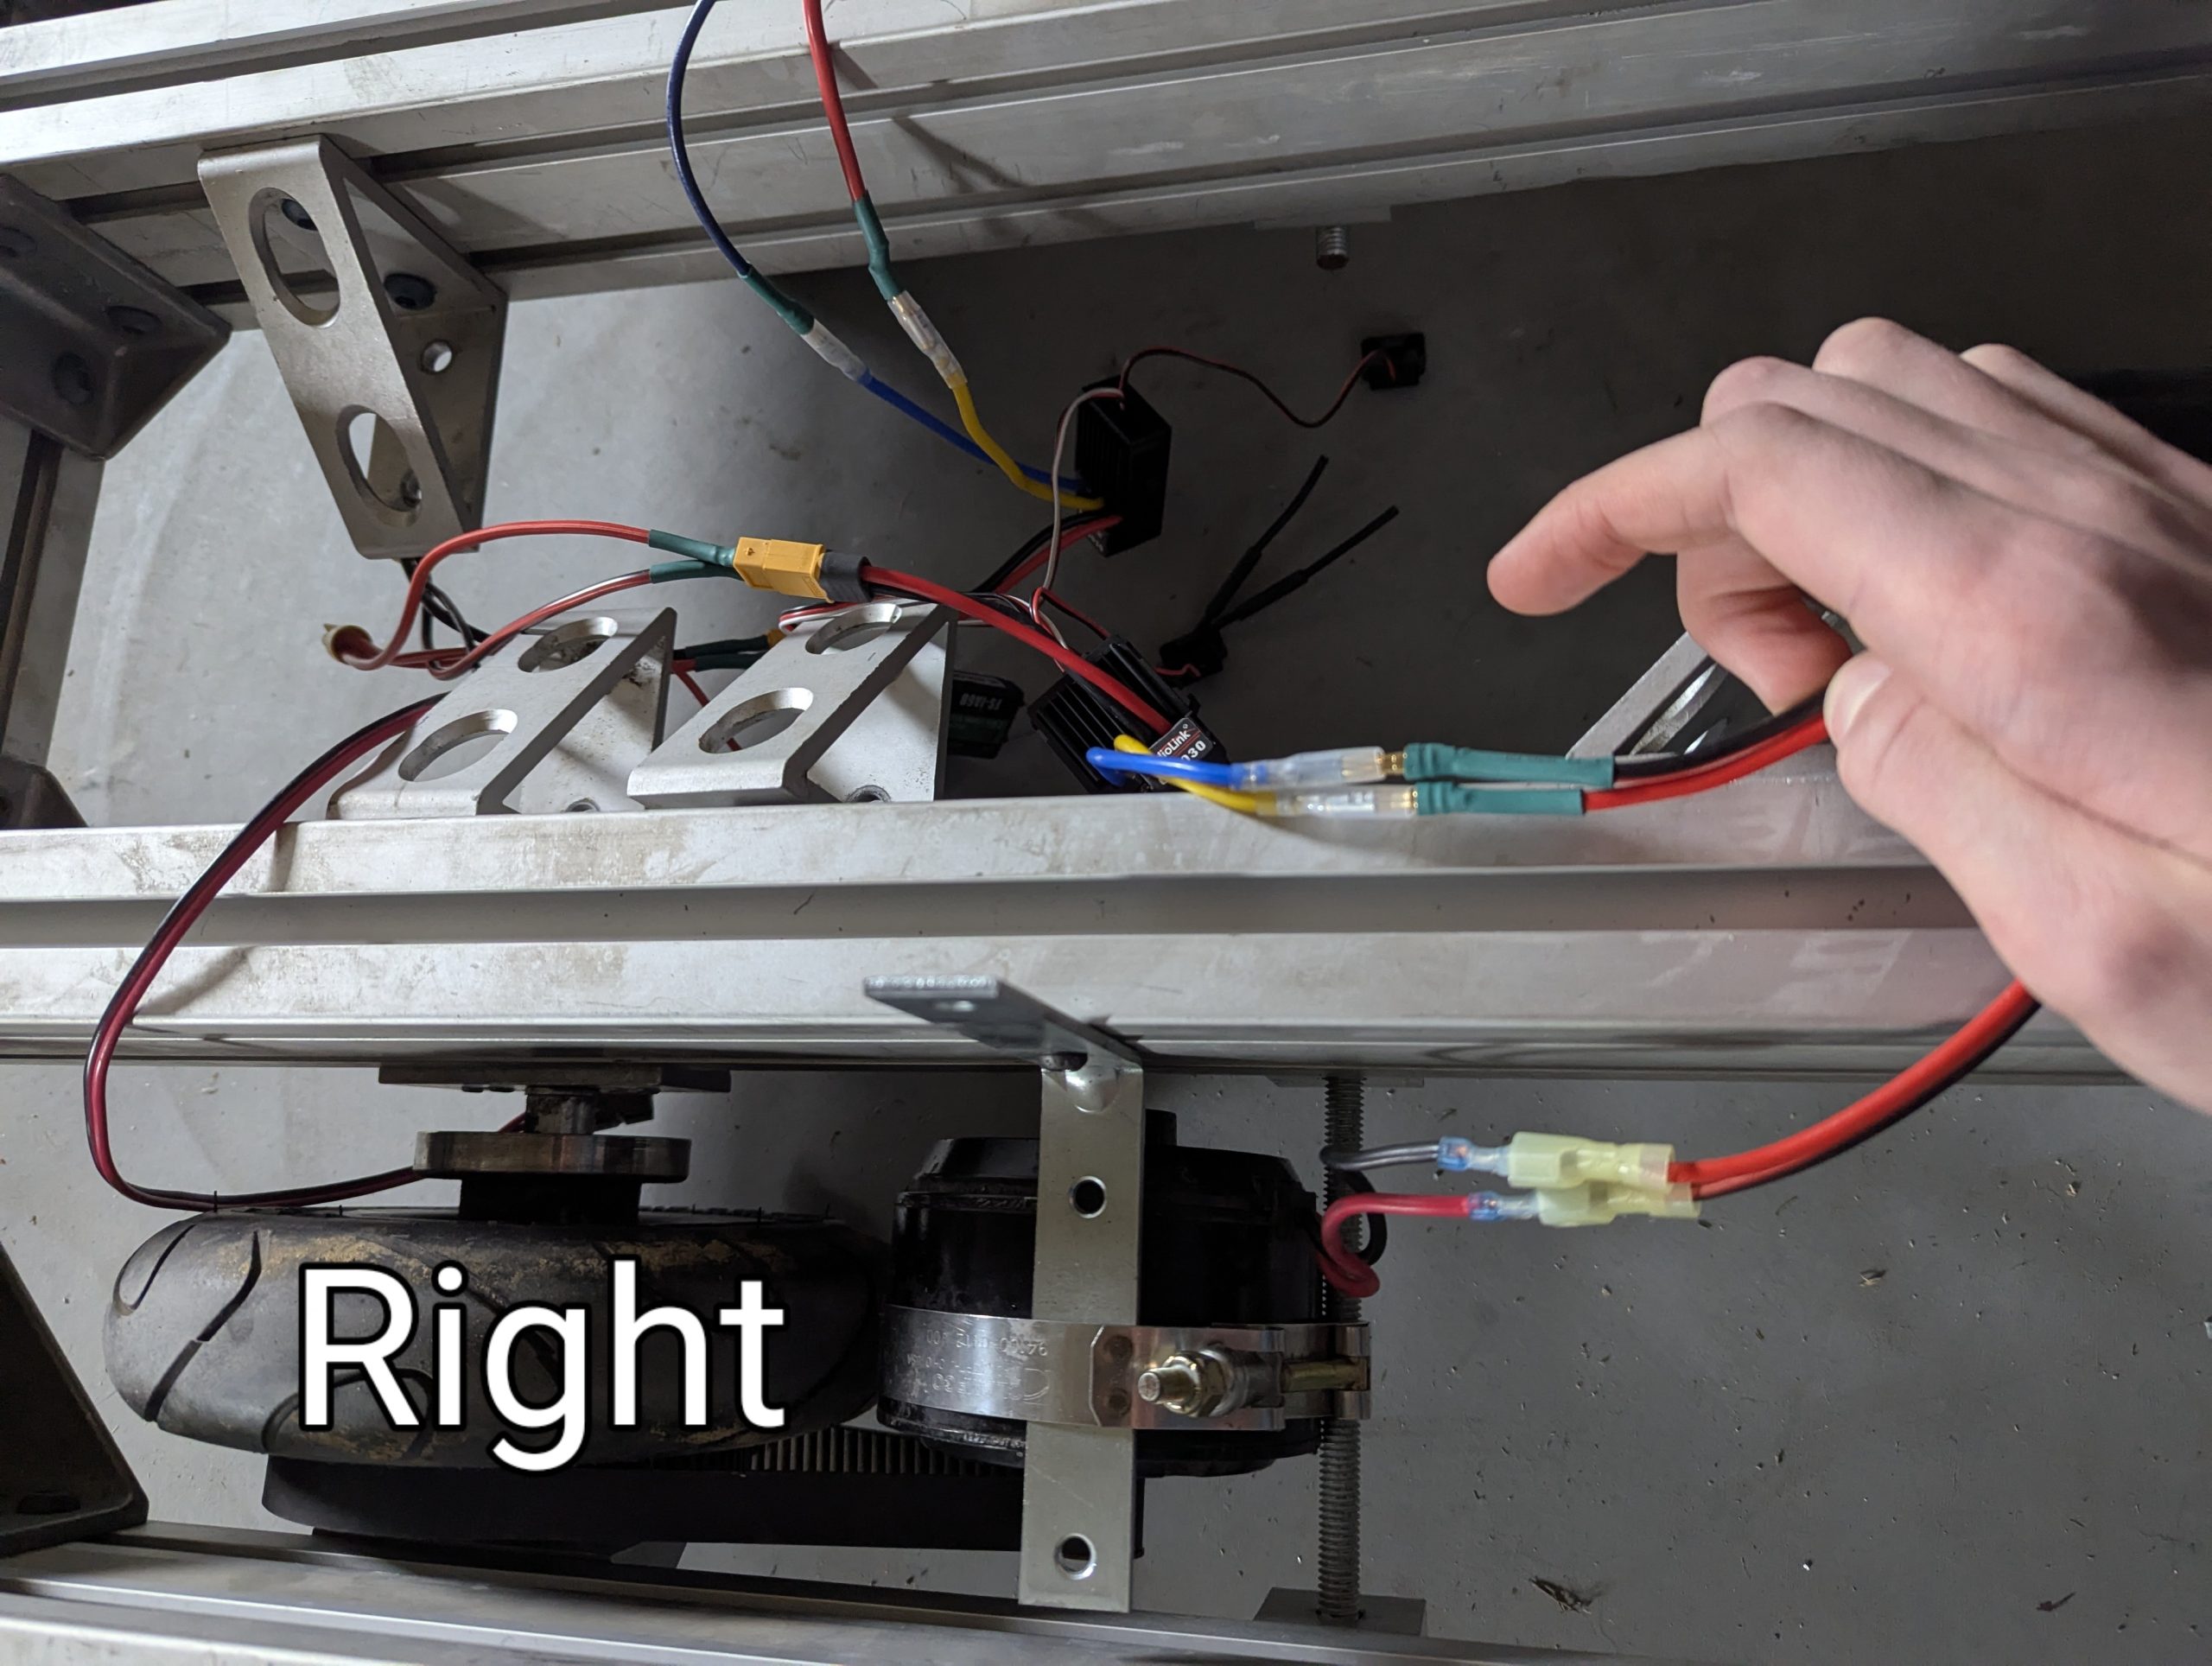
The drivetrain operates on tank steering, with each motor controlled independently.
The left motor was the only motor that caused issues, the initial soldering of the wire to the battery had slipped. Thus, a large amount of current was being forced through a very thin connection, creating lots of heat. After discovering the problem and resolving it. There were no further issues with the drive train.
The control electronics are housed in a 3D printed box, keeping them organized and protected from outside elements.
As additional electronics were added the first box became crowded and need to be enlarged as well as reshaped, in order to better accommodate the positions of the robot.
Canon

The cannons were the most difficult part of the project, with each prototype having its own strengths and weaknesses.
| Device | Type | Rated |
| Main Pressure Tank | Firefighter Air Tank | 2000psi |
| High Pressure Regulator | Firefighter Grade | 2000psi down to 120psi |
| Adjustable Regulator | 0-120ps | |
| Solenoid | 12v | 190psi |
| Accumulator Tank | 3″ PVC | 120psi |
| Solenoid | 12v | 190psi |
| Barrel | 2″ PVC | 120psi |
The first design we tried was a coaxial piston design, which utilized an accumulator tank built around the barrel, saving space. Unfortunately, this design required a silicone stopper that moves around in the barrel, which was found to be extremely unreliable.
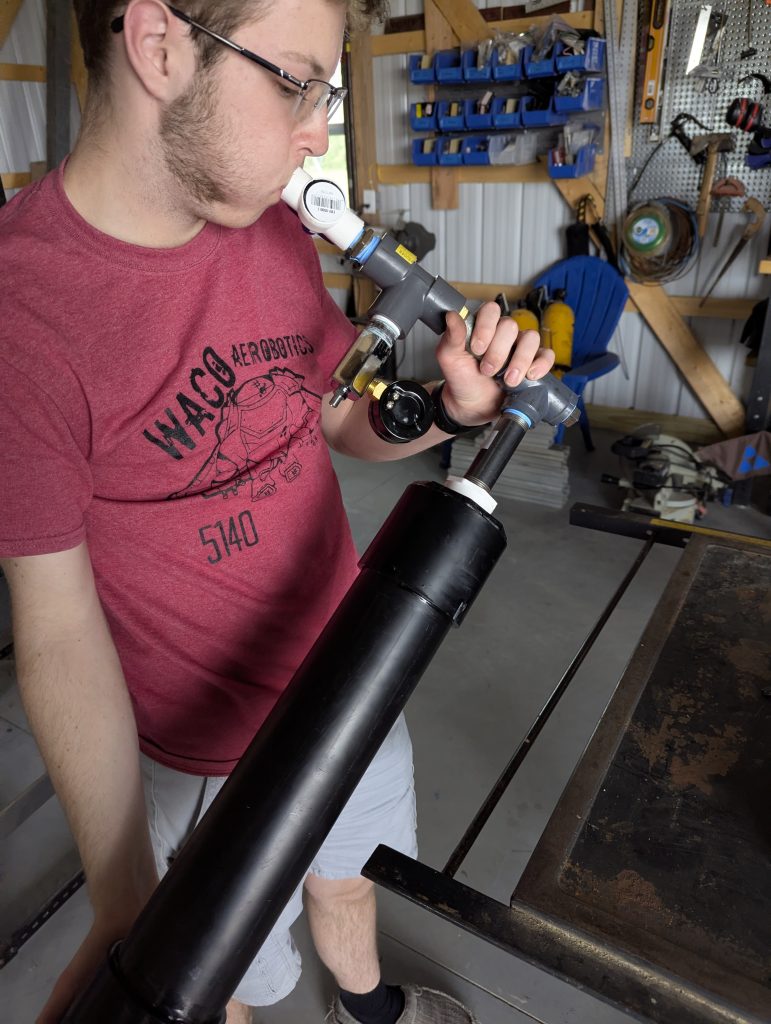
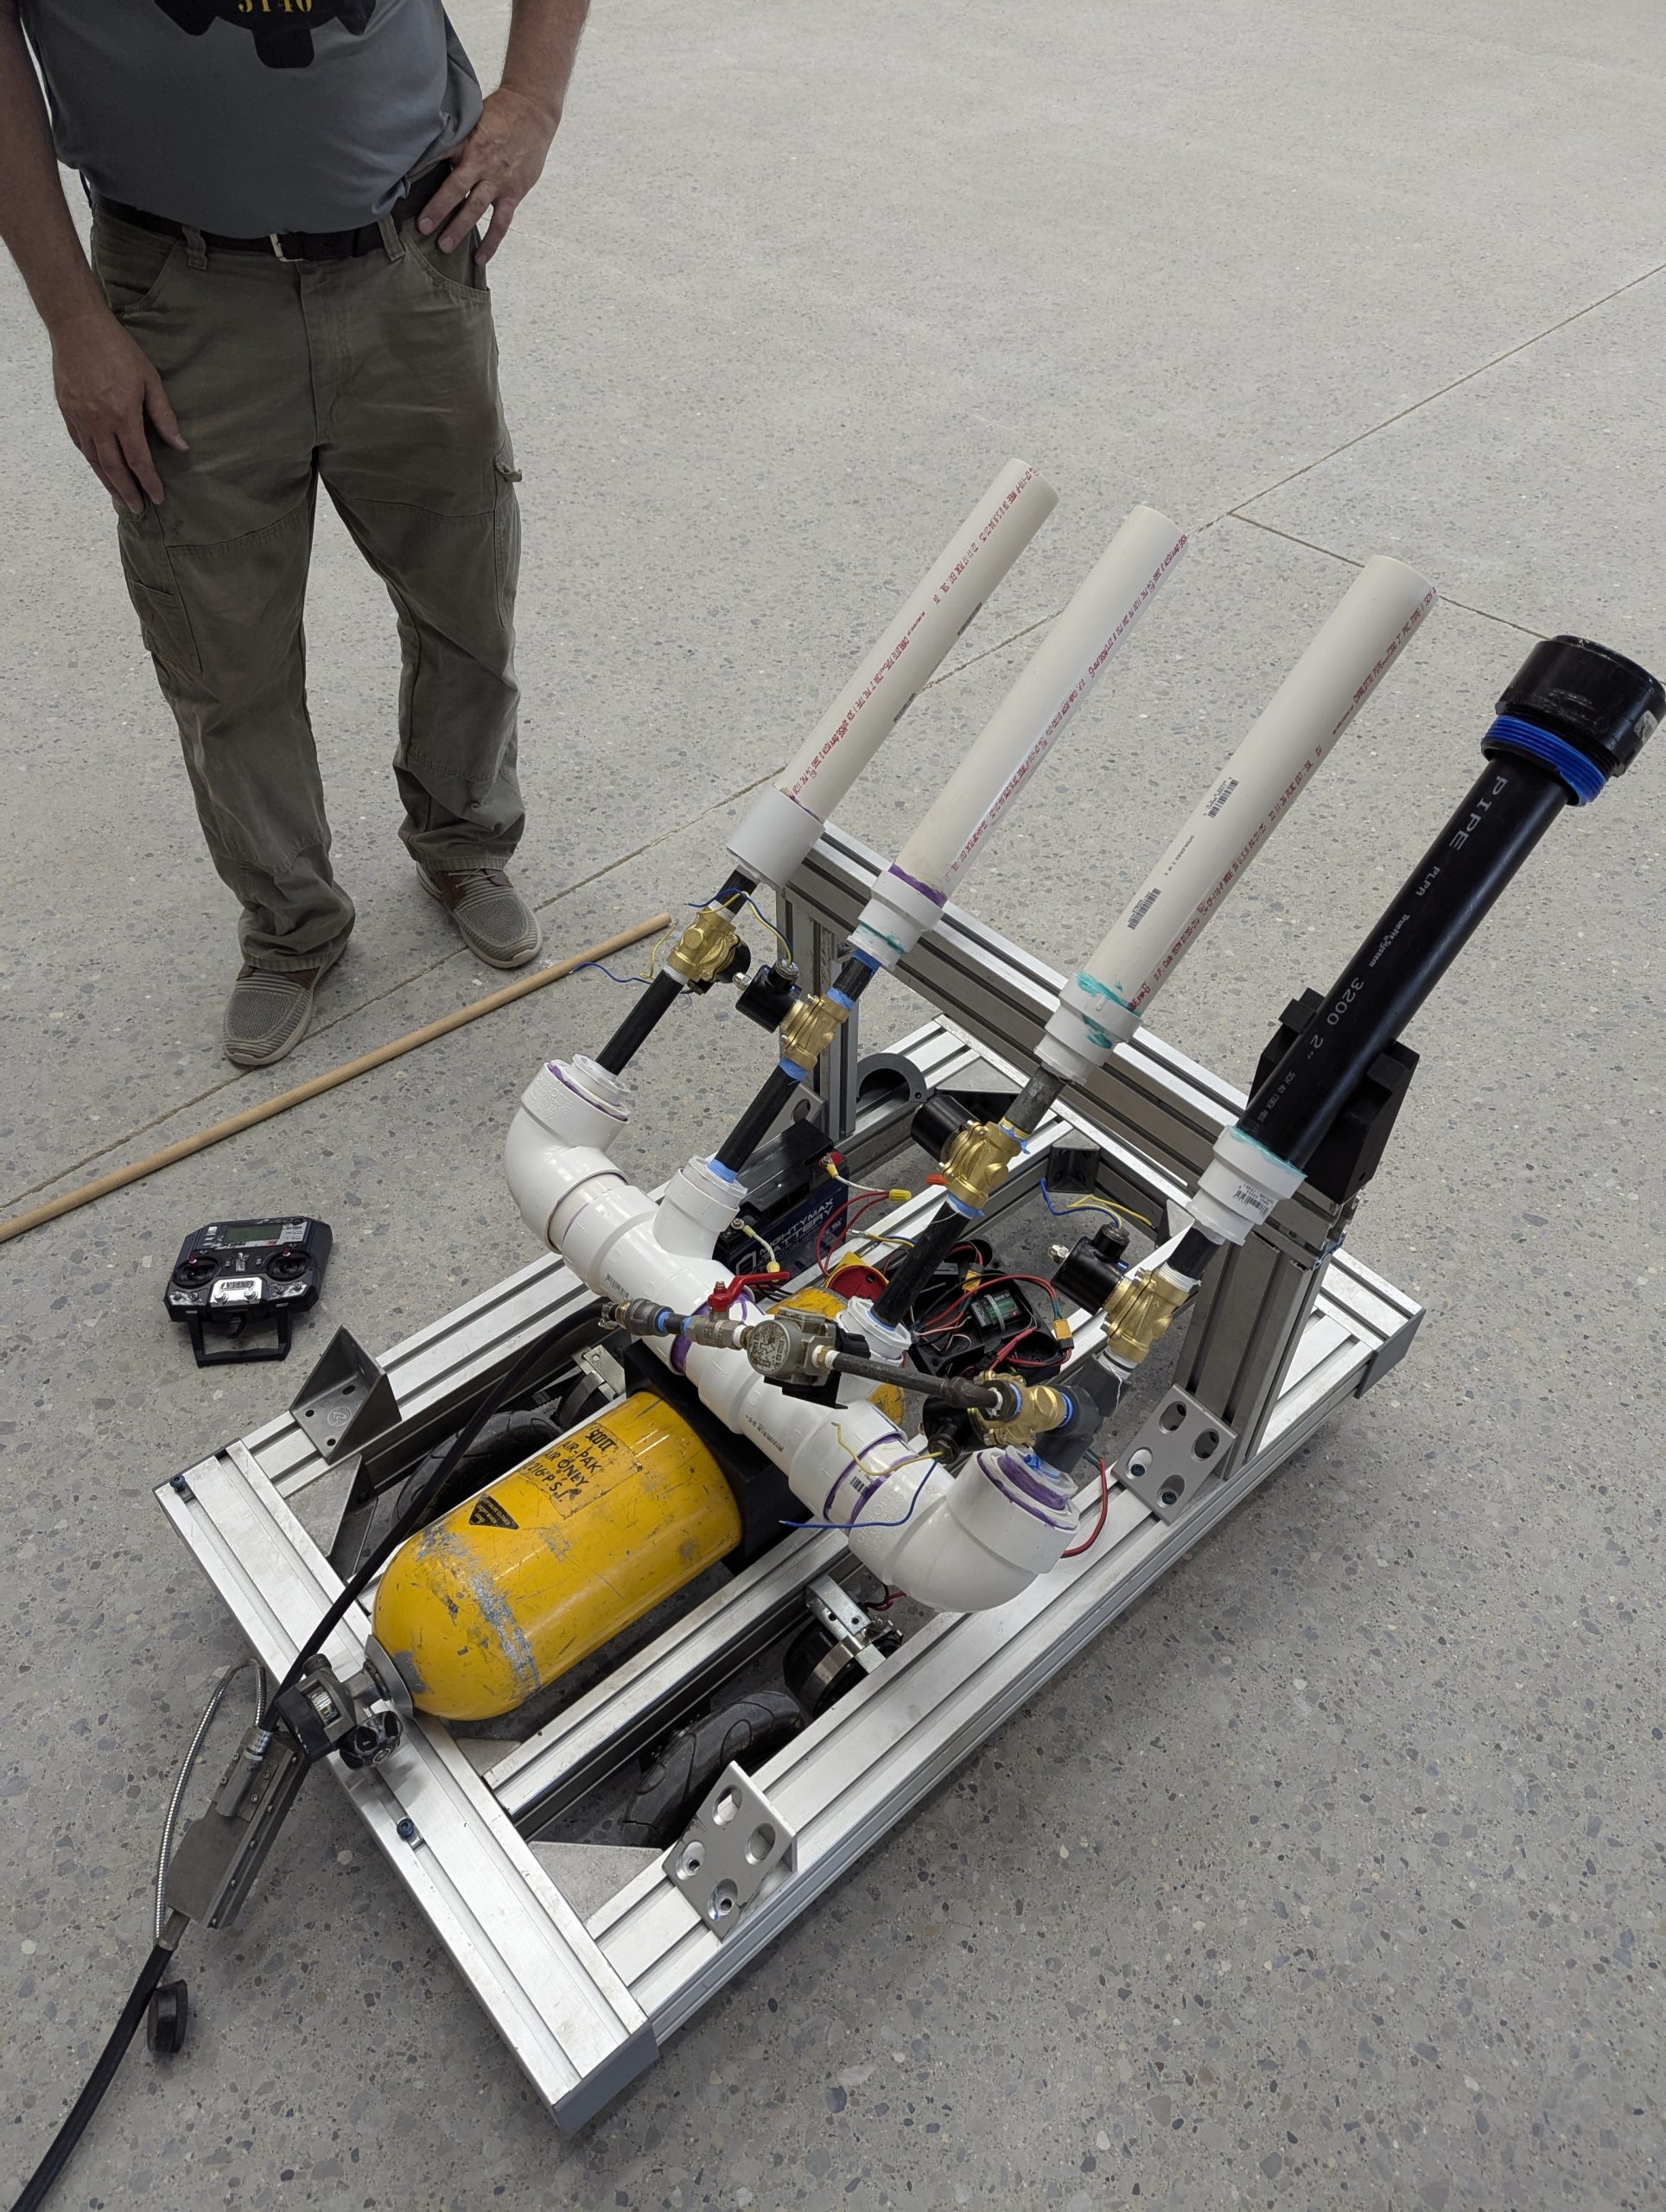
The solution to the problem was using an external accumulator tank that connected to the barrel via solenoid valves. First, we tested this concept with a single barrel, as shown in the image. This ended up being a success and was decided to be used in the final version.
We were donated two air tanks and regulators from the Fletcher Fire Department to use as high pressure reload tanks. Each tank holds 2000psi of air and is attached to a high end regulator that reduces the pressure to a maximum of 120psi. An additional adjustable regulator is attached after the high pressure regulator to adjust the PSI put into the accumulator tank.
The accumulator tank was reduced to a 3/4″ steel tube connected to a industrial solenoid. Passing a 12v electric current to the solenoid opens the valve and releases the air.
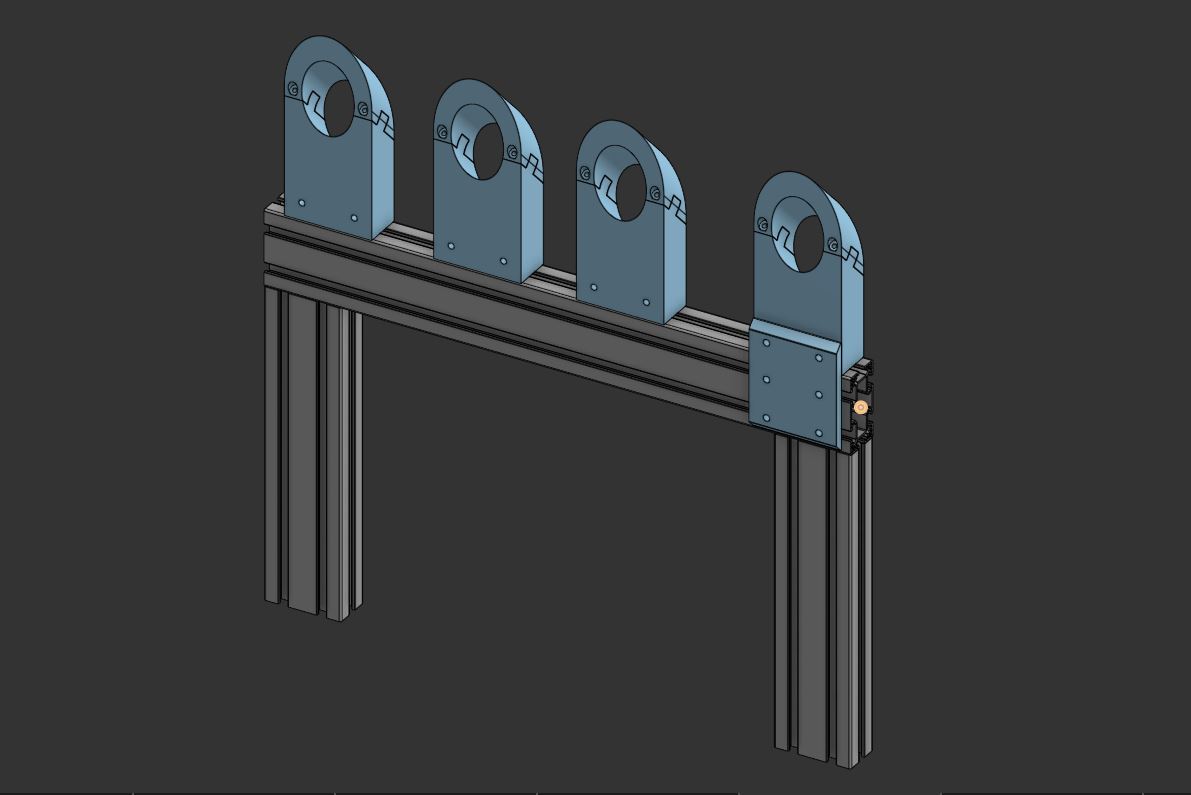
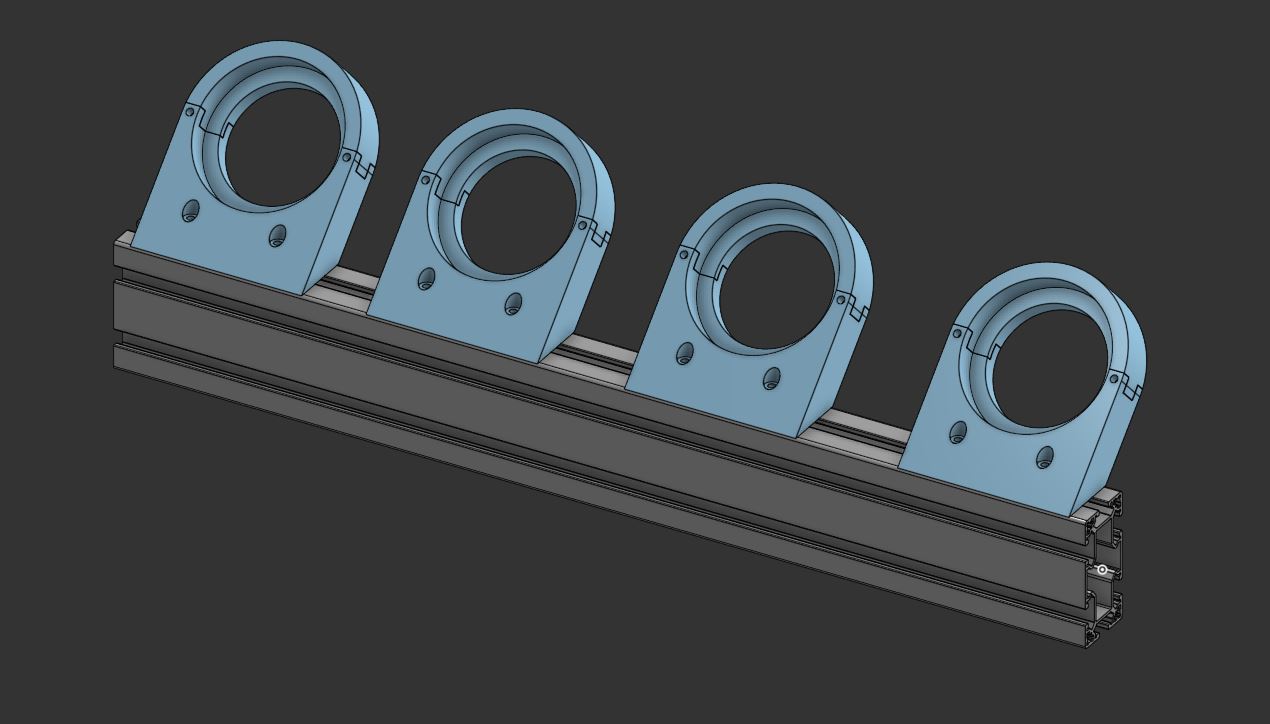
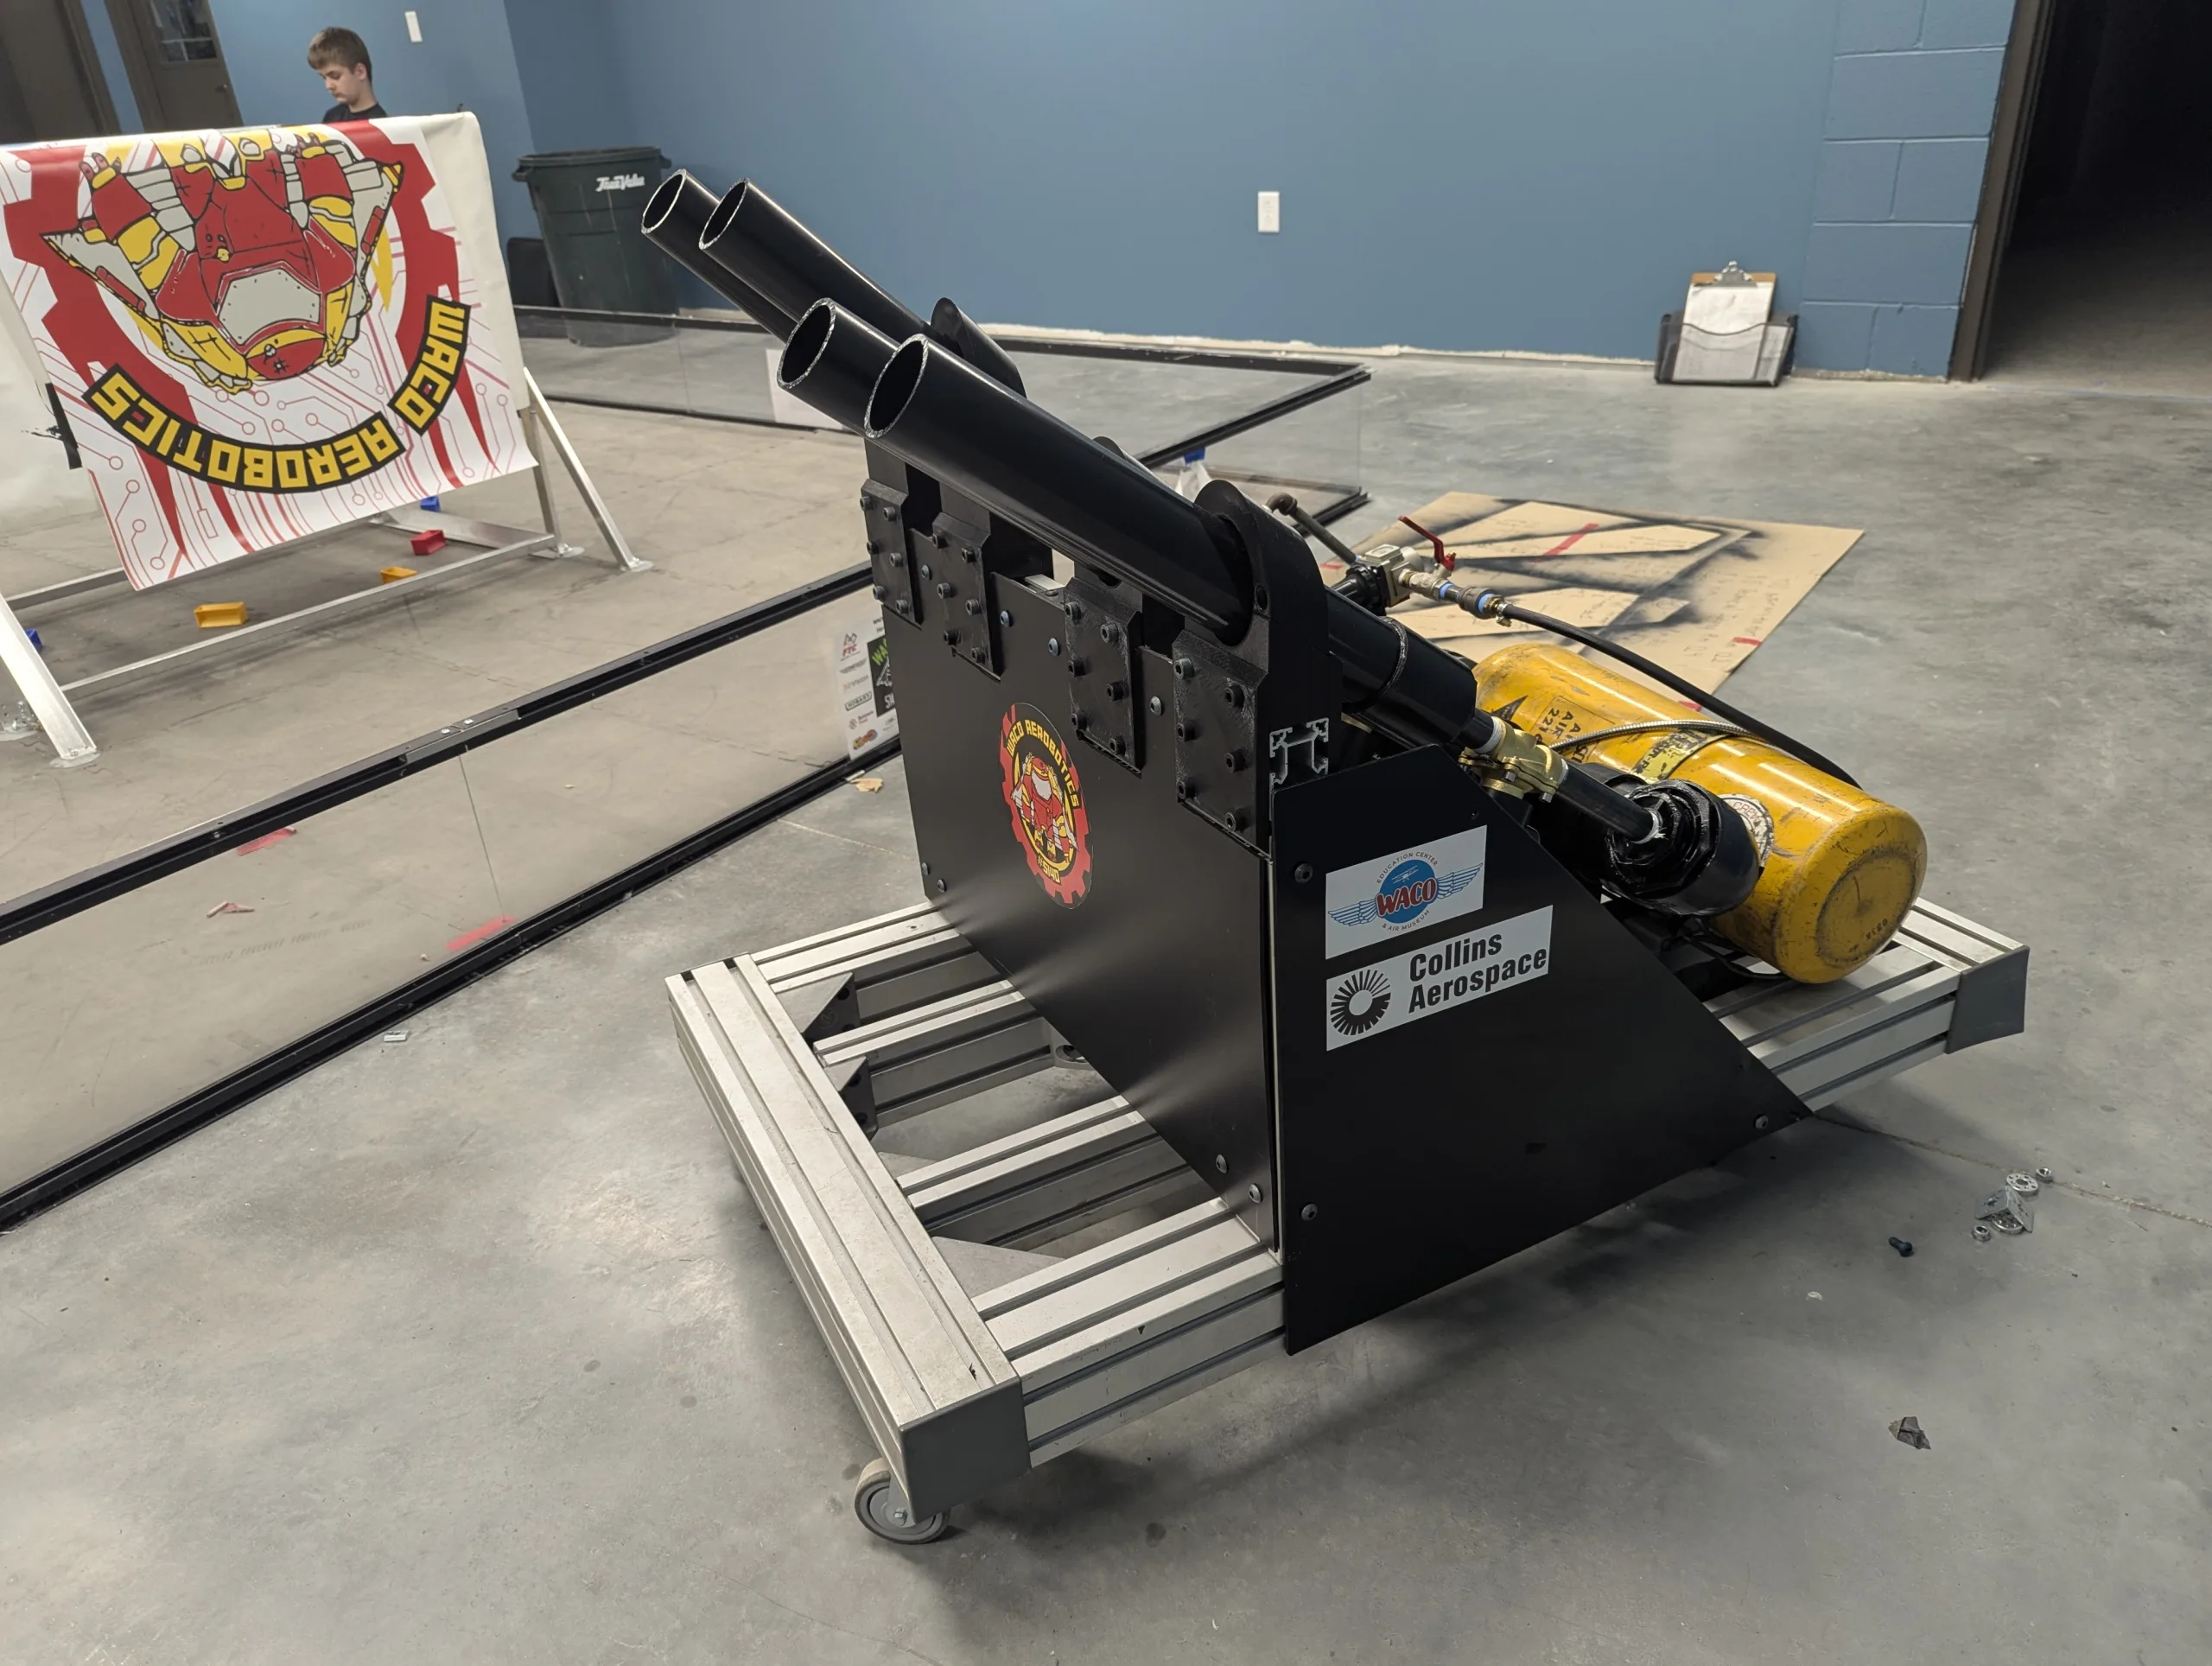
One barrel is great, but four is even cooler. Our inspiration from Van Werts T-Shirt Cannon Robot inspired us to as well have 4 barrels. The benefit of having four barrels is not stopping to reload after every shot. Pictured here are different ideas on how/where to put the accumulator.
An industrial mechanical solenoid are used to release the air from the high pressure system and reload the accumulator tank. This solenoid is attached to the radio receiver to use a knob to remotely refill the accumulator tank at the given PSI.
The accumulator tank is made from 3″ PVC pipe rated at 120psi. One accumulator tank is used for all barrels of the cannon.
The accumulator tank reduces down to the 2-inch diameter barrel through a 3/4″ pipe through the industrial solenoid.
Additional 1″ barrels were added for the capability to shoot streamers and confetti. The 2″ and 1″ barrels can be swapped by unscrewing the barrels and replacing with the others.
The air is stored in the tank with a switch from the operator. From there any of the barrels can be fired. Unfortunately, the robot is not equipped with semi-automatic firing. After every shoot the operator must reload the tank.
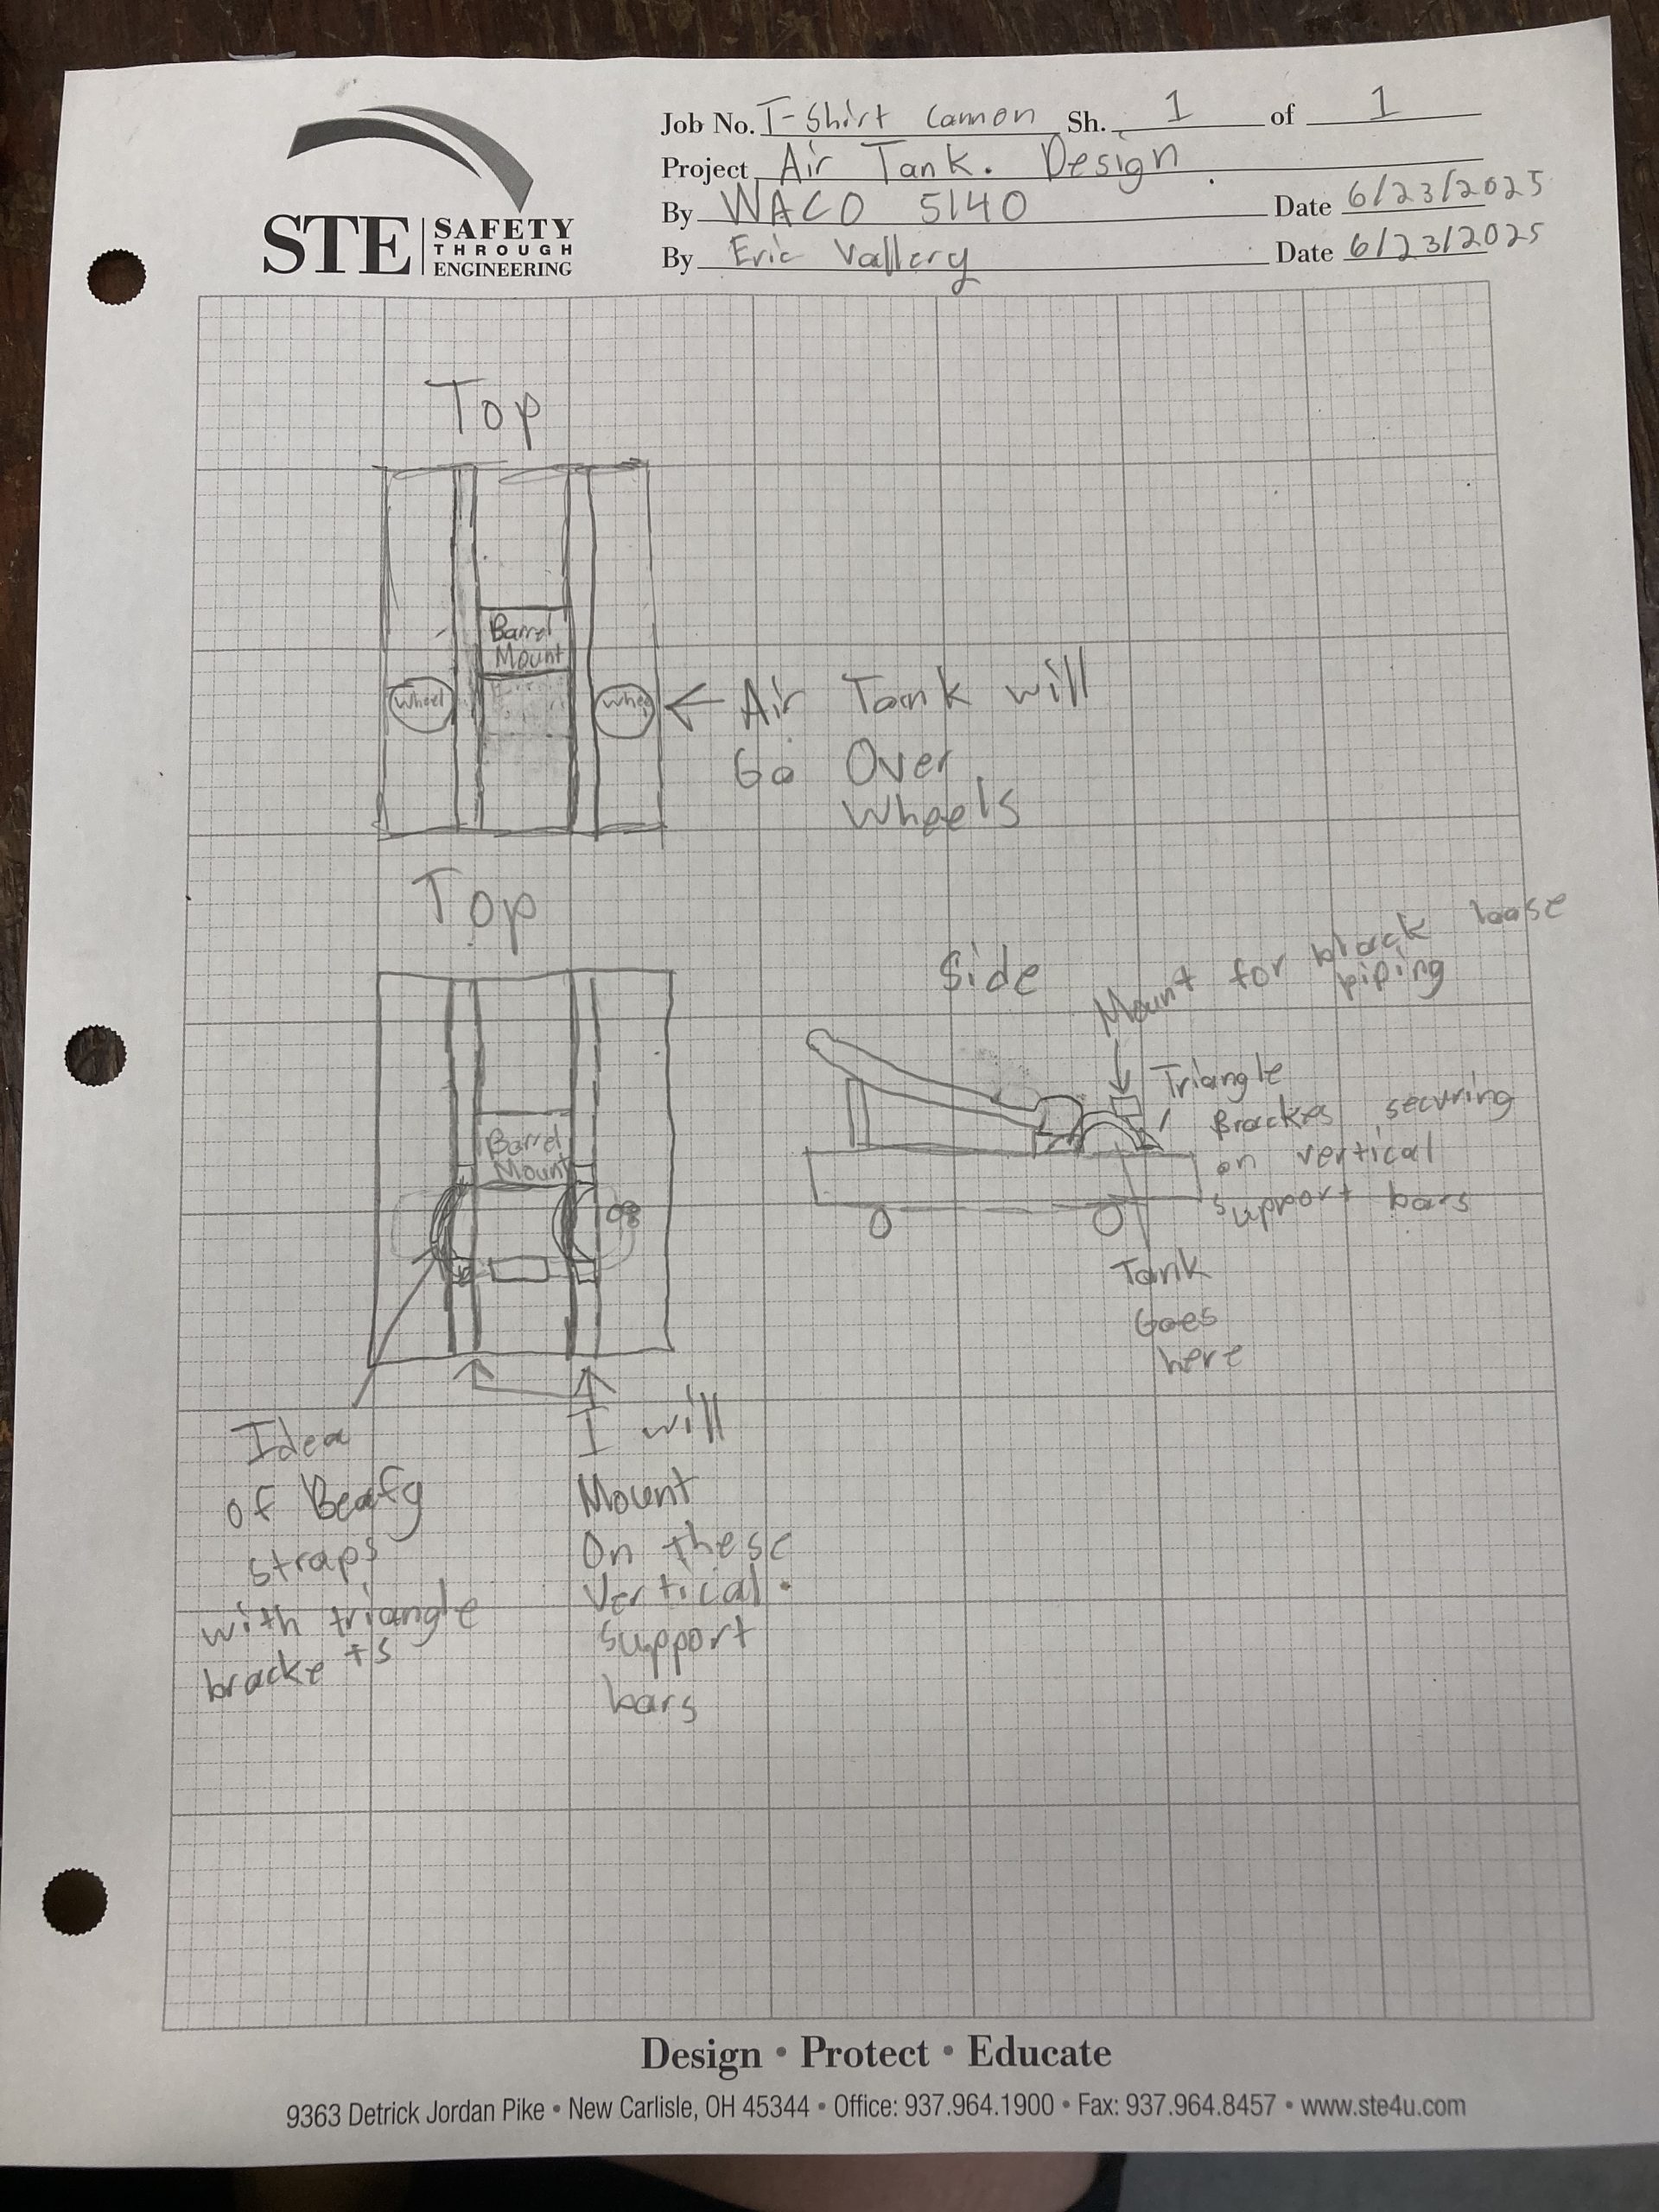
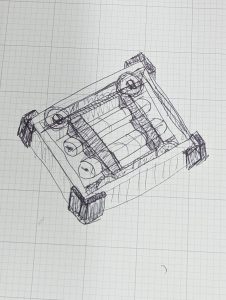
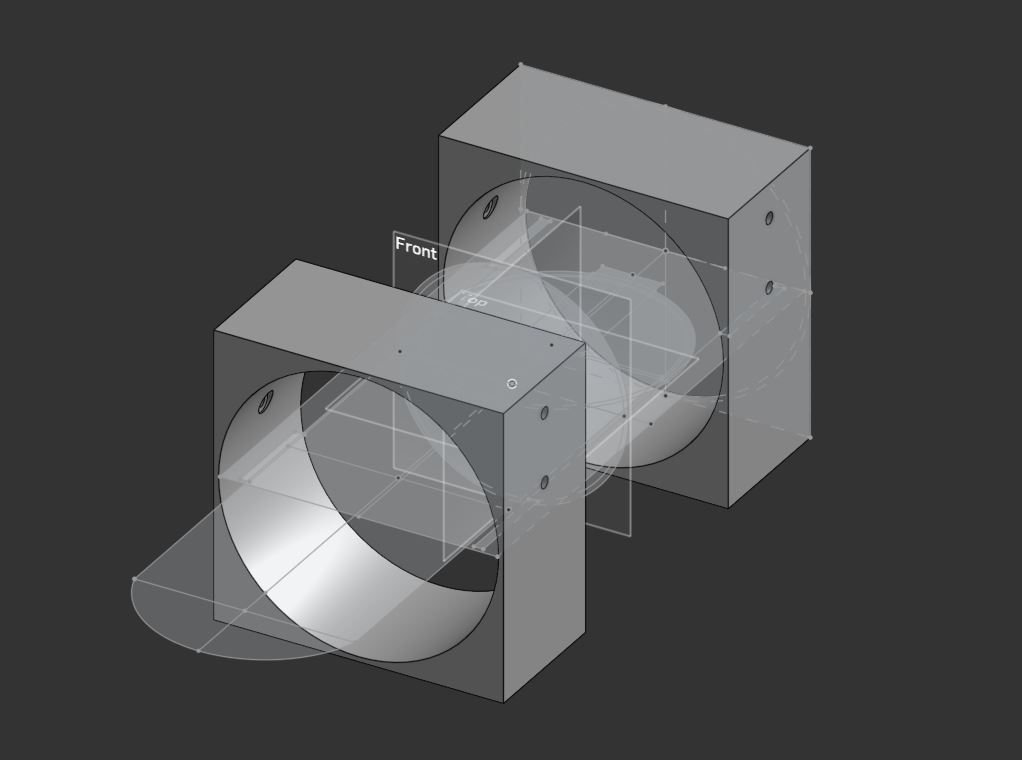
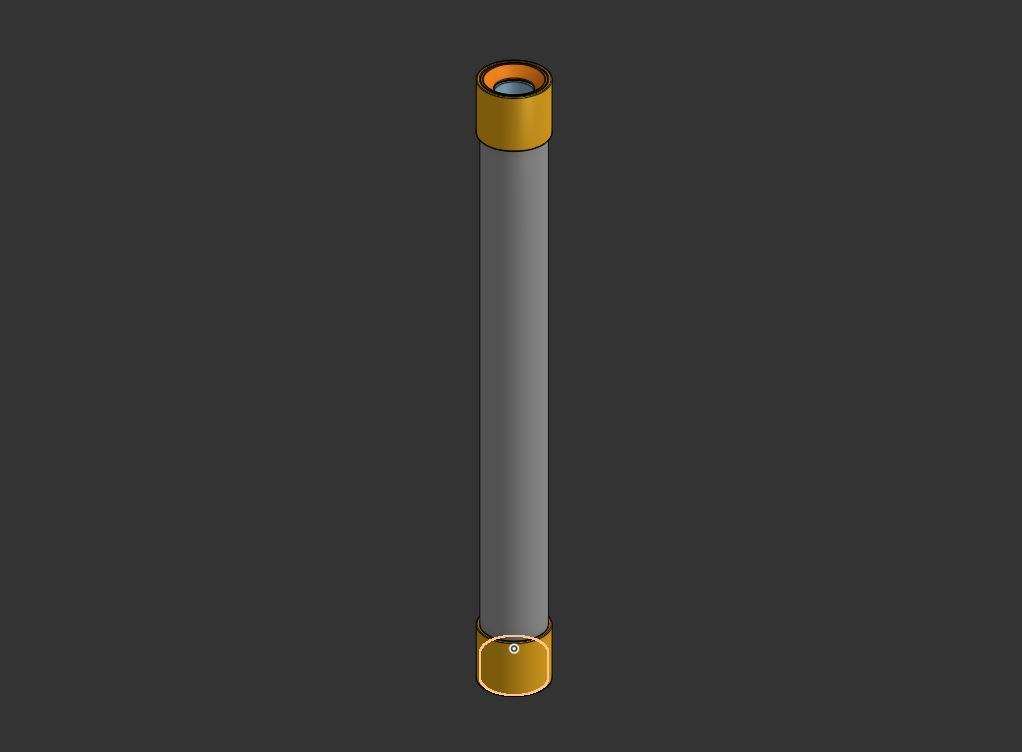
The initial design of the main tank reserve was the beginning of our idea to mount the air tank on the robot. The drawing before the CAD for the air tank. It shows where the air tank will go on the bot. It also shows that the idea was based off of straps with triangle angle brackets for strong support. It also shows that we will have a container for the piping that goes to the air tank. After completing this we would go to On-Shape to draft up a prototype in 3D and eventually send this to a 3D printer.
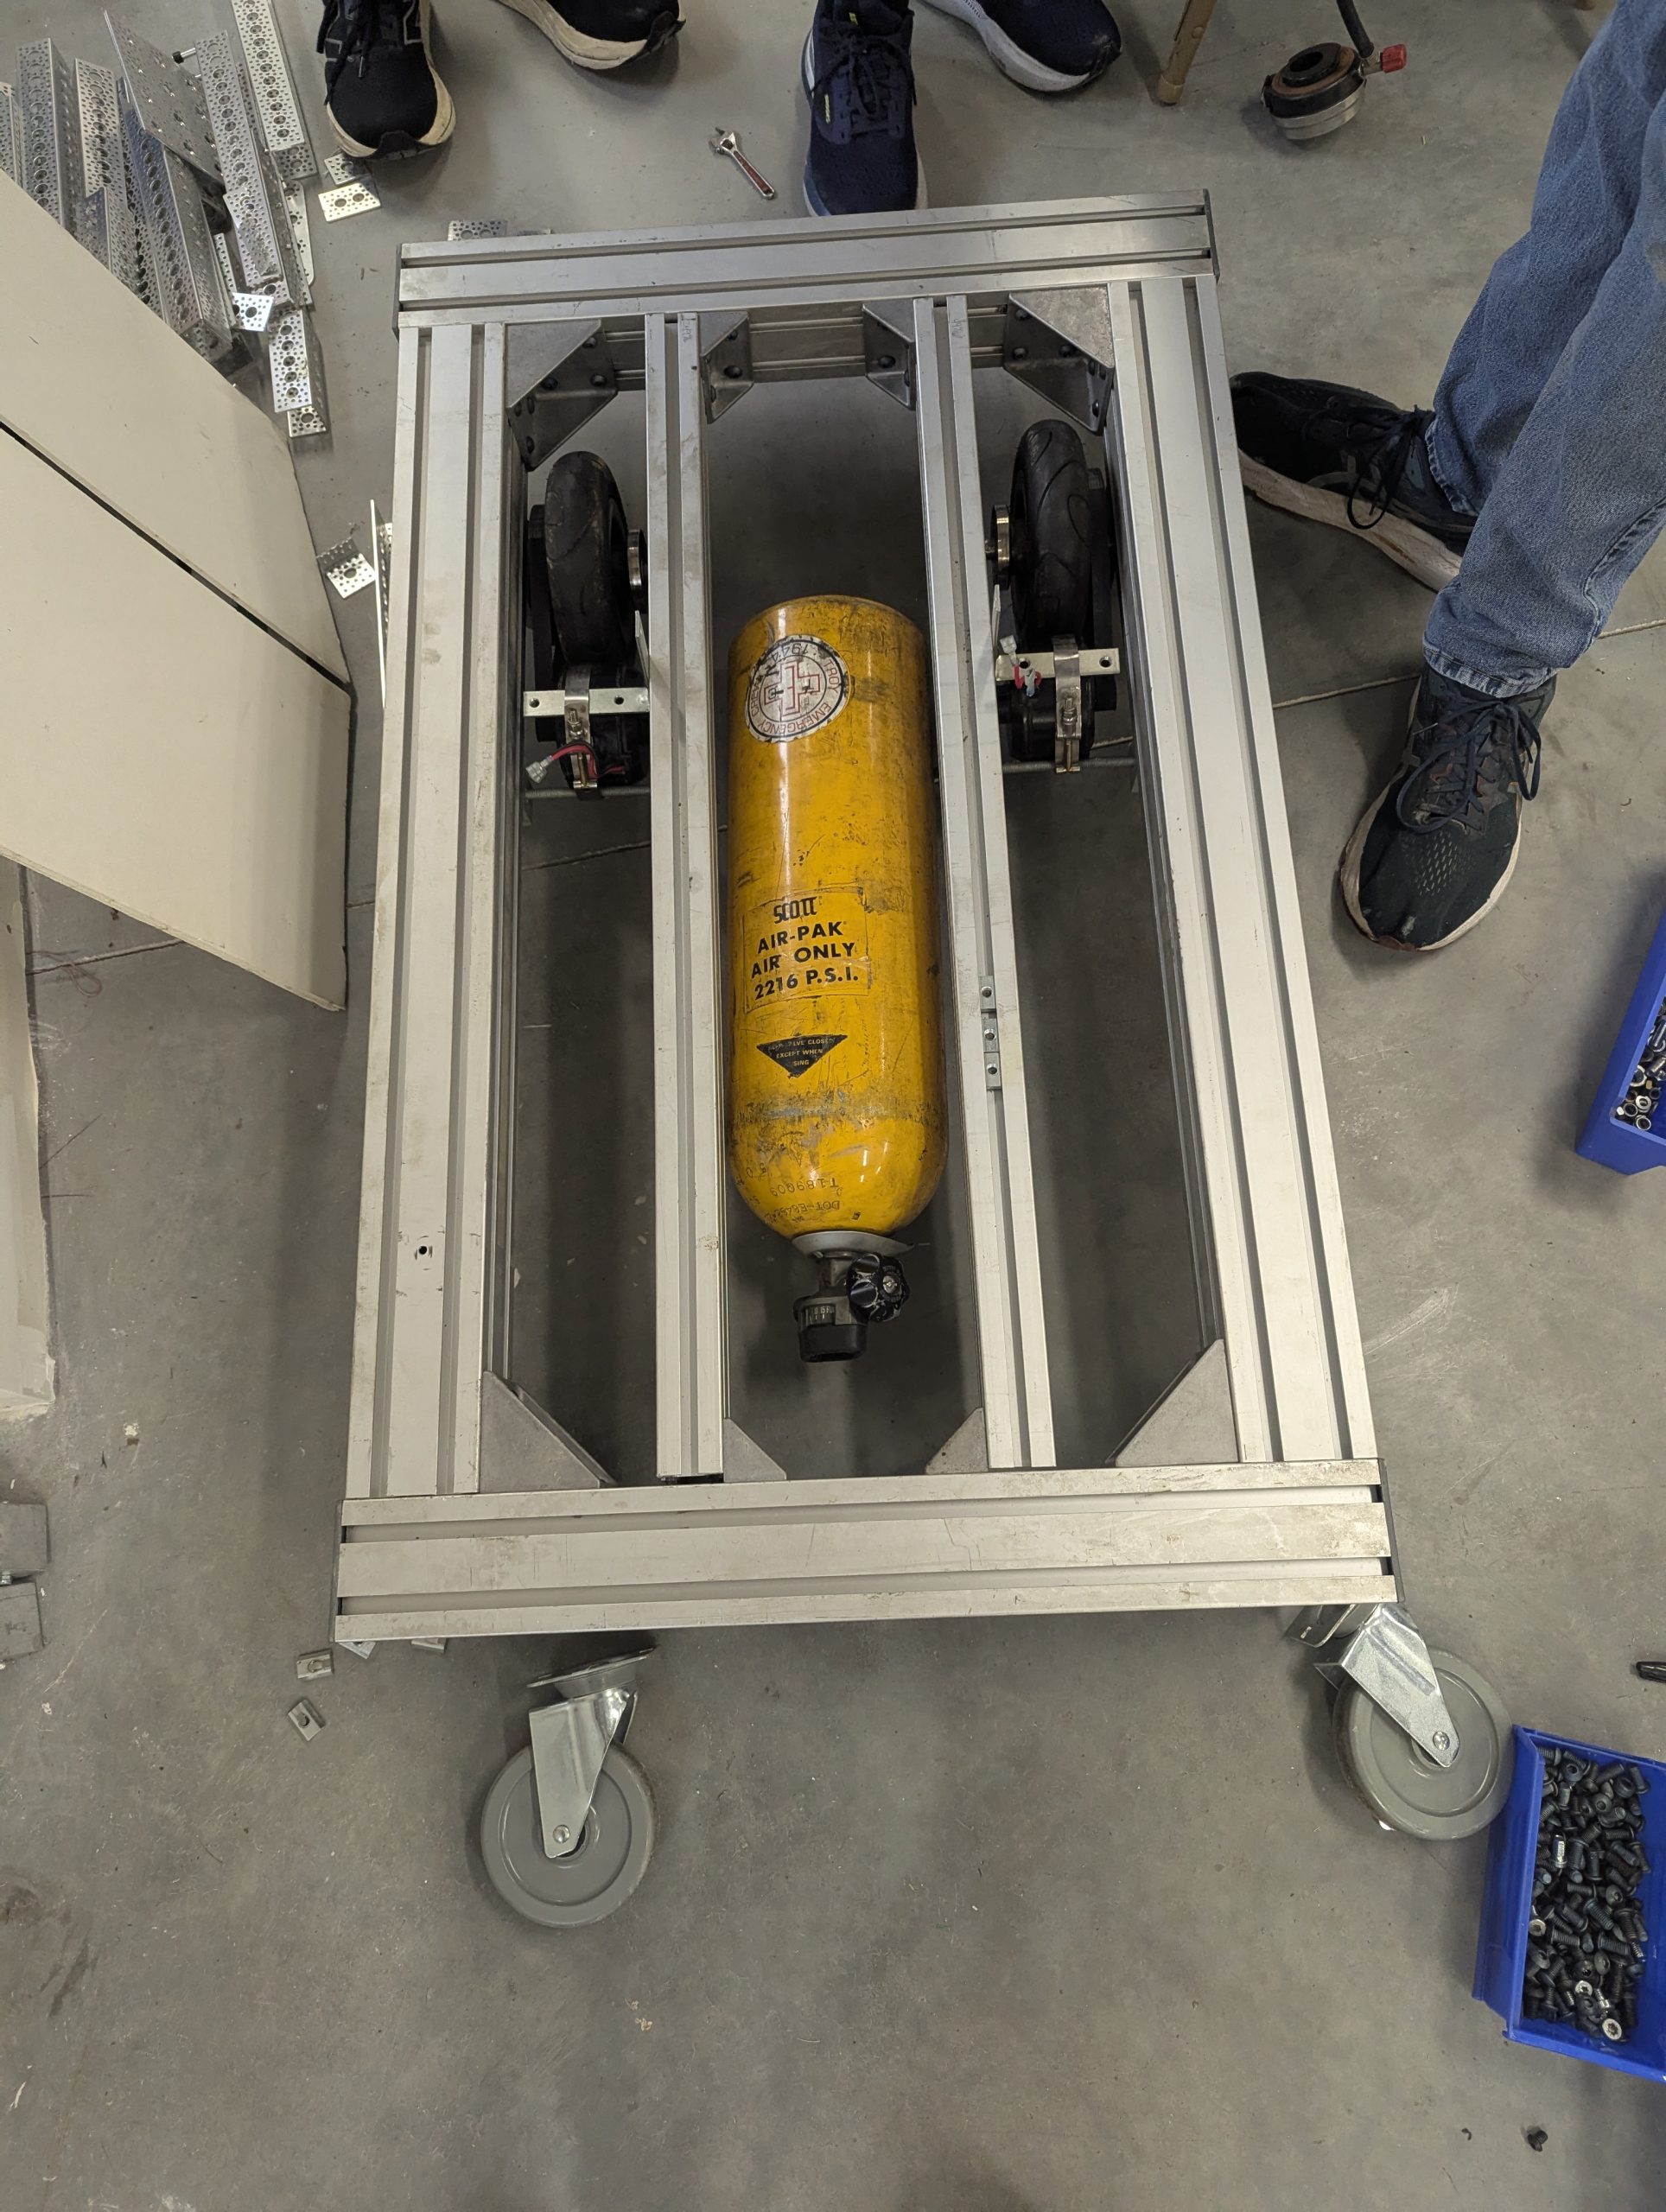
This design then transitioned into reusing the firefighters backpack tank frame and attached to the robot frame. This allows the air tank to be securely strapped on the robot frame during movement. The tank was mounted horizontally on the frame instead of resting within the original frame design to allow for easier access to hookup and the shutoff valve.
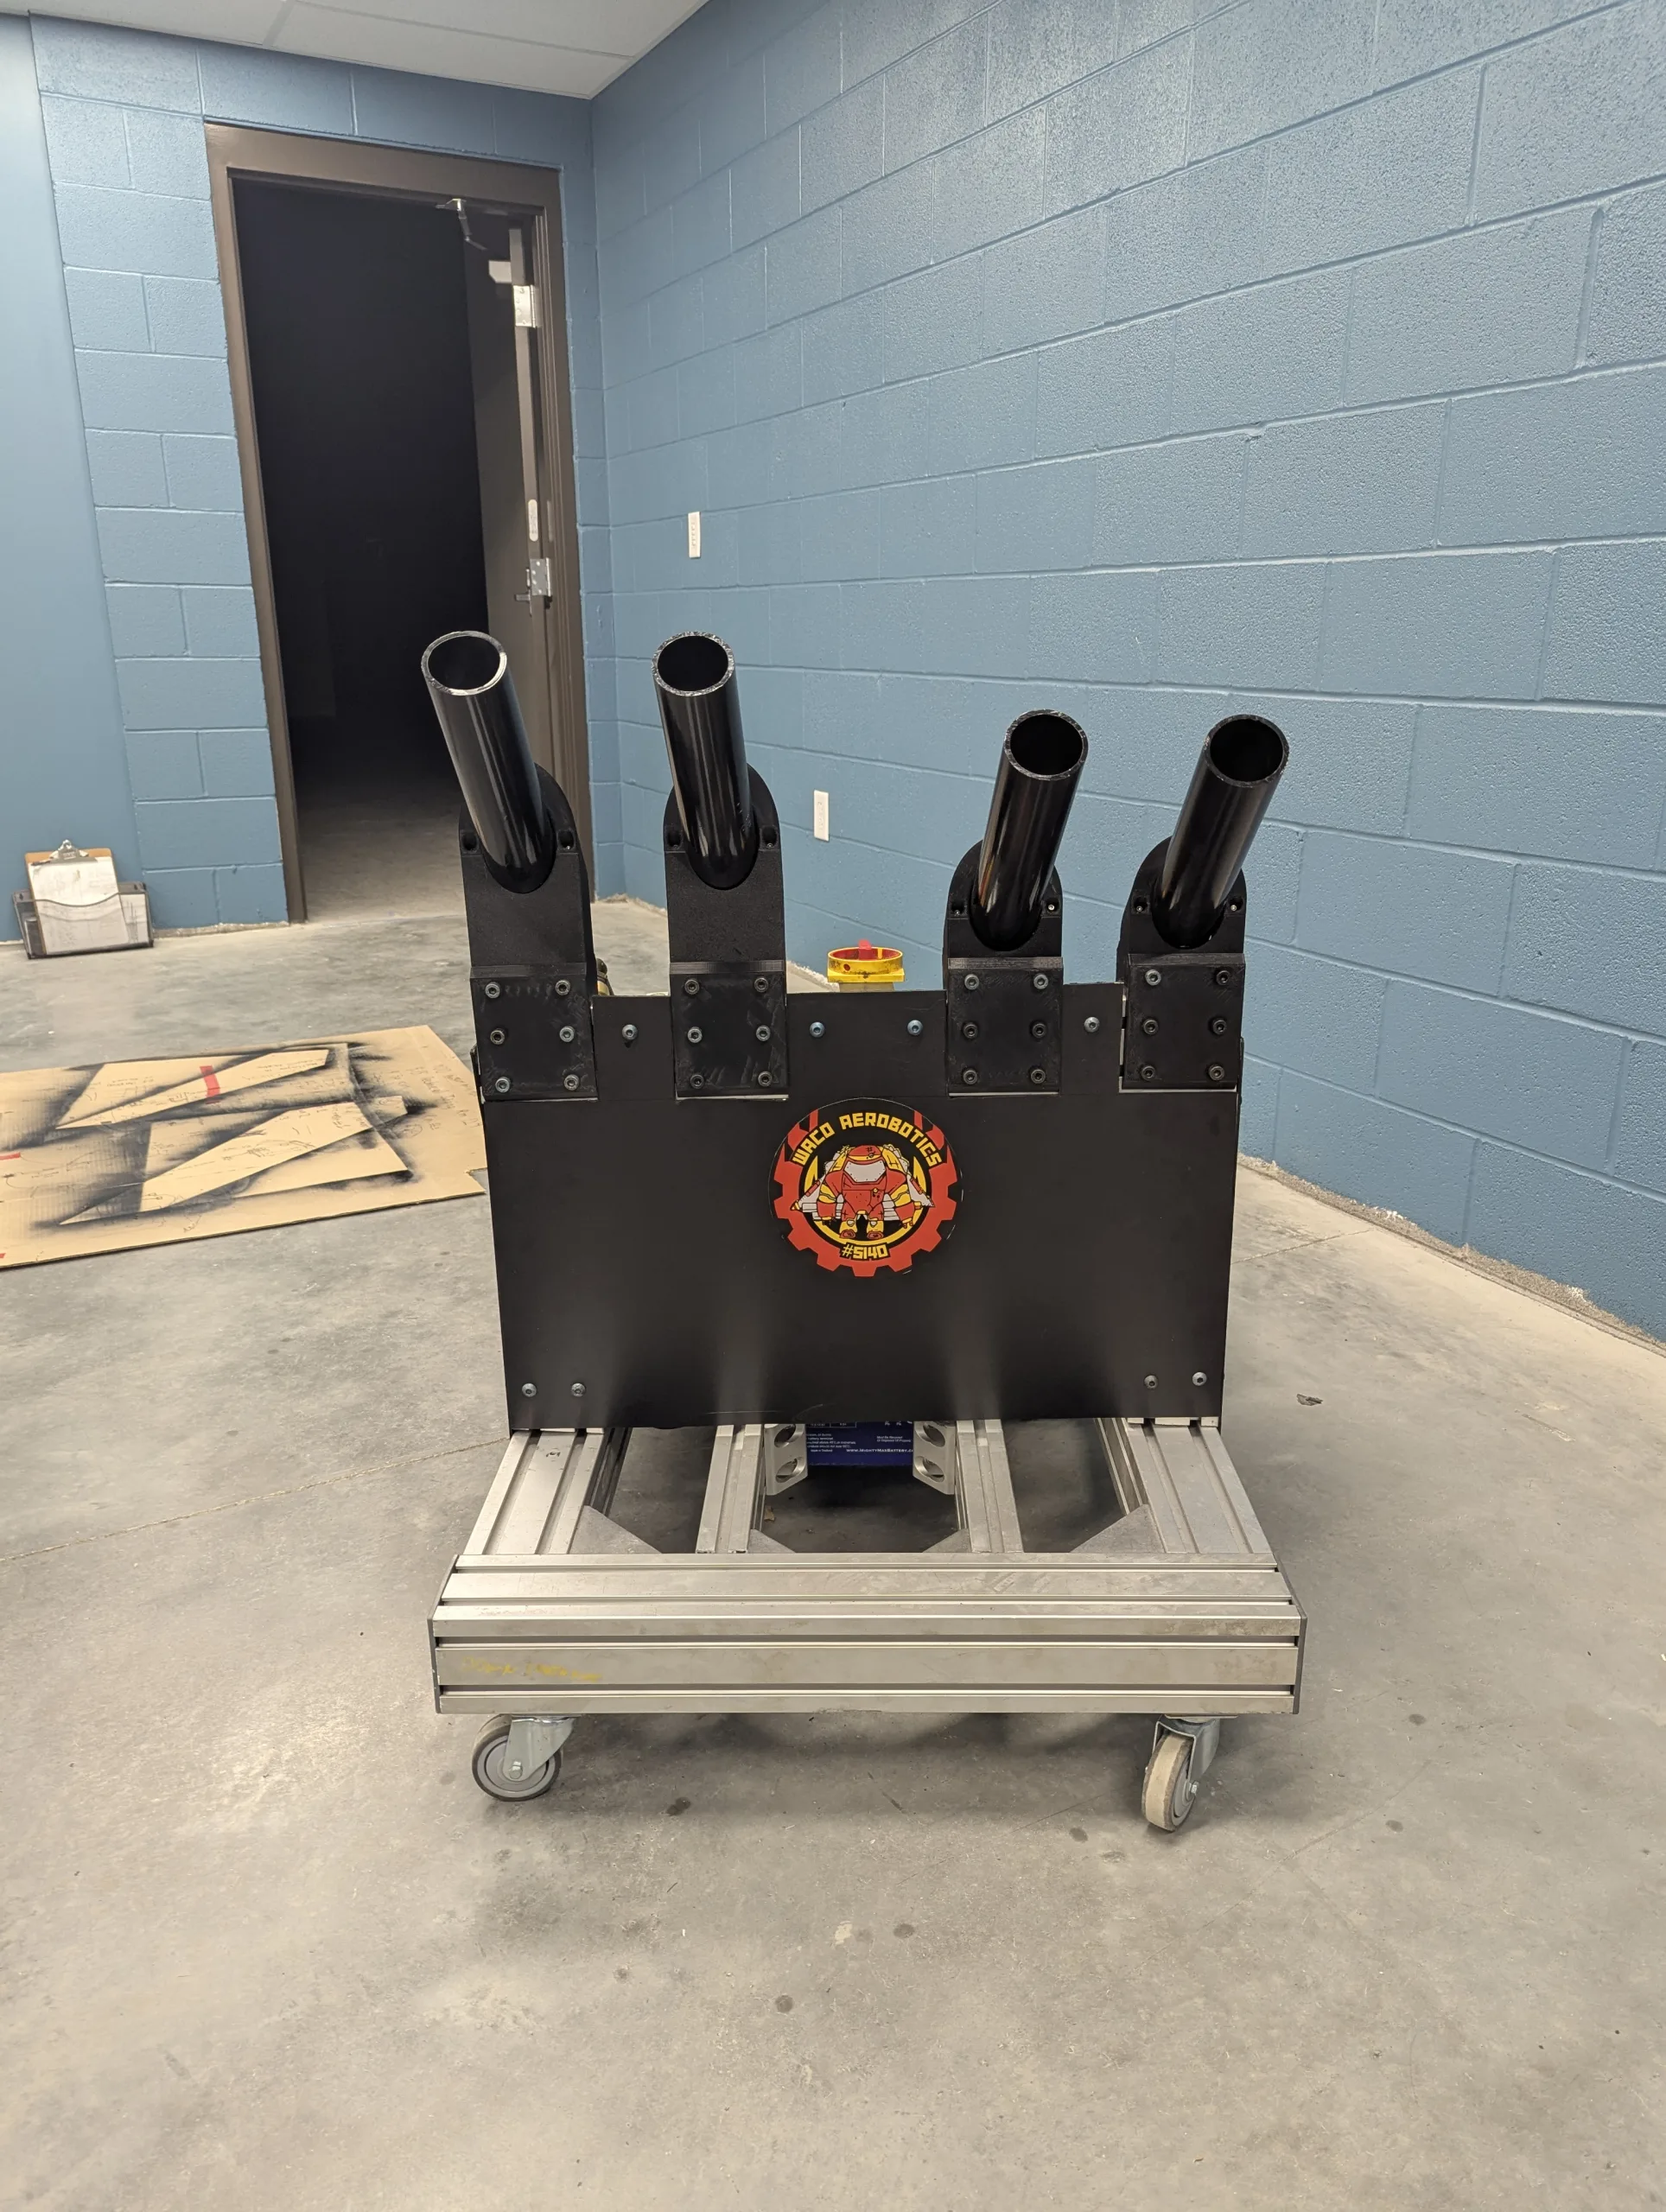
Cosmetics
Reclaimed plastic panels were measured to fit the front and side panels. The barrels and plastic were painted black as a neutral color to utilize for the widest variety of events.
Vinyl stickers of WACO Aerobotics and sponsor logos were printed to decorate the exterior.
Test and Retest Walked into a Bar
The initial test for our cannon were performed with the single barrel version. With the strength unknown and questioning whether the cannon will even work or not, we started with 30 psi. The T-Shirt ended up stuck on a ledge!
With this new power in hand, we set the cannon on the same angle of as it would be on the robot (45 Degrees). With each test no issues occurred, so we increased the pressure by 15 psi. every test runs.
The tank is rated to hold up to 120 psi., we only increased to 75 psi. before calling it quits. We then experimented with different techniques for folding and wrapping to get maximum distance.
Full system test occurred outside at WACO Airfield. Tested drive mode, loading and firing of each barrel and firing multiple barrels simultaneously.
A field test was performed at Miami East High School stadium. This test allowed us to test the equipment in the environment it was intended. The drive system didn’t work as expected. The battery levels were too low for normal drive levels.
Wrapping the t-shirts with rubber bands allowed us to reduce the pressure needed to reach the stands. We were able to test that the distance achieved with 90psi was equivalent to 50psi. This is due to the tube diameter reduction to 3/4″ (for the solenoid valve) instead of keeping at 2″ output.
| PSI | Distance |
| 90 | 30-45 yards, 20-35 yards at 4 barrels |
| 75 | 30-45 yards |
| 55 | 30-45 yards |
| 45 | 30-45 yards |
Additional materials were test-fired from the cannon, specifically paper streamers. This material proved more difficult than t-shirts to get the desired effect